Important Tips for Peel and Stick Wallpaper
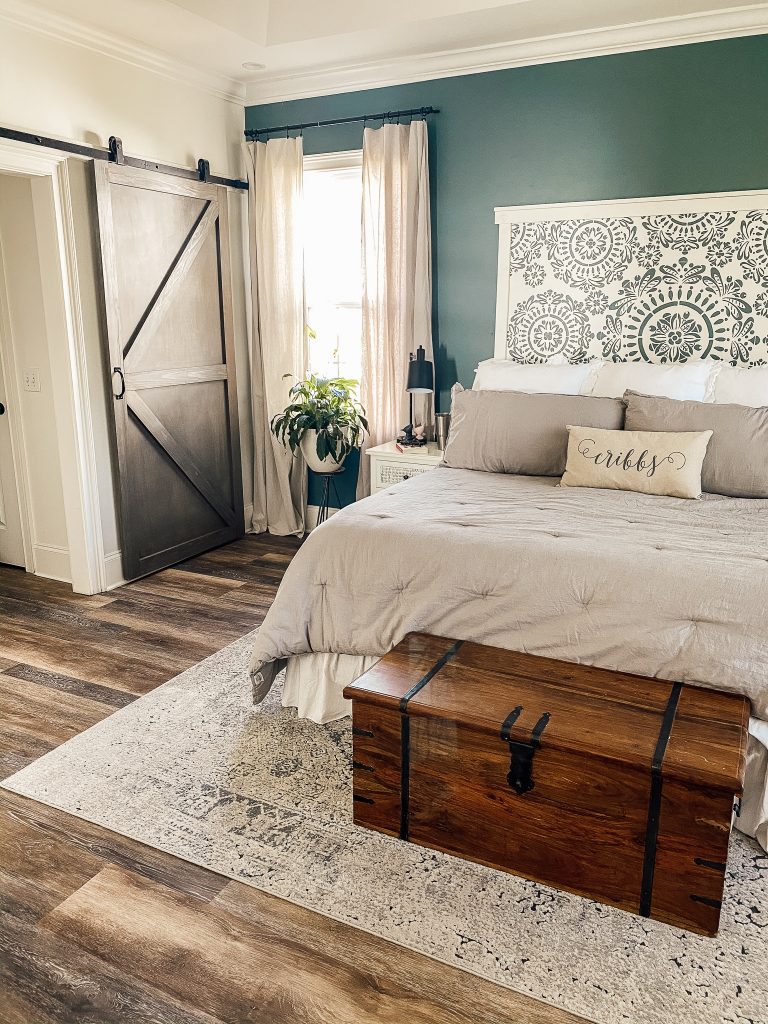
Just like the last One Room Challenge, I decided to add a wallpaper accent wall.
**This post may contain affiliate links, which cost you nothing extra, but helps me do cool projects. **
We’re heading into the second week of the One Room Challenge and already things are getting spicy in the Cribbs Crib. I’m fine, it’s fine, we’re all going to be fine, but seriously I’m kicking myself because I’ve done messed up already.

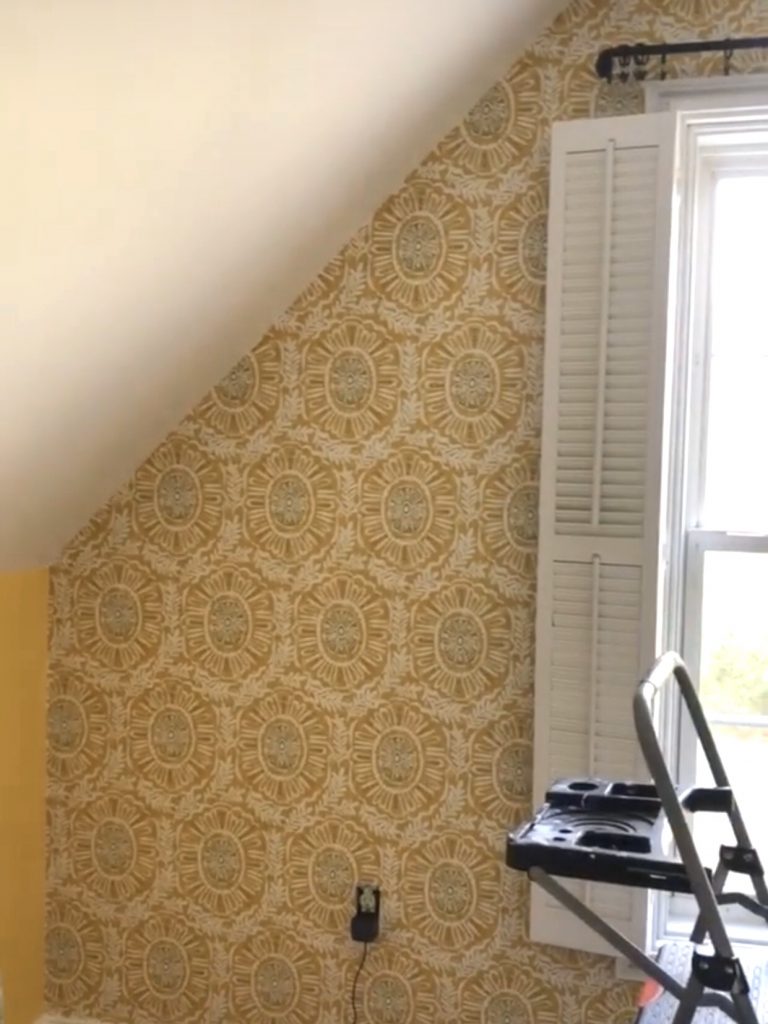
I took a huge risk last year when I did the One Room Challenge and tried my hand at peel and stick wallpaper from Target. Just like with childbirth, all I remembered was in the moment it sucked, but soon after I forgot just how bad.
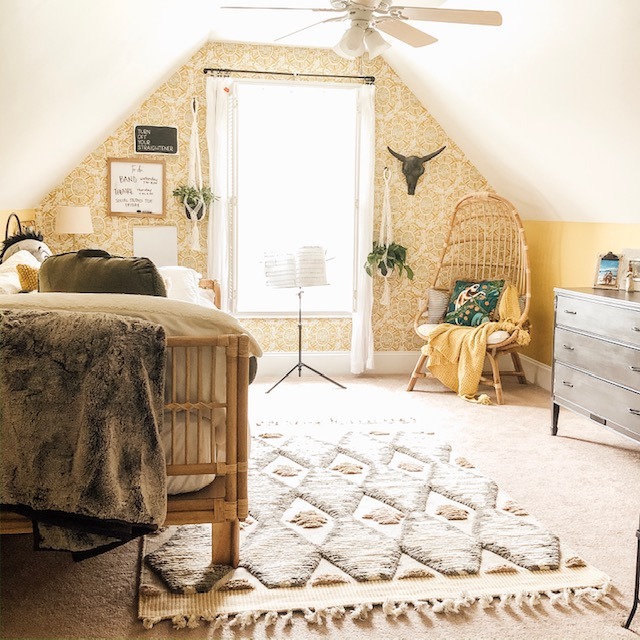
Until I decided to add peel and stick wallpaper again in my daughter’s boho chic inspired teen room. We were literally walking through Target on our way to the Hearth and Hand collection when I spotted this gem in the corner of my eye.
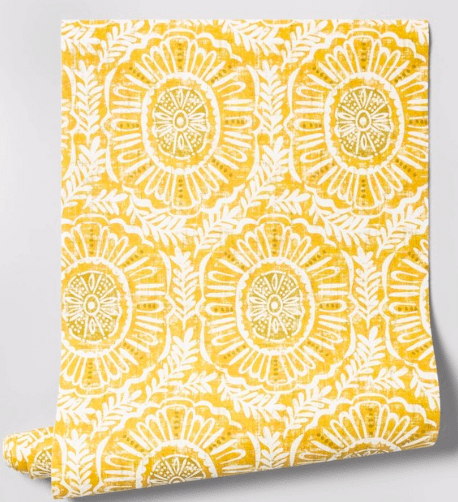
The second I saw it, I sounded like Janice from Friends (if you know you know). On a whim I bought all four rolls that they had and was on my merry way, which leads me to my tips…
**The pictures that will follow are AWFUL! I was in full blown panic mode and didn’t snap too many pictures. It was more of a “oh good God, what did I do?!” .**
You’ve been warned.
MEASURE YOUR SPACE
Don’t try to guess how much peel and stick wallpaper you’re going to need. Measure your space to figure out the square footage, and add 10%. Even though I was doing a couple of accent walls, I didn’t account for the angles and matching up the patterns, which means you end up using and discarding more paper than you think. I needed double the amount of wallpaper that I initially purchased. Of course I realized this a little too late. It’s best to over buy and return than be short.
PAY ATTENTION TO THE LOT NUMBER
If you do have to pick up additional wallpaper at another store, look at the LOT number on the label to make sure that the colors will match up. The lot number means the paper was cut from the same batch. Otherwise you will end up with varying shades of the colors in your wallpaper.
READ THE DIRECTIONS
And this is coming from someone who doesn’t read directions and it bites me in the behind every time. It specifically says in the directions it’s meant for two people to do the installation. Why? Well, not only do you need to line everything up, you have to get the air bubbles out at the same time. In this case, the more hands the better. Peel and stick wallpaper not only smells like a giant sticker, it is a HUGE sticker. However, even if it gets stuck on itself, it’s pretty easy to get it unstuck. Otherwise if you try to do it all by yourself, be prepared for a whole lot of pulling, unsticking, and repositioning. Oh and a heaping load of patience.
HAVE FUN
This goes for any project. The whole purpose of adding peel and stick wallpaper is to add interest and fun to the space without the long term commitment of glued on wallpaper. Which means peel and stick wallpaper is ideal if you’re in a rental situation and you want to personalize your space.
DON’T BE A BROOKE
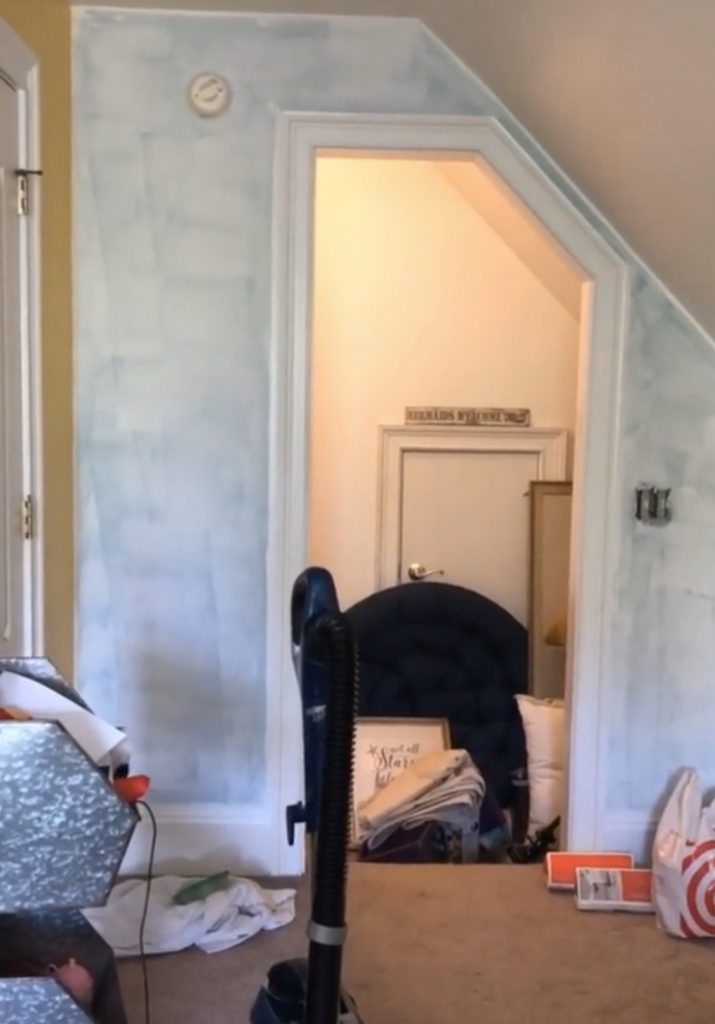
As you can probably pick up from the beginning of this post, I don’t have enough peel and stick wallpaper to finish all the walls I wanted. Target was out of stock online and I’m pretty sure I bought all that was available in the entire Charleston, SC area. When I called a separate store she told me it looked like it had been discontinued. (Insert a BIG frowny face.) This leaves one wall with me scratching my head.
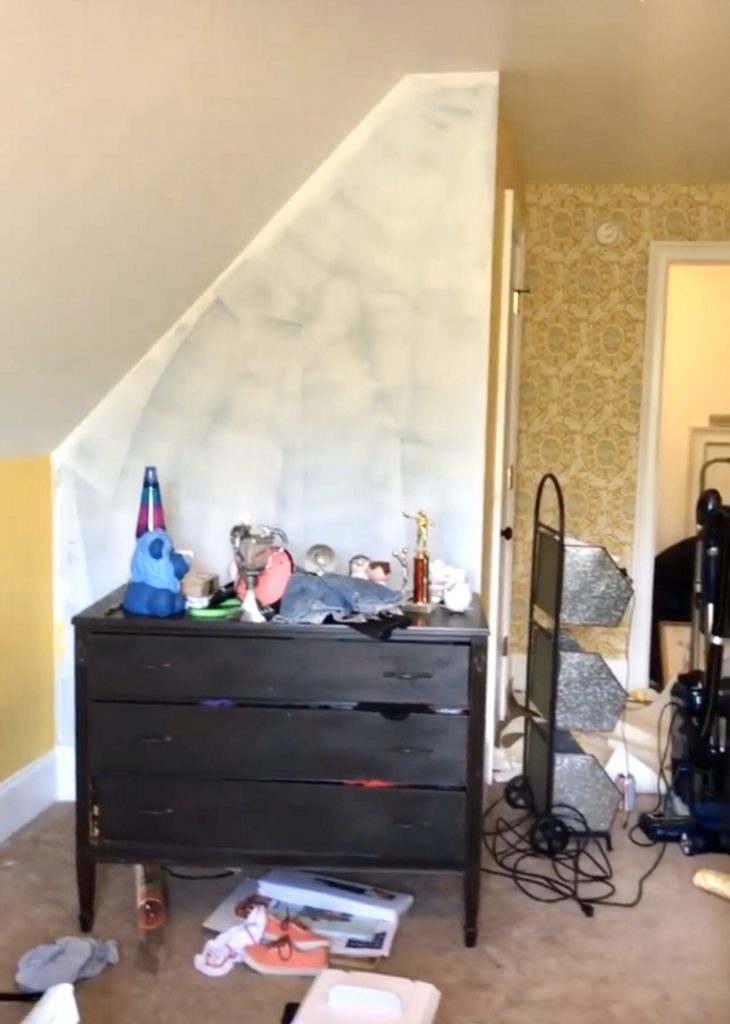
WHAT DO I DO NOW?
First, I panicked. Then I got SUPER frustrated that I did it AGAIN and assumed I bought enough peel and stick wallpaper to begin with. (The last One Room Challenge I got super lucky and only had to go to two different Target stores to pick up what I needed,) Then I had to laugh because in the original plan, I had no intention to do anything other than paint.
Thankfully I have some amazing friends who made some cool suggestions that I am super stoked to try. The most important thing about this whole project, my daughter absolutely loves what I’ve done so far and honestly, that’s all that matters.

Cross your fingers my new plan works out the way I’m hoping.
Even though it’s frustrating, this is my most favorite part of DIY. Often times things don’t go as you had originally planned. Being able to make a new plan on the fly keeps things pretty interesting around here.
Click to see the other amazing guest participants in the One Room Challenge!!
You won’t want to miss this article from Redfin for other great ideas on how to use wallpaper in your space.
Best,
Brooke
Let's connect!!
Stay connected for all your DIY and organizing needs!
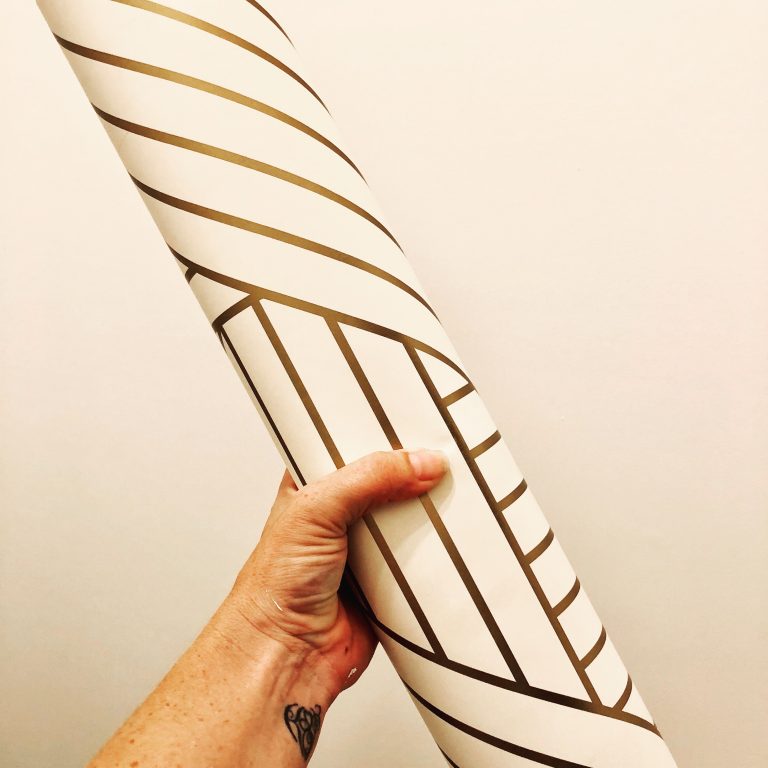
That paper is amazing! I am anxious to see what you do on the mystery wall… hooray for creative options? LOL! I hung wallpaper this week, too, but in a very different color scheme. Cheers to the hard working transformers!
Thank you!!! Mad respect for fellow wallpaper hangers! Cheers to us!!
I absolutely love the wallpaper you selected. The room is going to look great and I can’t wait to see the finished space.
Thank you so much Shelly!!!