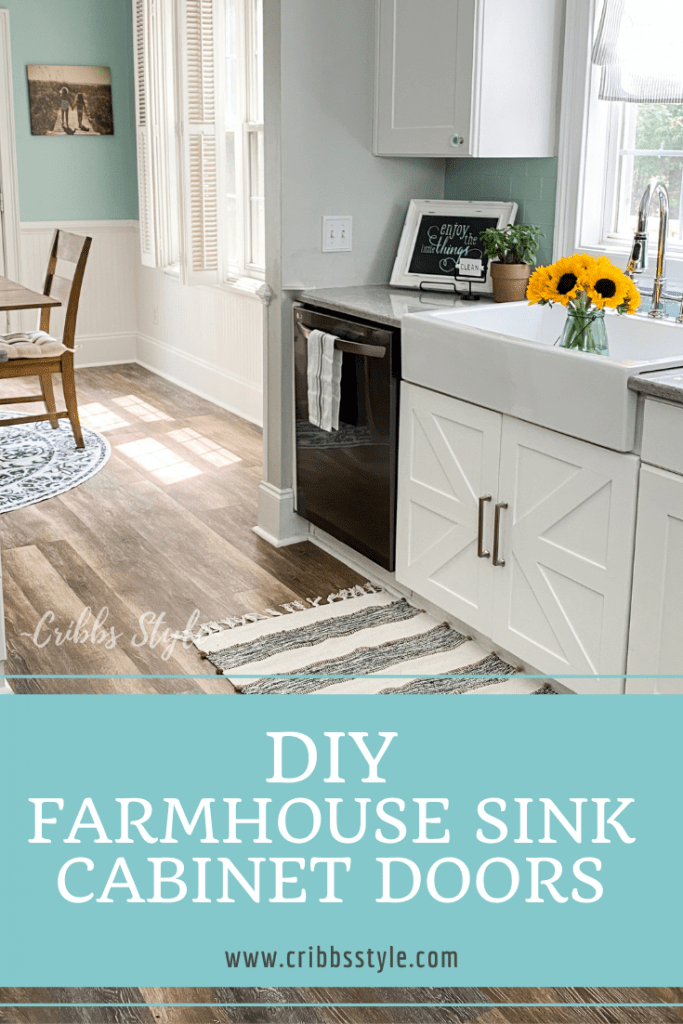
DIY Farmhouse Sink Cabinet Doors
Recently I was a finalist in the American Farmhouse Style Magazine 2021 Ambassador contest.
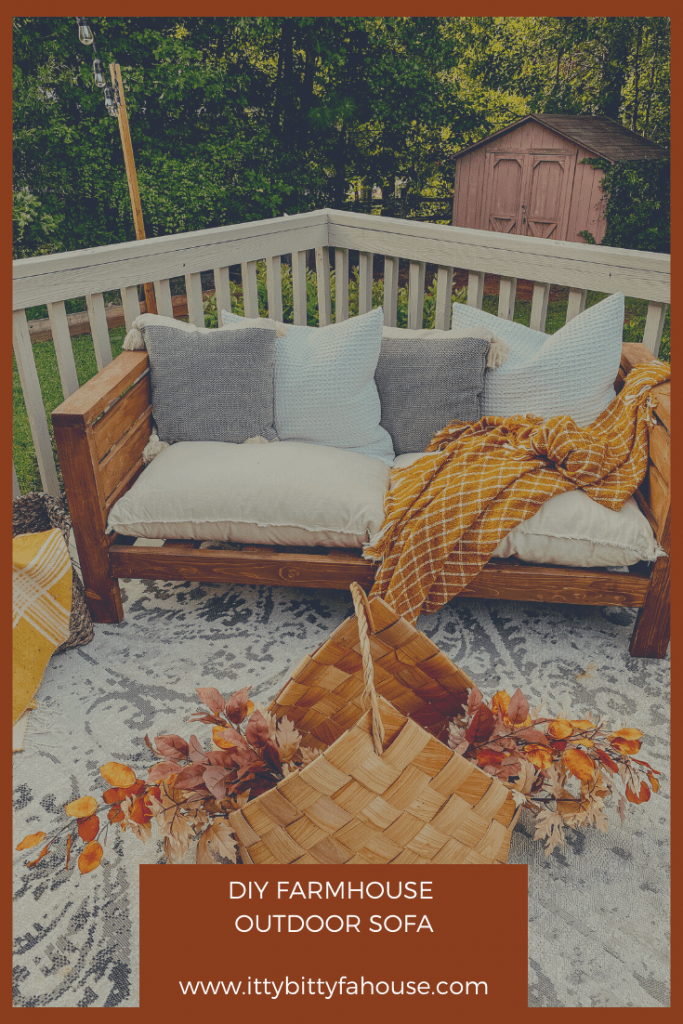
Sadly, myself nor my friends Wendy from The Curated Farmhouse, or Jessica from Itty Bitty Farmhouse, made it to the next round. However, we are so proud of one another that we decided to share our projects with you!
Adding our farmhouse sink was hands down one of the best kitchen renovating decisions we made. On the other hand, it posed a challenge of what to do with the space under the farmhouse sink. Before our cabinet doors were taller, but because of the farmhouse apron, the space for cabinet doors was now a lot smaller.
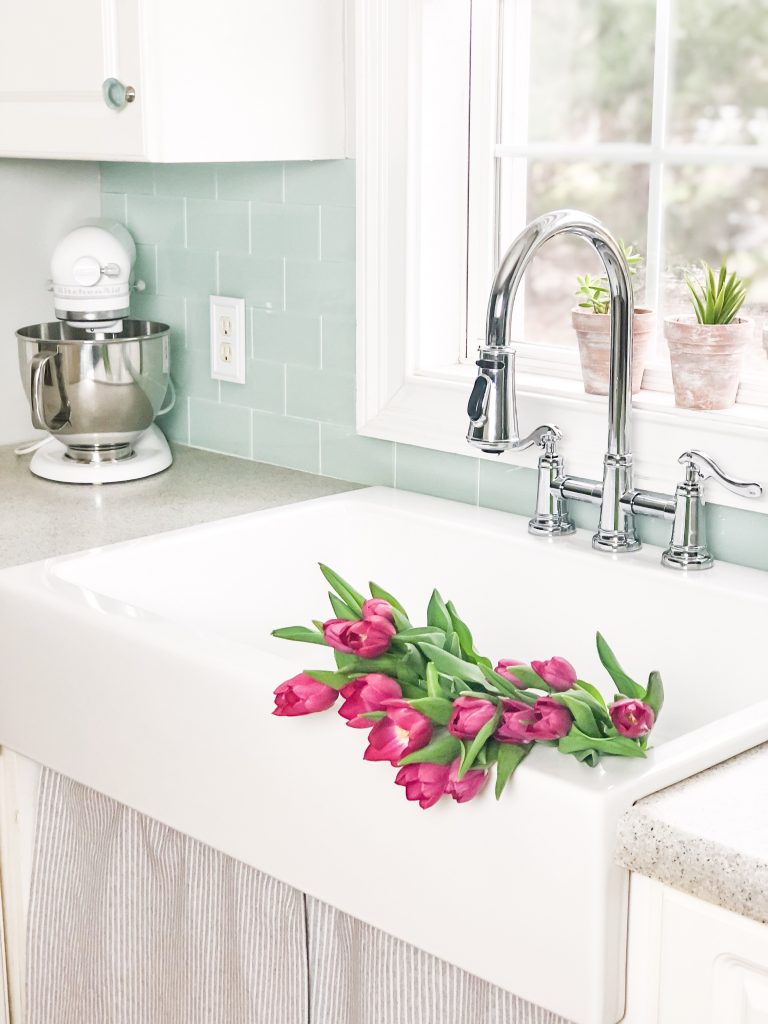
At first I made a simple curtain out of material and a tension rod, but knew long term I wanted new farmhouse cabinet doors.
**This post may contain affiliate links, which cost you nothing extra, but help me to maintain this site.**
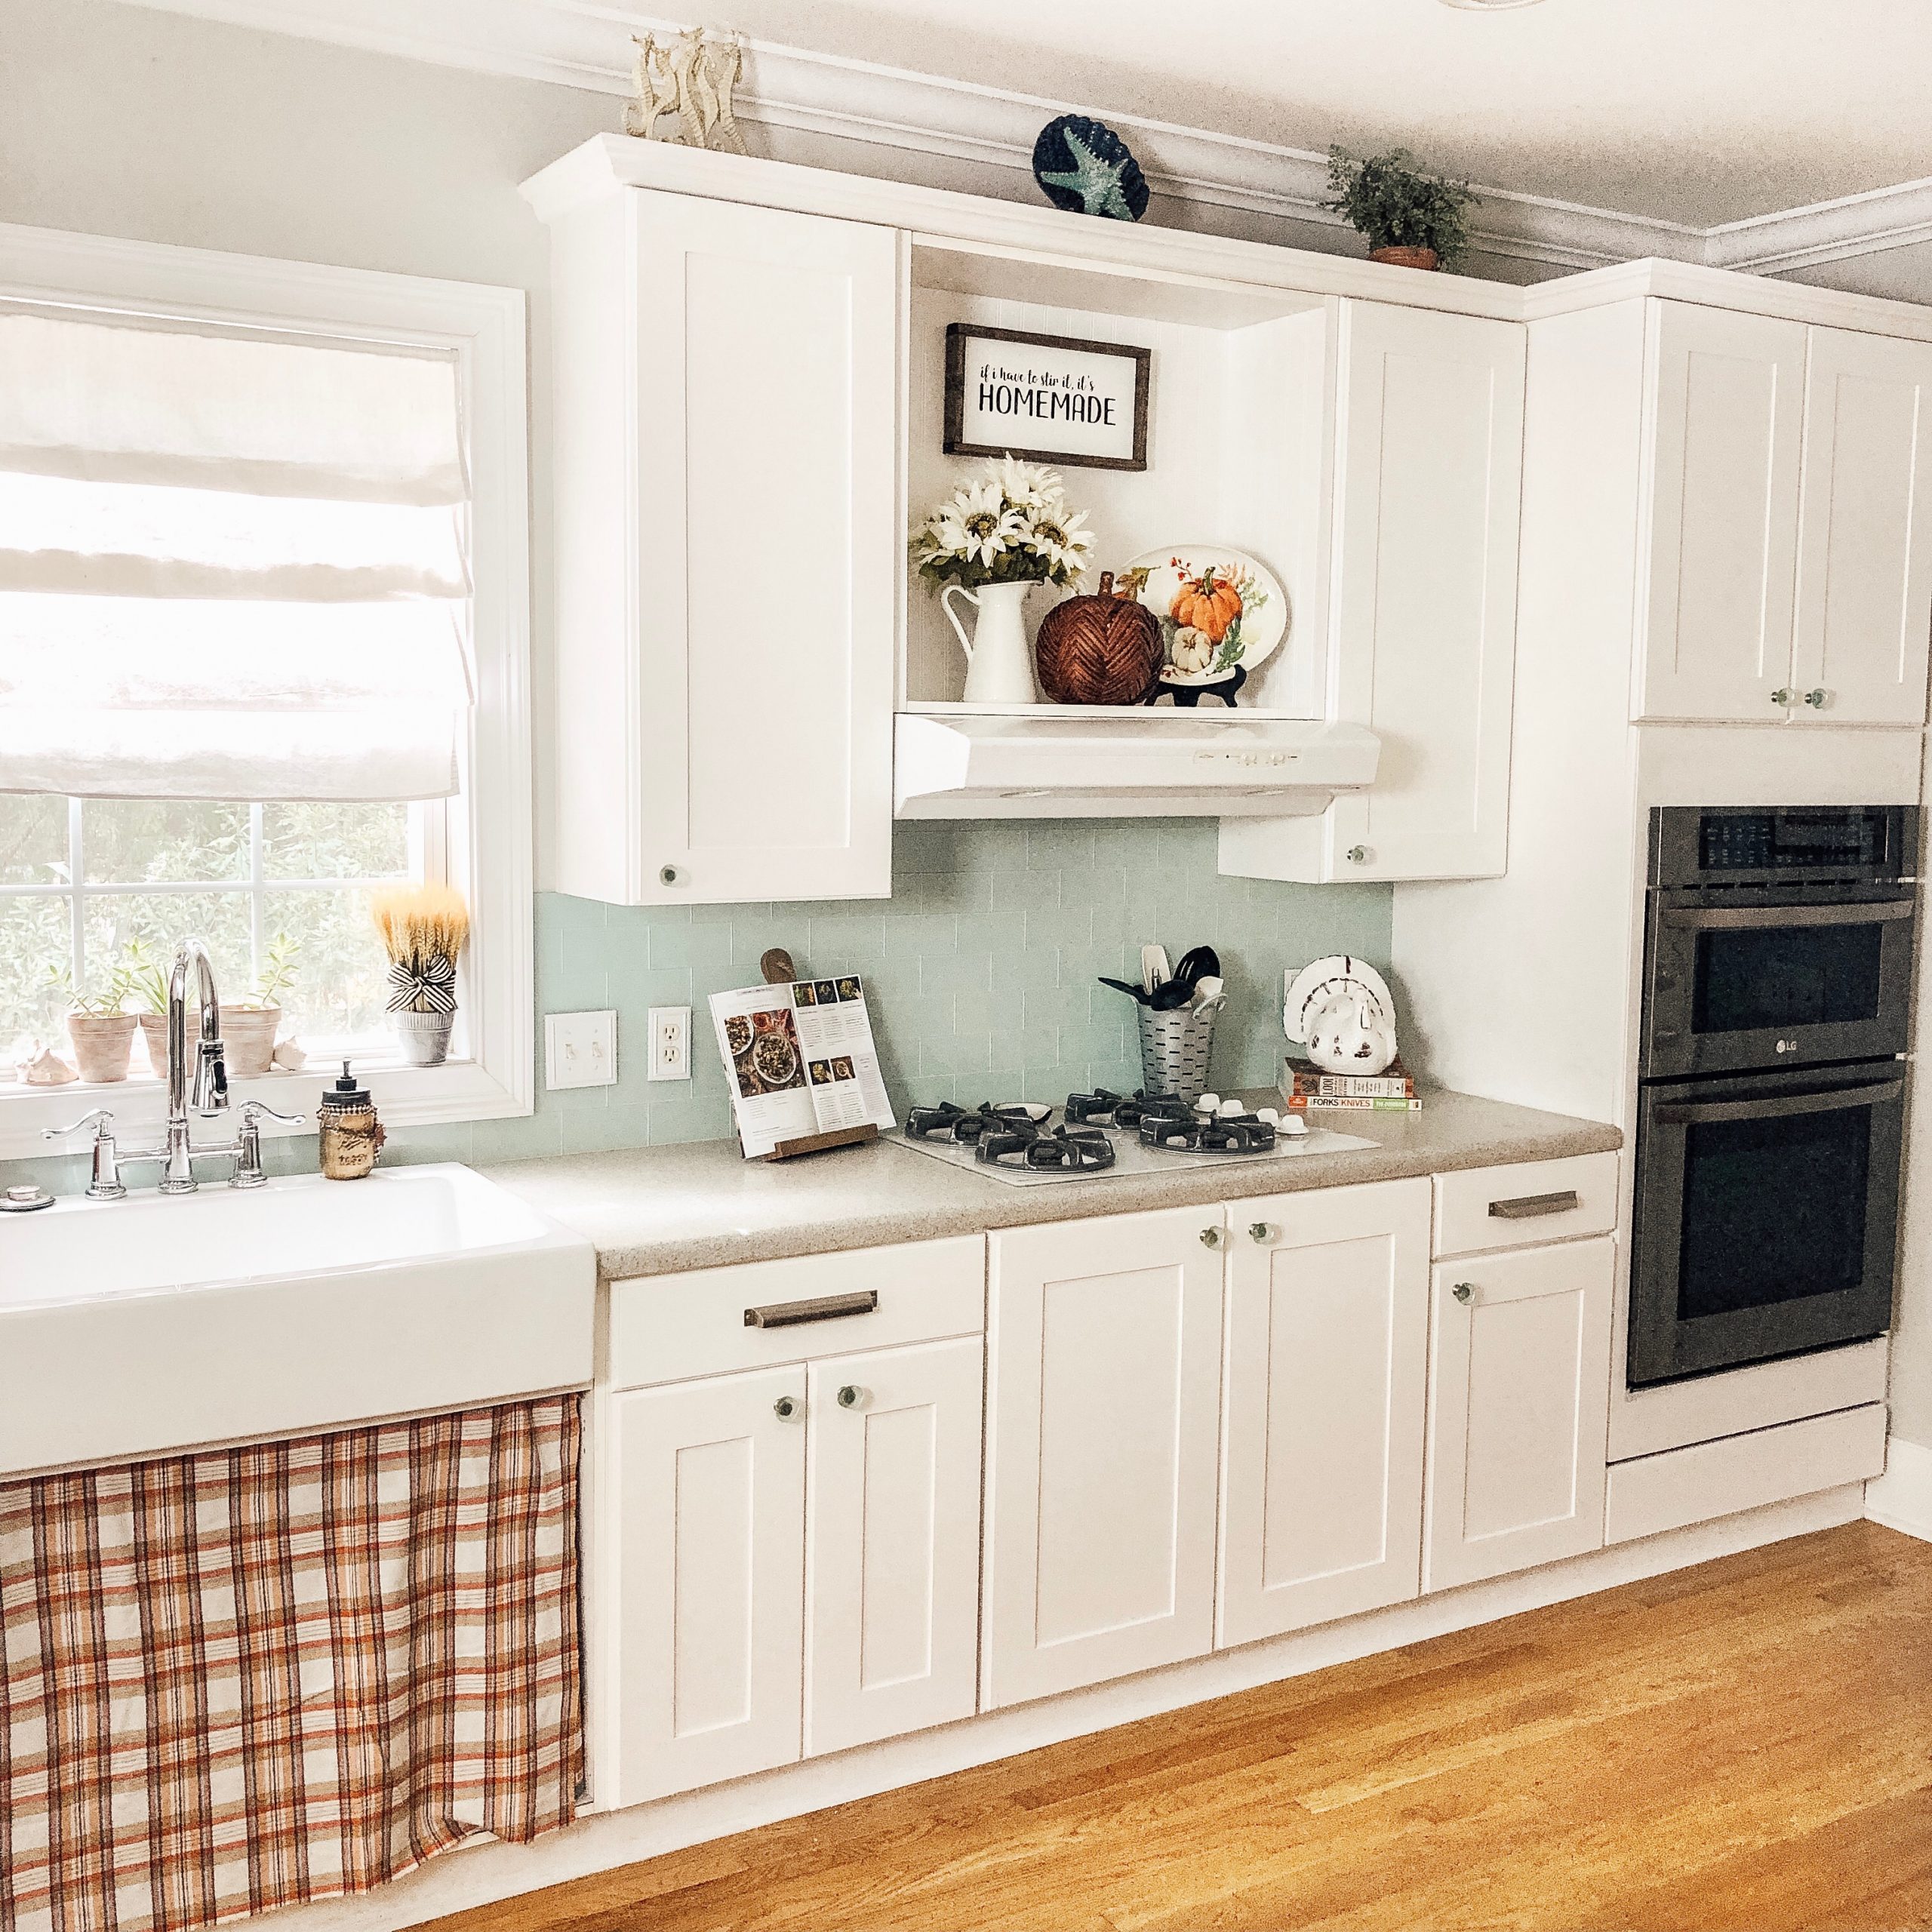
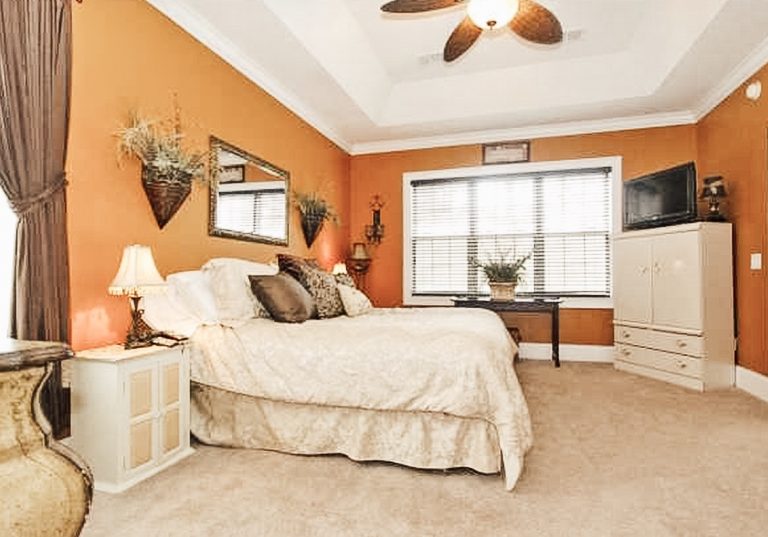
Decked out for fall. 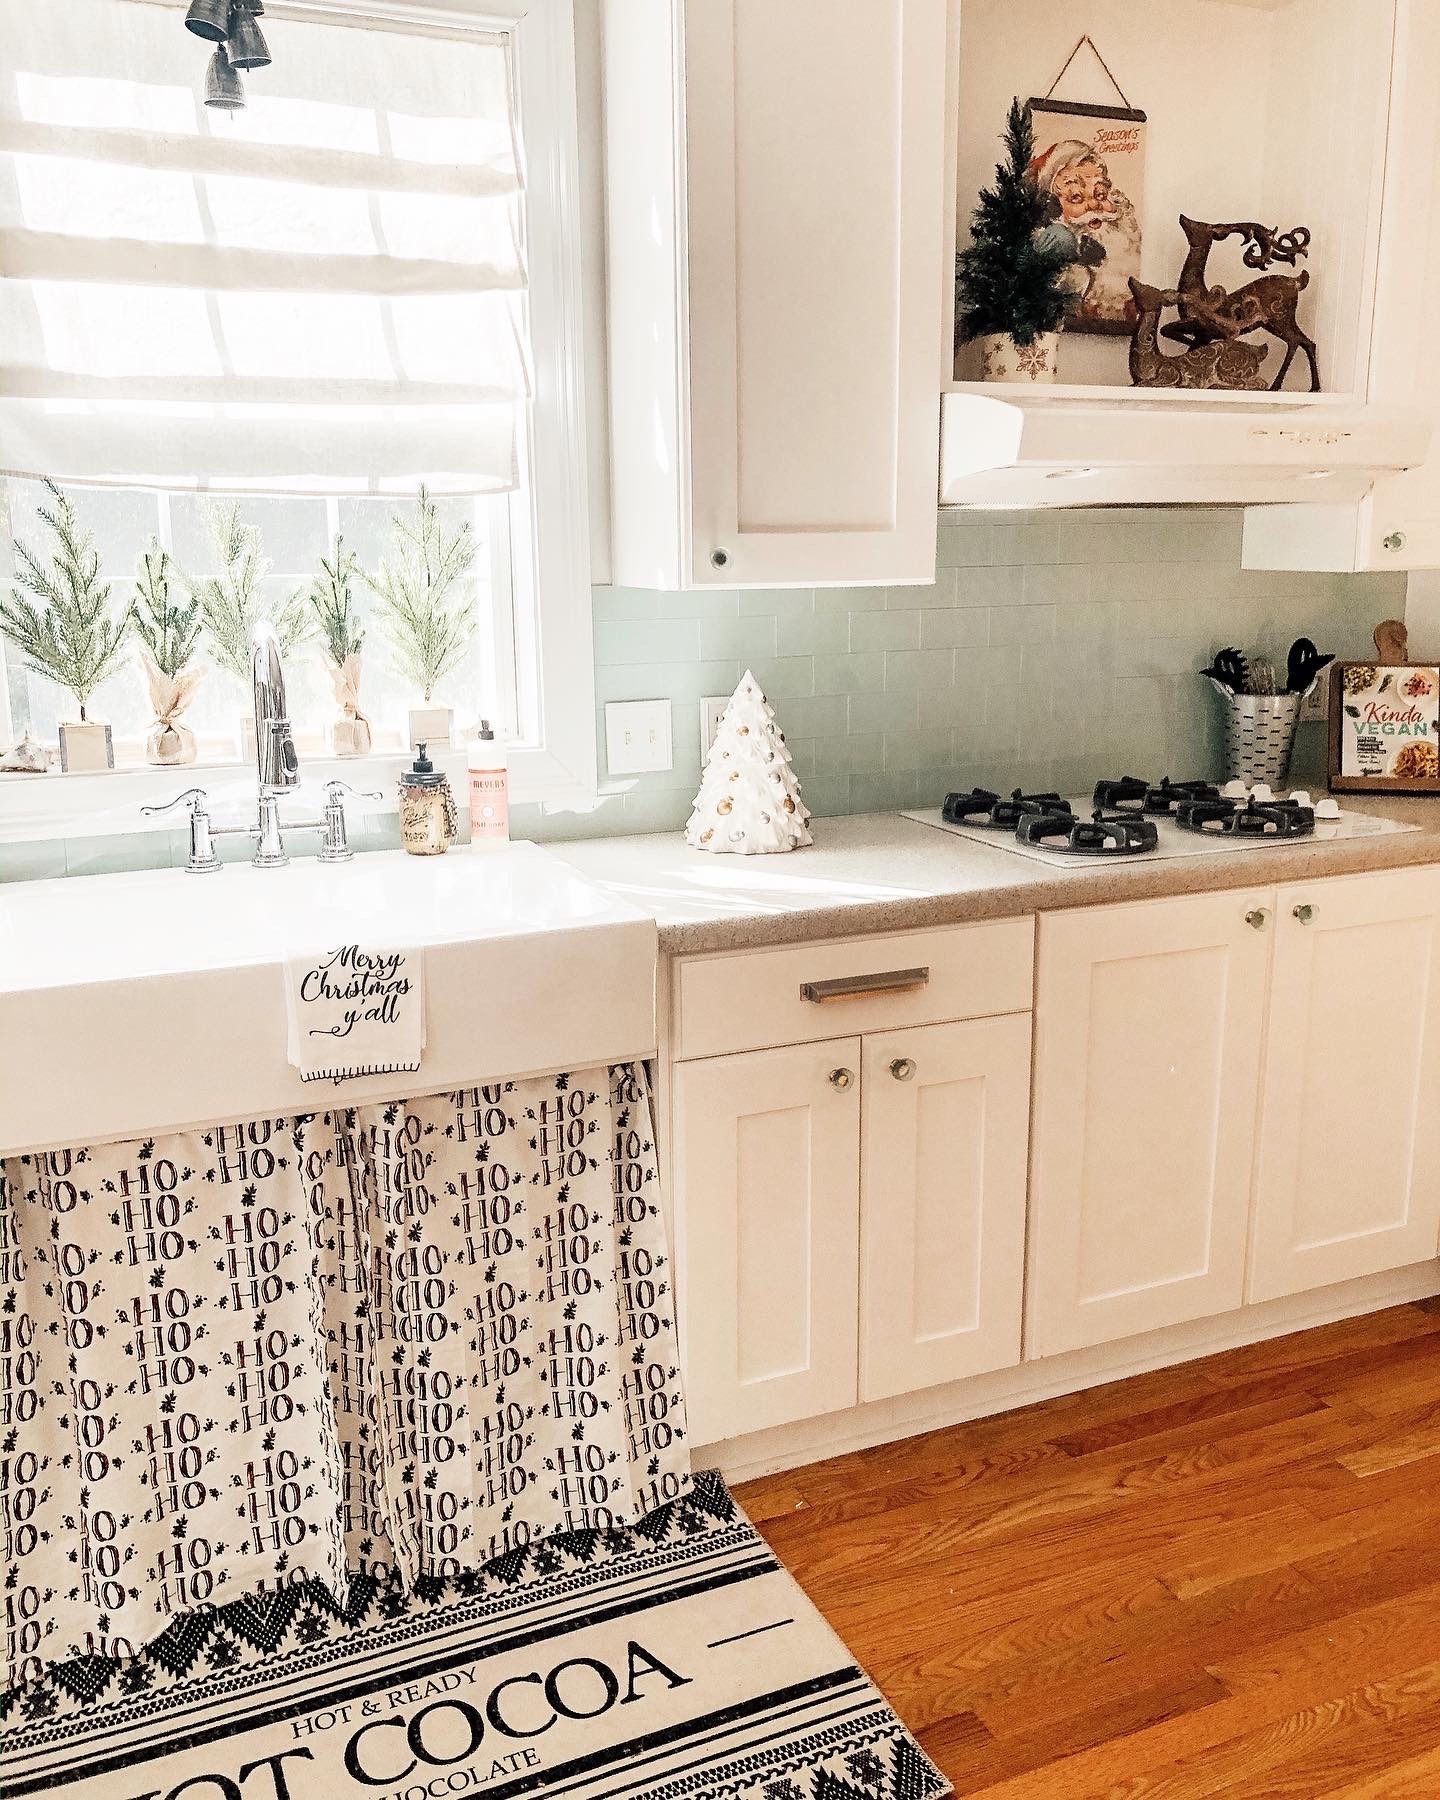
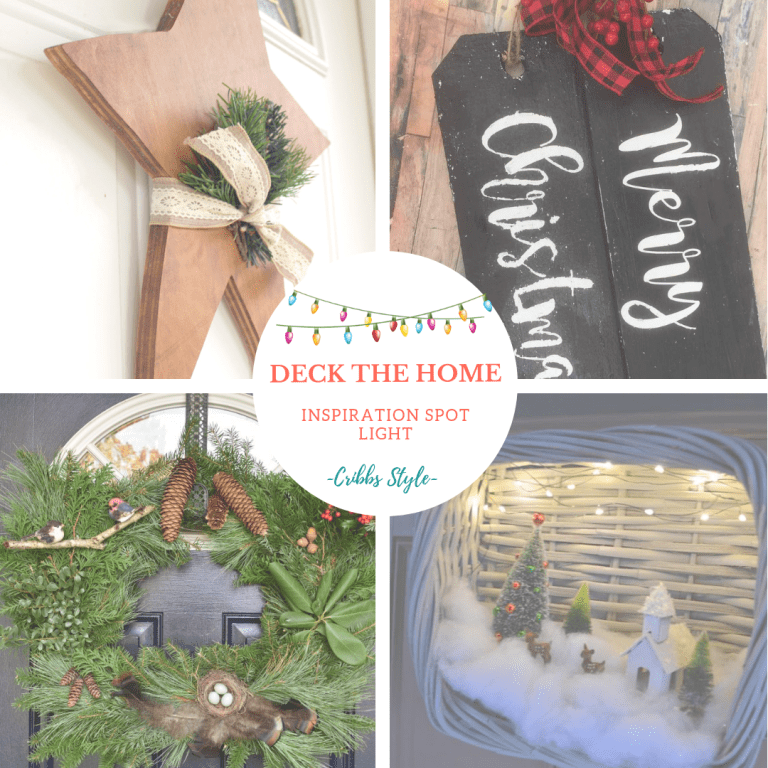
Farmhouse Christmas kitchen.
After refacing our kitchen cabinet doors and realizing how easy that project really was, I decided to build my own farmhouse cabinet doors. Instead of matching the other cabinet doors, I decided to build farmhouse inspired barn doors. Since we put a barn door in our master bedroom, I was excited to get started.
Materials and tools
- Solid wood panel (Size will depend on the size of your door, I chose 1” x24”x 48”)
- 1/4” x 3” Wood (Length may depend on what your home improvement store carries.)
- Concealed Hinges
- Gorilla Wood Glue
- 5/8” 18 gauge brad nails
- Wood filler
- Kilz Primer (1 quart)
- Behr Marquee Paint Satin Finish (1 quart) I used Whisper White
- Miter Saw
- Power Drill
- Circular Saw
- Kreg Rip Cut Jig (perfect if you don’t have a table saw)
- Kreg Concealed Hinge Jig
- Brad Nailer
- Sander
- Paint brush
- Foam Roller for smooth surfaces
Using the old doors, I cut them down to the height I needed and used those doors as a template. I measured and cut the solid wood panels to size using my circular saw and Kreg Rip Cut Jig.


Next I used the Kreg Concealed Hinge Jig to make the holes for the concealed hinges. I followed the instructions on the concealed hinges to set the depth as well as the placement of the holes from the old doors.

This was important to establish which door would be the left and which would be the right when it was time to do the design. I also recommend practicing on a scrap piece of wood to ensure you picked the correct depth
I cut the 1/4” x 3” strips of wood for the side edges of the doors. These pieces were secured with wood glue and the 5/8” 18 gauge brad nails.

Then I cut the top and bottom strips to size, again gluing and nailing into place. This particular look is what gives cabinet doors the shaker look.

I added another 1/4” x3” piece of wood to the middle of the doors. To give the barn door look, I next added the diagonal pieces.

The ends are cut at 45 degree angles to fit into the space. These pieces were also secured into place using the wood glue and brad nails.
Using wood filler I filled in the nail holes and any slight gaps from the cuts I made. Let it dry and gave everything a good sand using 120 grit sand paper. If you want your surface smoother you could follow up with 220 grit sand paper. Wipe everything down to get rid of any saw dust.

At this point you can opt to stain your doors, but for mine I decided I wanted to paint them to better fit our decor. Tip for painting any doors, I recommend always painting the back first and propping them up. This will make sure that the front of your doors have more dry time and will less likely have any imperfections.
Both doors were primed with Kilz Premium Water Based Primer. Using a foam roller I painted the back, flipped the door over and painted the front. I used the paint brush to get into the corners and the foam roller to paint the rest of the door.

After the primer was dry, I hand sanded the cabinet doors to smooth out the surface, wiped everything down, and painted using Behr Marquee Satin in Whisper White. Again starting with the back first, then flipping over to paint the front. I recommend doing at least two coats on each side, following manufacture drying instructions.

Once dry, I attached the hardware and the cabinet doors the base cabinet. The cost to buy custom cabinet doors would easily be a couple hundred dollars, but I was able to complete this project for about $150.00.
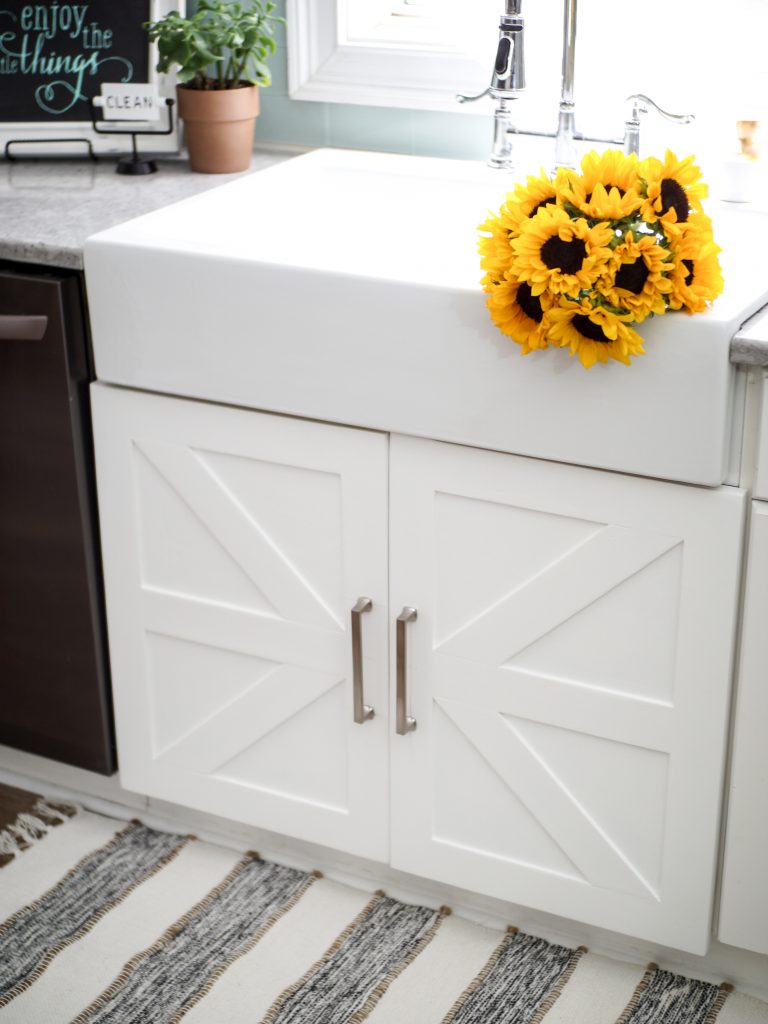

Not only do the new farmhouse cabinet doors add function, but they add another farmhouse touch to the kitchen.
Best,
Brooke
Don’t forget to check out Wendy and Jessica’s projects below.

Let's connect!!
Stay connected for all your DIY and organizing needs!