Easy DIY Kitchen Cabinet Reface For Under $200
This cabinet reface is proof that magic can happen!
I last shared my plans for a budget friendly kitchen refresh. I didn’t HATE our kitchen cabinets, but they were the melamine, which is basically a plastic coating, over MDF (medium density fiber board). The cabinet bases and the inside of the cabinets were in great shape. A cabinet reface is what this kitchen desperately needed.

**This post contains affiliate links for various brands including Amazon, which does not cost you anything extra, but helps me earn a small commission that keeps my business grow. Click here for my complete disclosure.
Previous owners used tape to hold the plastic in place.
A few of the cabinets were starting to peel and some even had tape holding the edges together. Fed up, I decided to take matters in my own hands and peel off the coating.
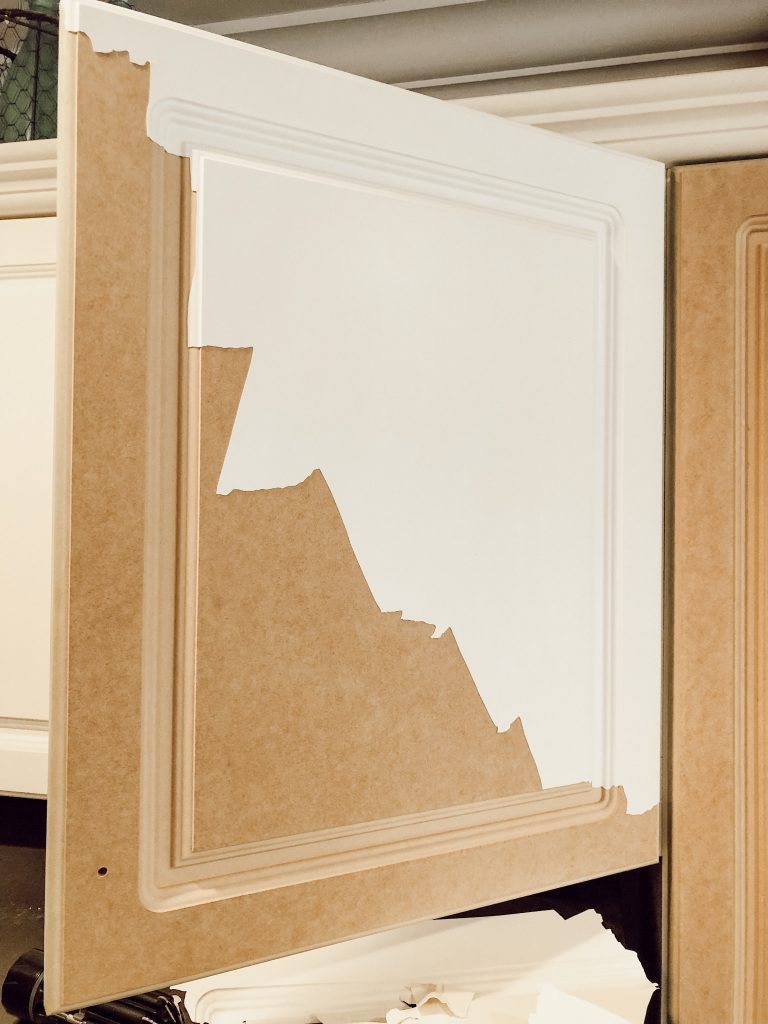
Most of it came off in huge sheets of plastic, but regardless, it came off surprisingly easy.
In less than an hour, it was all off.
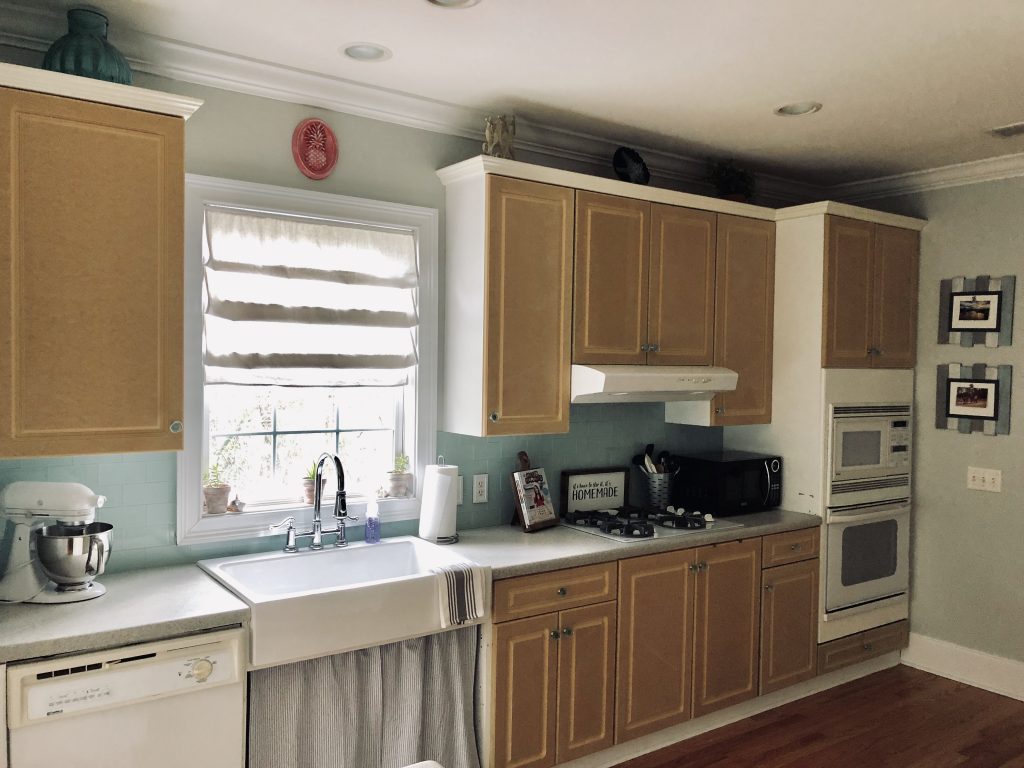
One thing I knew for certain, we wouldn’t be able to paint the cabinets a dark color. We have very little natural light and to be honest, I did like the look of the white cabinets.

The design on the cabinets weren’t awful, but the curve of the outer edge did make it feel a bit dated. Since I had a fresh start, I decided I wanted the cabinet reface to have a shaker style.

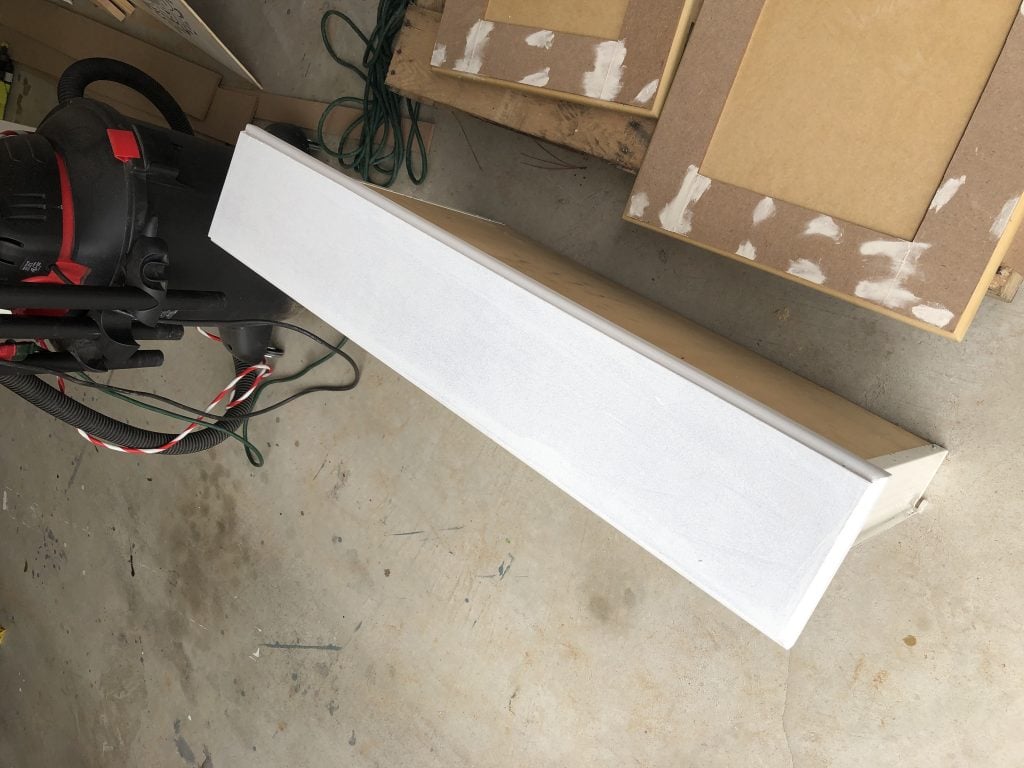
Since the cabinet doors were already MDF, I decided to stick to 1/4″ MDF to make the pieces to create the design. I used my Kreg rip cut to cut the boards down into 3 1/4″ strips. Thankfully there was an outer edge to the whole design which acted as a ledge for the pieces to line up.


I cut the pieces and dry fit them onto the cabinet door. Instantly I knew I loved what I saw.
The process was repetitive, but worth it for this cabinet reface.
Measure, cut, glue, clamp, nail, rinse, and repeat.
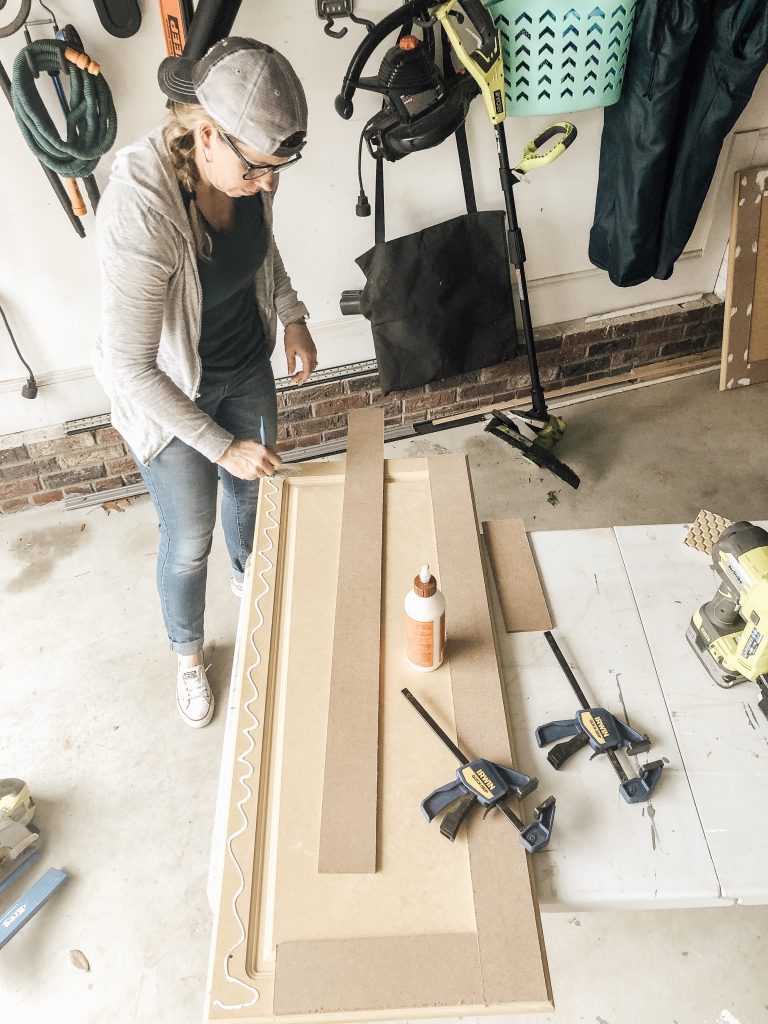

To nail the pieces into the doors and drawers I used my Ryobi brad nailer and opted for 5/8″ nails.

For the drawers I did things a little different. Instead of doing a design, I opted to cover the whole face of the drawer with a solid piece of MDF.


Once everything was glued and nailed, I followed up with paintable wood filler. This particular kind says it doesn’t need to be sanded, but I did just to be on the safe side.

Just to make sure I loved the design, I tried it out in the kitchen.
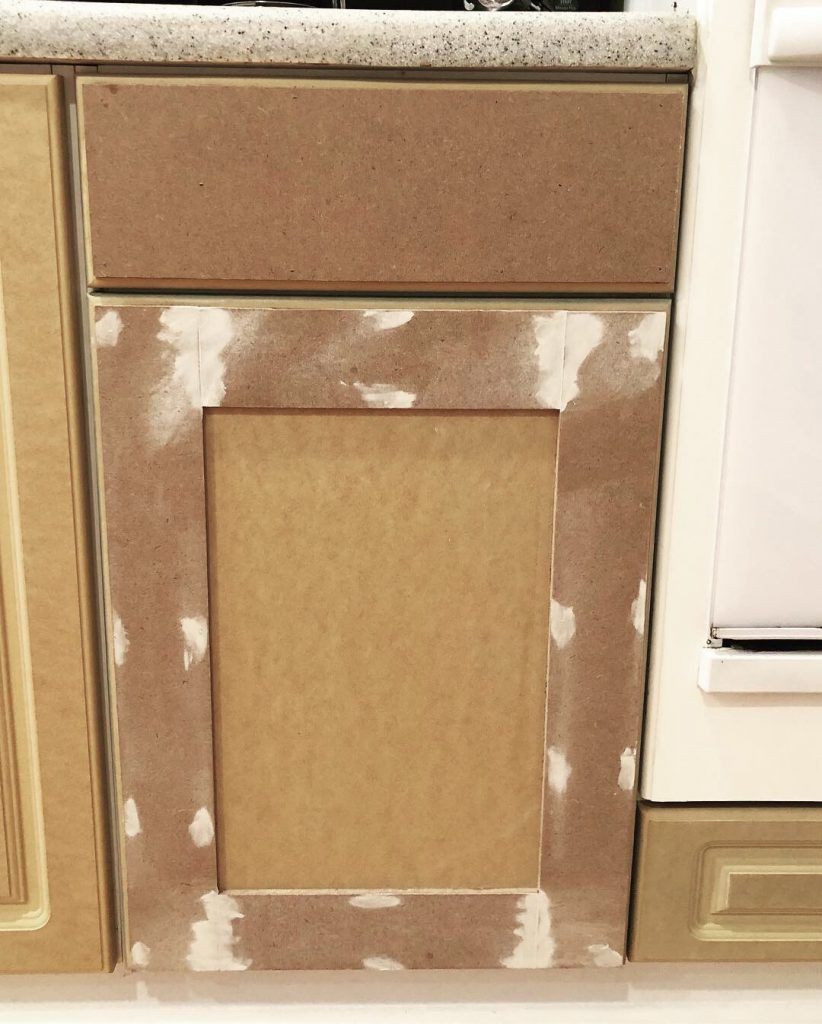
This is the point that I could have literally cried. There is something so magical about seeing your idea come to life.
Time to prime and paint
Since MDF is a bunch of little fibers of wood mixed with other stuff (that’s my science-y breakdown for ya) using a regular water based primer won’t do. The second the water hits, everything swells faster than pregnancy kankles. My husband gently reminded me of this fact, about the water- not my kankles. Oil based primer would not only provide a good surface for the paint to adhere, but also seal and protect the MDF. For this project I selected Zinsser Cover Stain Oil Based Primer and Sealer.
**Side note** Even though I used oil based primer, I was able to use a water based latex paint. Just double check your primer label to confirm.
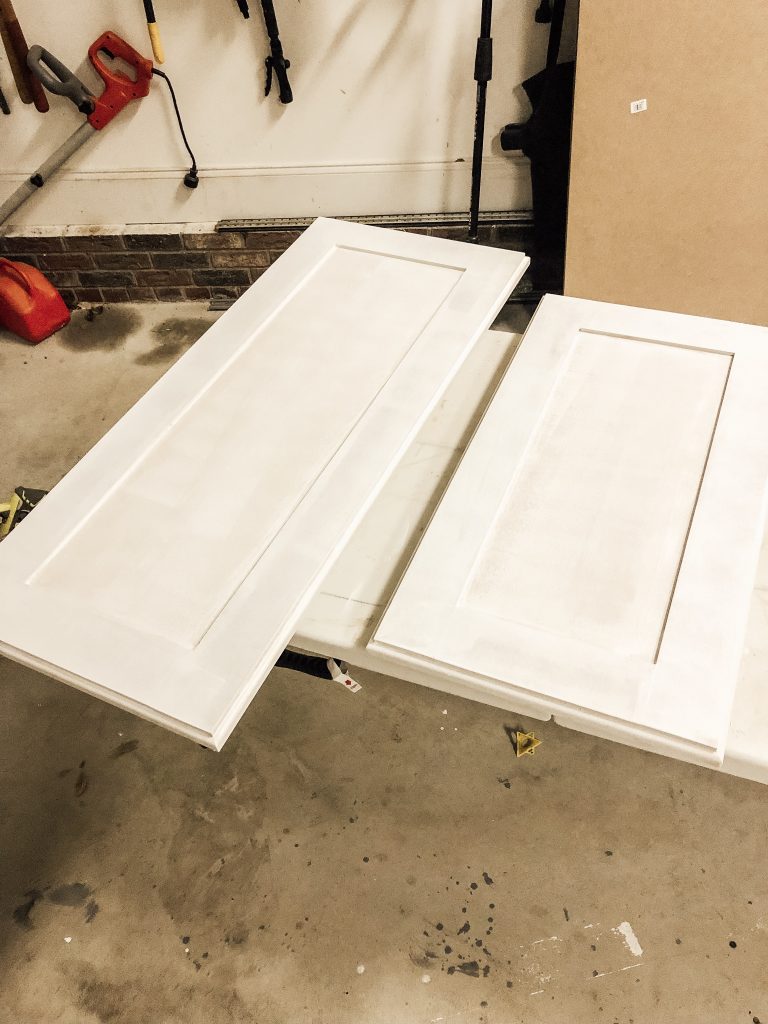
To be safe I added two coats of the oil based primer and let it cure for 24 hours before adding the paint. I chose Behr Marquee satin finish in Whisper White. It’s been my experience that satin gives the sheen I want with the durability you need in a kitchen or bathroom. After two coats of the Whisper White, it was time to install.
Ready for a sneak peak of this cabinet reface?
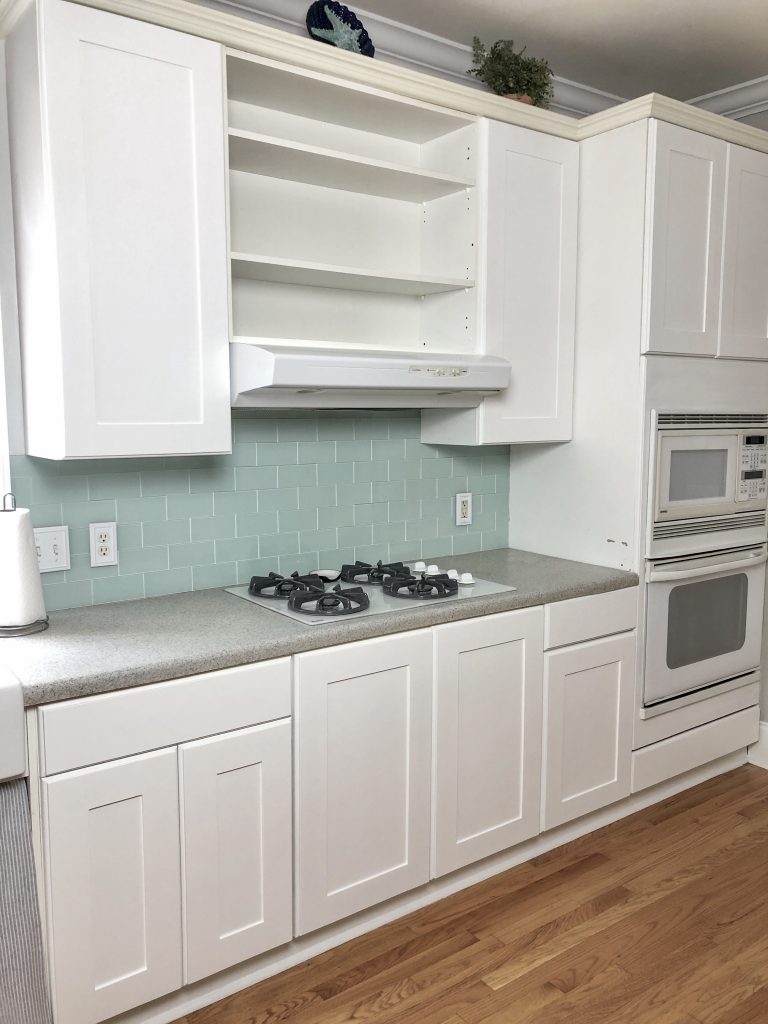
There are still a few things we need to do to this space before it’s actually done, but I LOVE what I see so far. It was easy to DIY this kitchen cabinet reface, and to date, I’ve only spent $164.00. To reface the cabinets through a company would have cost a lot more than that and to replace them all together would have cost thousands. Yes I was SUPER nervous about peeling off the plastic coating, but it was so worth the end result.
I can’t wait to share the next few phases of this project that will include the Sinkology Josephine Drop in Farmhouse sink and the Pfister Ashfield Pull Down faucet! Not to mention the door and drawer pulls, updating appliances, adding some decorative pieces and figuring out what to do with the cabinet doors under the sink.
XOXO,
Brooke
Let's connect!!
Stay connected for all your DIY and organizing needs!


That’s incredible. Fantastic!!!!
Thank you so much Wilma!!