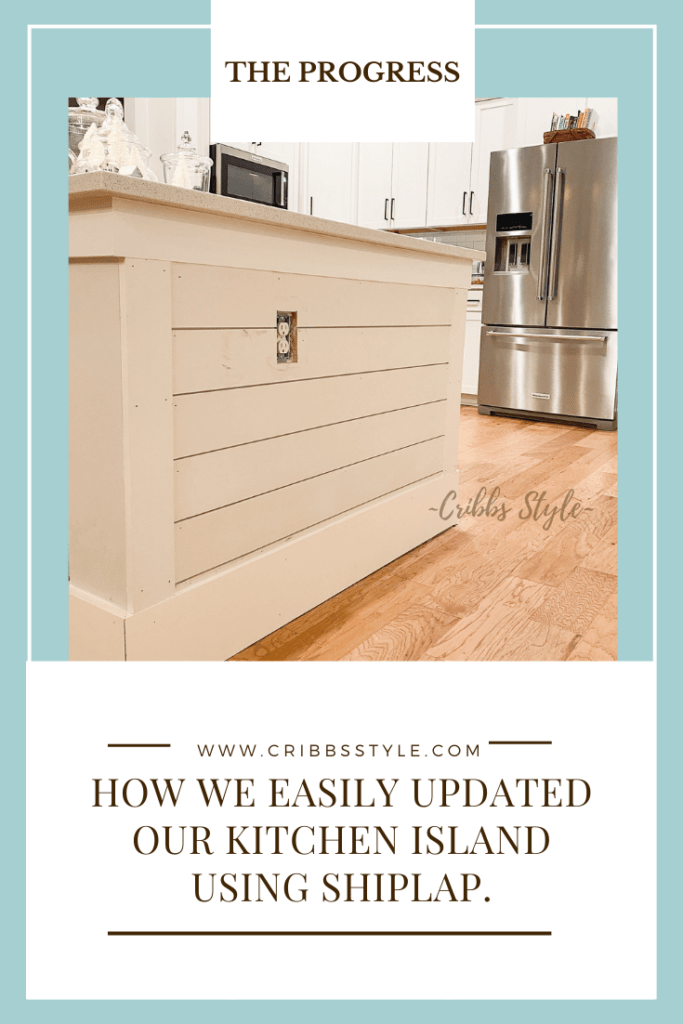
How we easily updated our kitchen island using shiplap.
I am no stranger to shiplap, but found a product that made adding shiplap super easy!
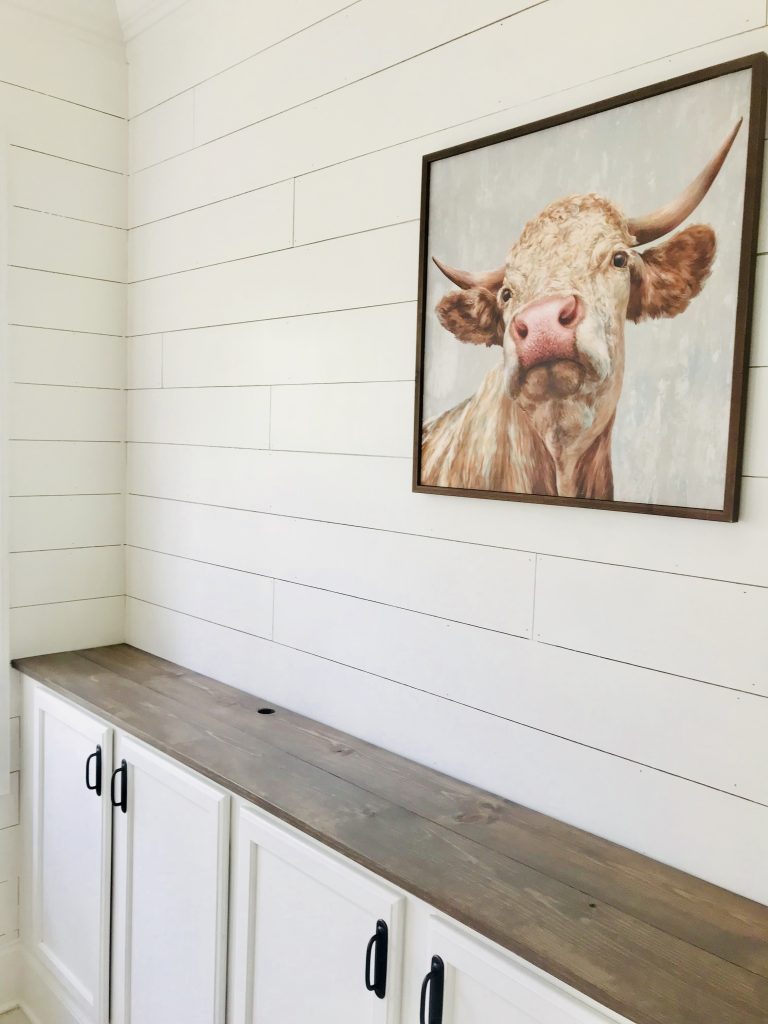
In our last house we had a fair amount of shiplap and when we moved into our new home, I wasn’t sure I would add shiplap to any of the rooms.
**This post contains affiliate links for various brands including Amazon, which does not cost you anything extra, but helps me earn a small commission that keeps my business grow. Click here for my complete disclosure.
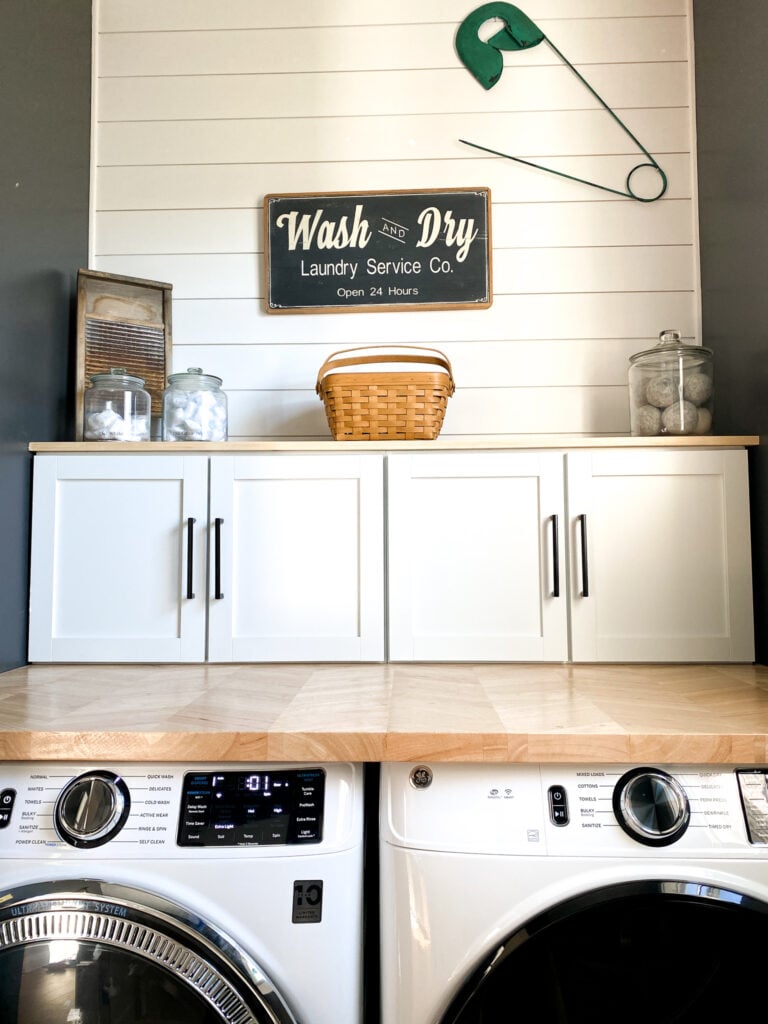
Then I did the laundry room makeover and after I found this primed shiplap product, total game changer, and I thought well “maybe” I could just add it to a few more places….
Like the island.

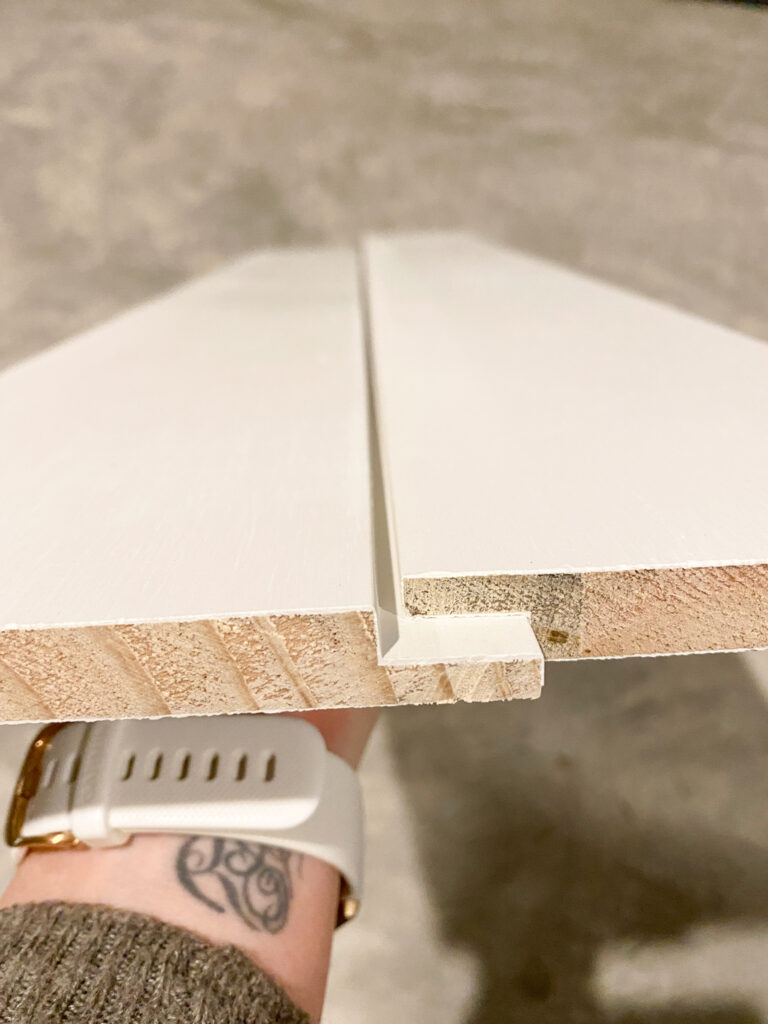
This pre-made shiplap product is amazing because of the built in spacing and how good it looks after painting.
How I came up with the shiplap design and the concerns
A lot, I mean TONS, hours, of sending pictures and ideas back and forth to Courtney.
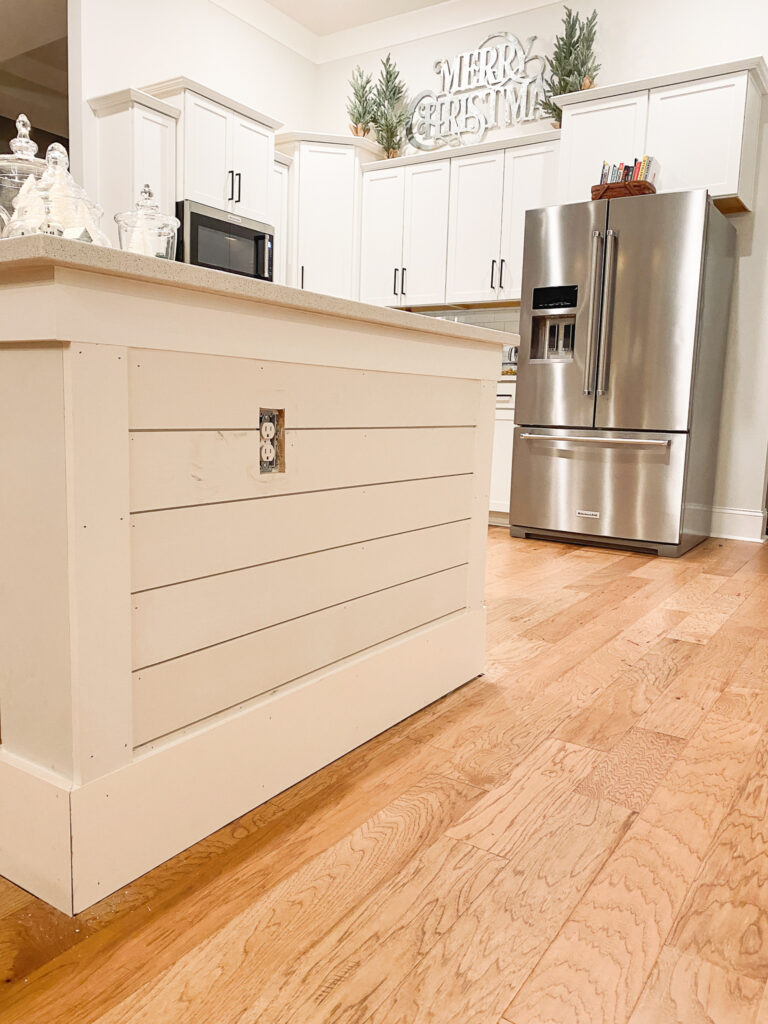
I had a vision in my head of the shiplap only as an accent and not the whole kitchen island.
Courtney is a visual person, I had a difficult time finding an island like ours with shiplap the way I envisioned.
I ended up playing a game of twister to hold scrap pieces up on the wall to show him in person.
The biggest concern was how it would look on the non shiplap sides.
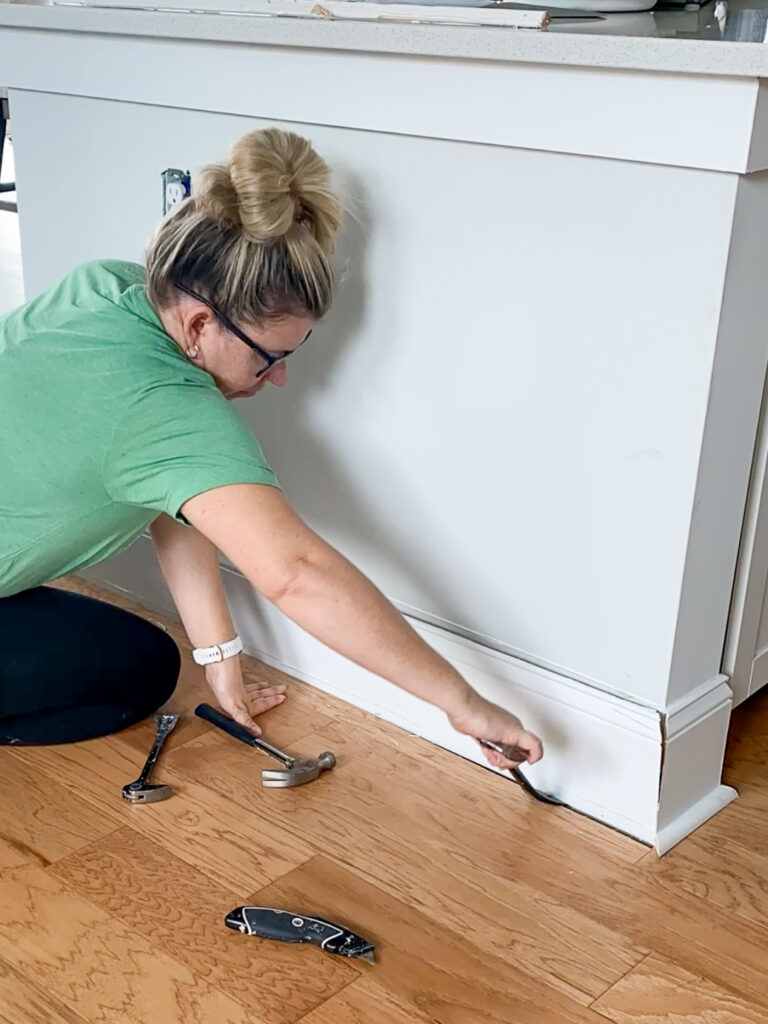
I knew I wanted to replace the base moulding with something more straight and just as high to compliment the shiplap.
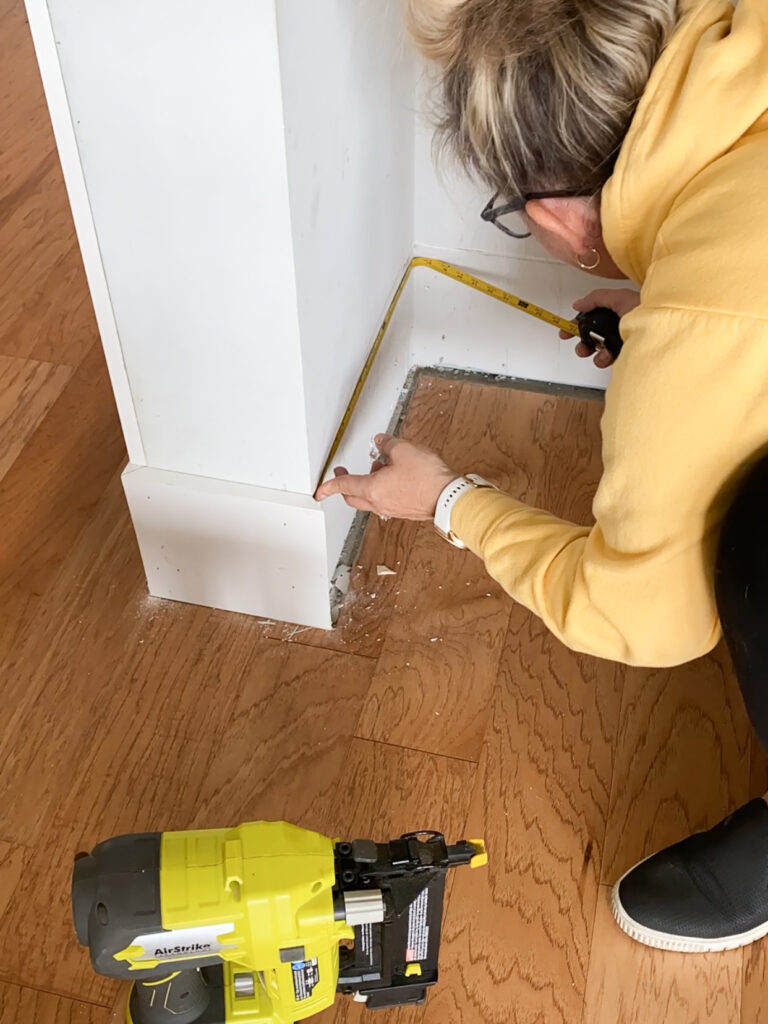
There was already a piece of trim right under the counter I decided to incorporate into the design.
I also decided to add side pieces to frame the shiplap on the ends of the island.
Tricky parts with the shiplap accent
I had two outlets to deal with and as one person pointed out in my TikTok video, I should have turned the outlets parallel to the shiplap and I completely agree.
But I didn’t and I had the fun task of making sure that I cut the hole correctly on two boards, yay me.
Speaking of the outlets, I also decided that the were going to be changed from white to black and that my friends is what I like to call “foreshadowing”. You’re welcome.
Final thoughts on the shiplap accent and why I’m the worst blogger
Even though I was finished and I pinky swore I would make the sides look good when I did the final paint, I’m not going to lie I wasn’t 100% sure I was in love.
Which leads me to, you have to trust the process and your gut on design. The middle isn’t pretty, but the end will be totally worth it.
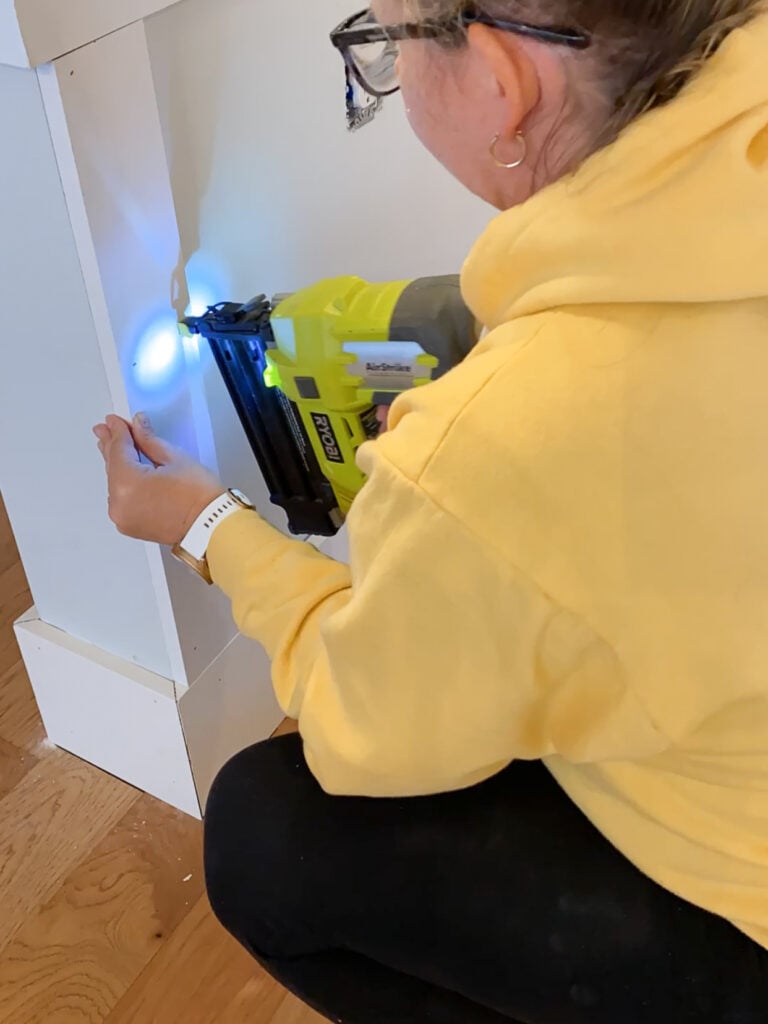
Why am I the worst blogger… I did not take pictures during the install, but I did take a bunch of video.
While I love how the shiplap is just on the ends and if I should ever change my mind down the road, it will be super easy to pop the shiplap out.
Next week is the final reveal and then there is one more special update you’ll have to wait to see.
There’s a little more that happened after that final picture and I can’t wait to show up the final reveal.
I know, I know I’m the worst.
In the mean time, check out my friend Leen from Sand Dollar Lane for her butcher block kitchen island update!

Let's connect!!
Stay connected for all your DIY and organizing needs!

It’s looking so good, Brooke! I can’t wait to see the final proj!
Thank you, I can’t wait to show the final reveal too.