Easy Cabinet Repair Using Peel and Stick Floor Tile
**This post may contain affiliate links, which cost you nothing extra, but allow me to take care of lots of easy projects.**
An easy and budget friendly solution to repair damage from a leak under your sink, using peel and stick floor tile.
When we first moved into our home, I made a mental note of all the projects we needed to do around the house. The projects ranged in size and skill level, but we managed to do the harder more extensive projects first. Except every day, several times a day as a matter of fact, one project on my list kept annoying me, yet I kept ignoring it. I know that sounds crazy, but I could easily justify pushing it off, until now.
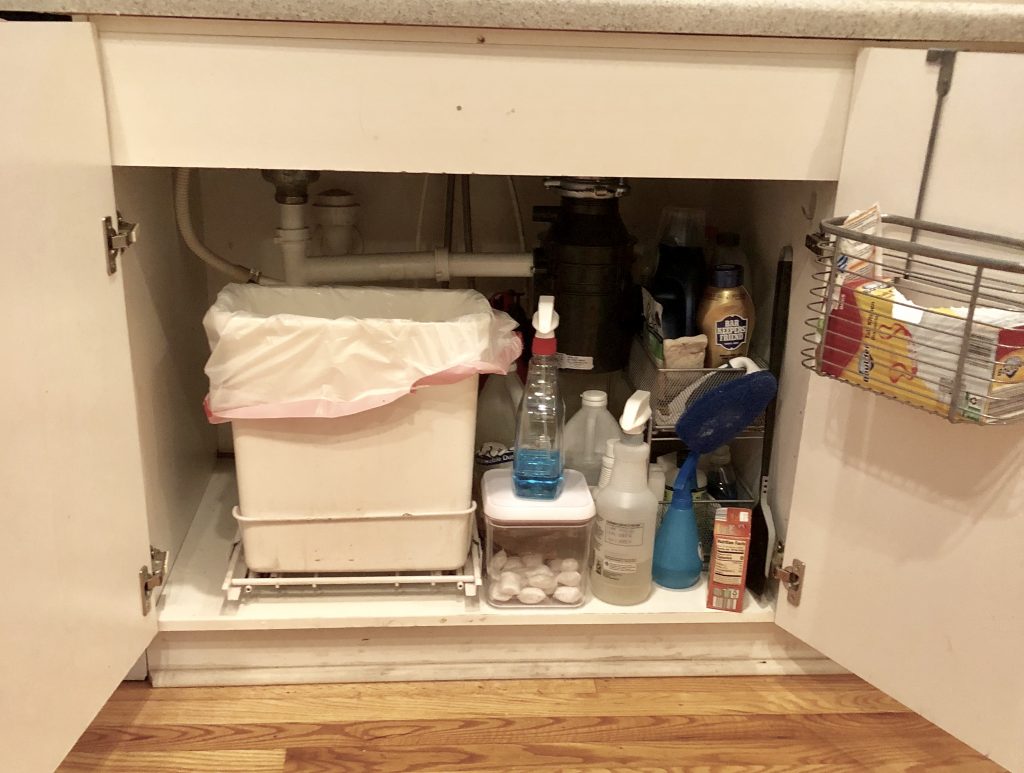
Along with DIY is my immense love of all things organizing, but one thing I have preached over and over is that not all organizing systems are created equal. Sometimes a product can actually be more of a hinderance than a help. Enter, the under our kitchen sink trash can holder.
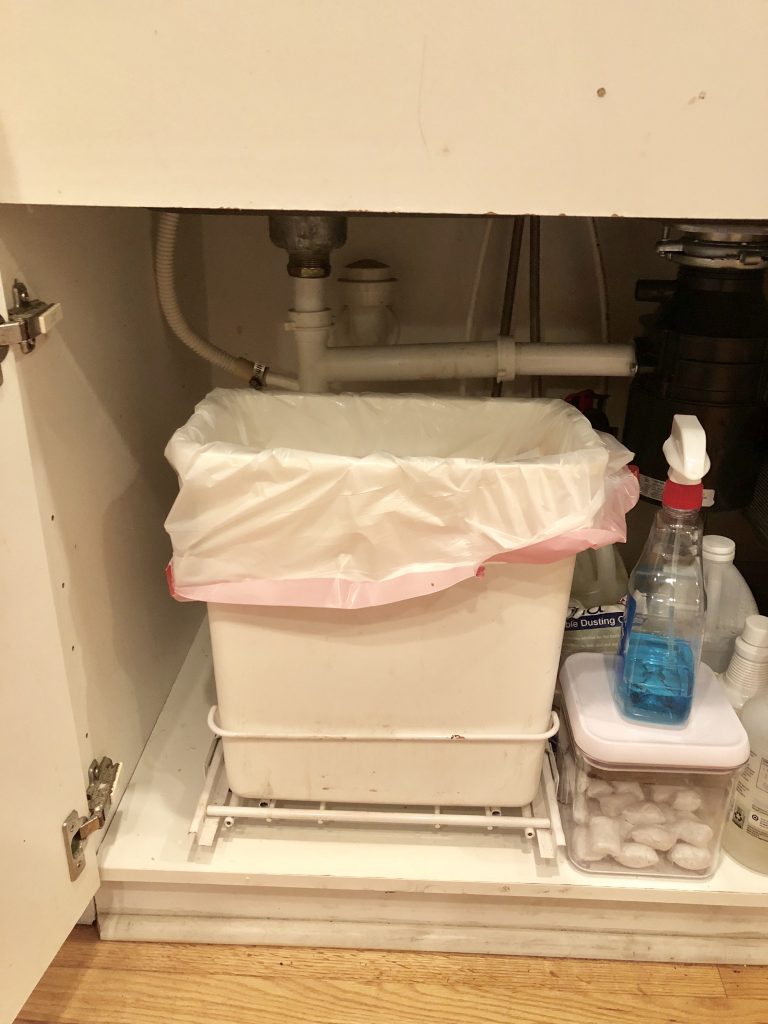
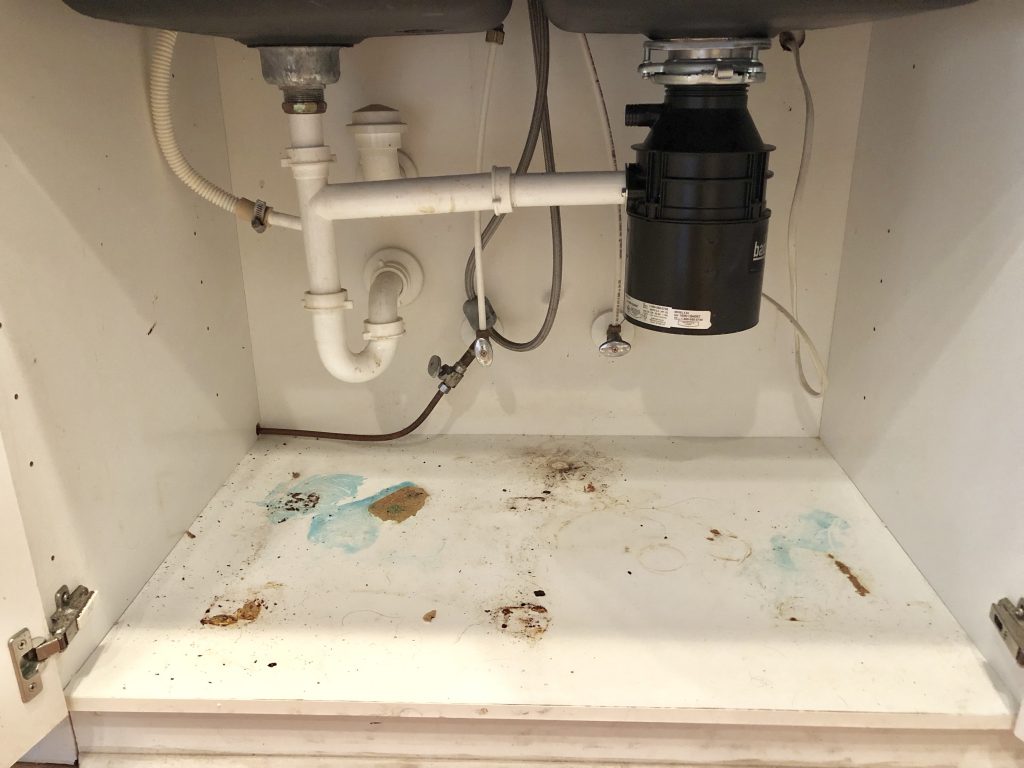
Off center, turned the wrong way, and too small in my opinion it had to go. Because of how it was installed, it didn’t pull out all the way which made the feature not user friendly. Since the trash can holder was off center, if it wasn’t pushed back all the way, the metal would hit the doors, which caused damage. We could also tell at some point there was a leak under the sink because there was damage to the base cabinet, but not enough damage to warrant a need to replace the whole cabinet. However we definitely didn’t want to cause any further issues either, it needed to be addressed.
Time to take this cabinet from gross to grandiose.
Supplies you’ll need:
Scraper
Metal straight edge
Sharpie
Peel and stick tile (similar style)
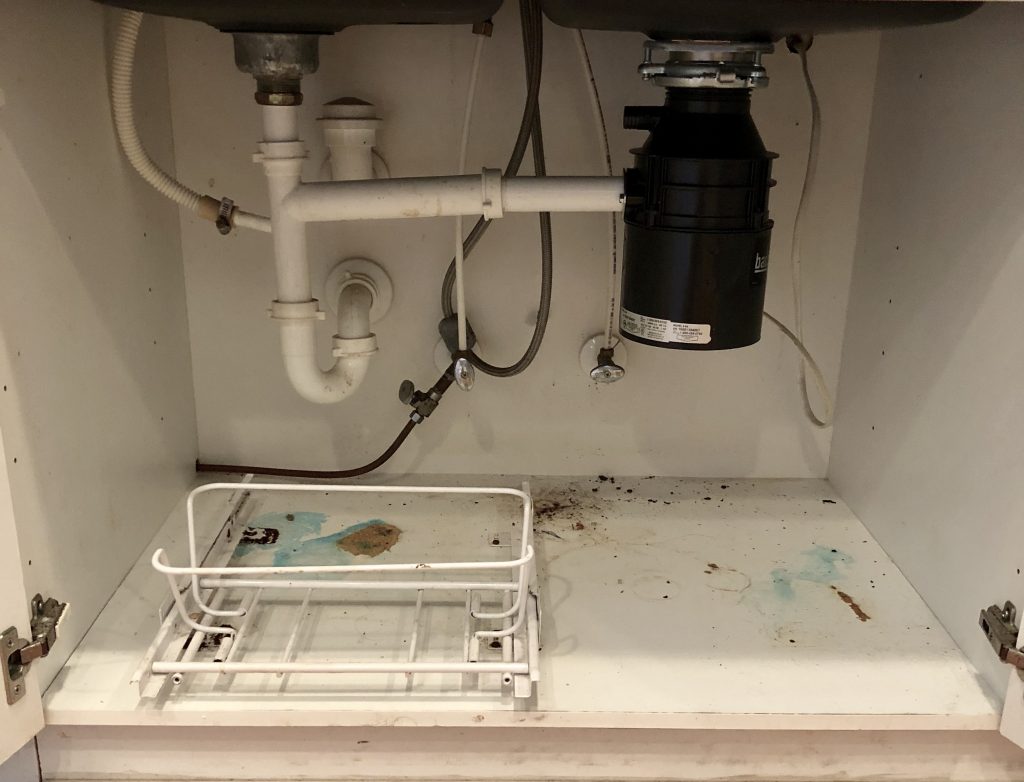
Start by clearing everything out and unscrewing the rusted out trash can holder.
Once everything was out I wiped everything down and used a magic eraser for the really hard stains.
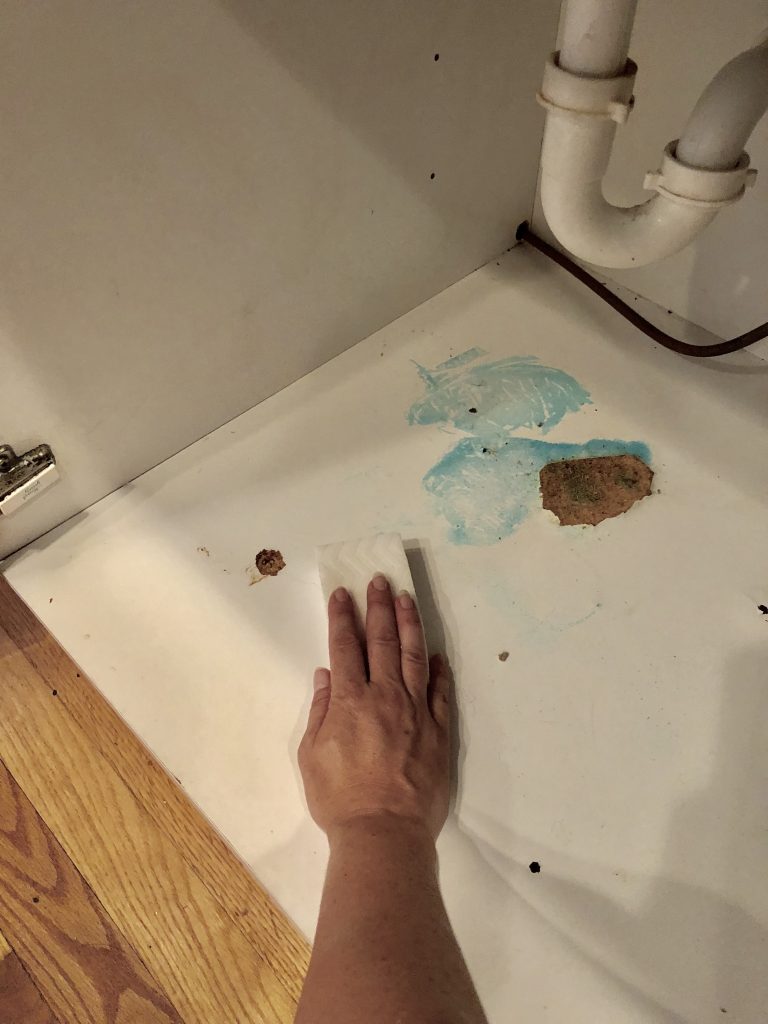
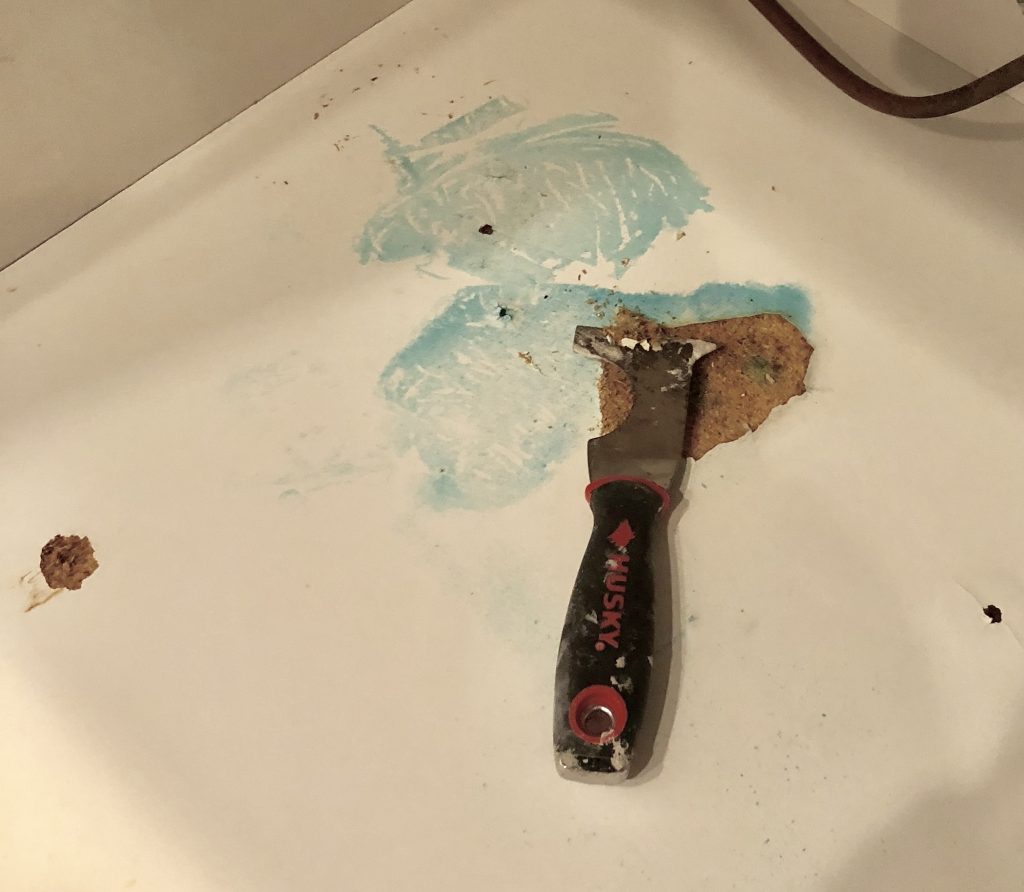
I used my Husky 6-n-1 tool to scrape and level the big area that was damaged. (Seriously this is one of those must have tools, you need one if you don’t have one already.) Then I vacuumed the cabinet out completely.
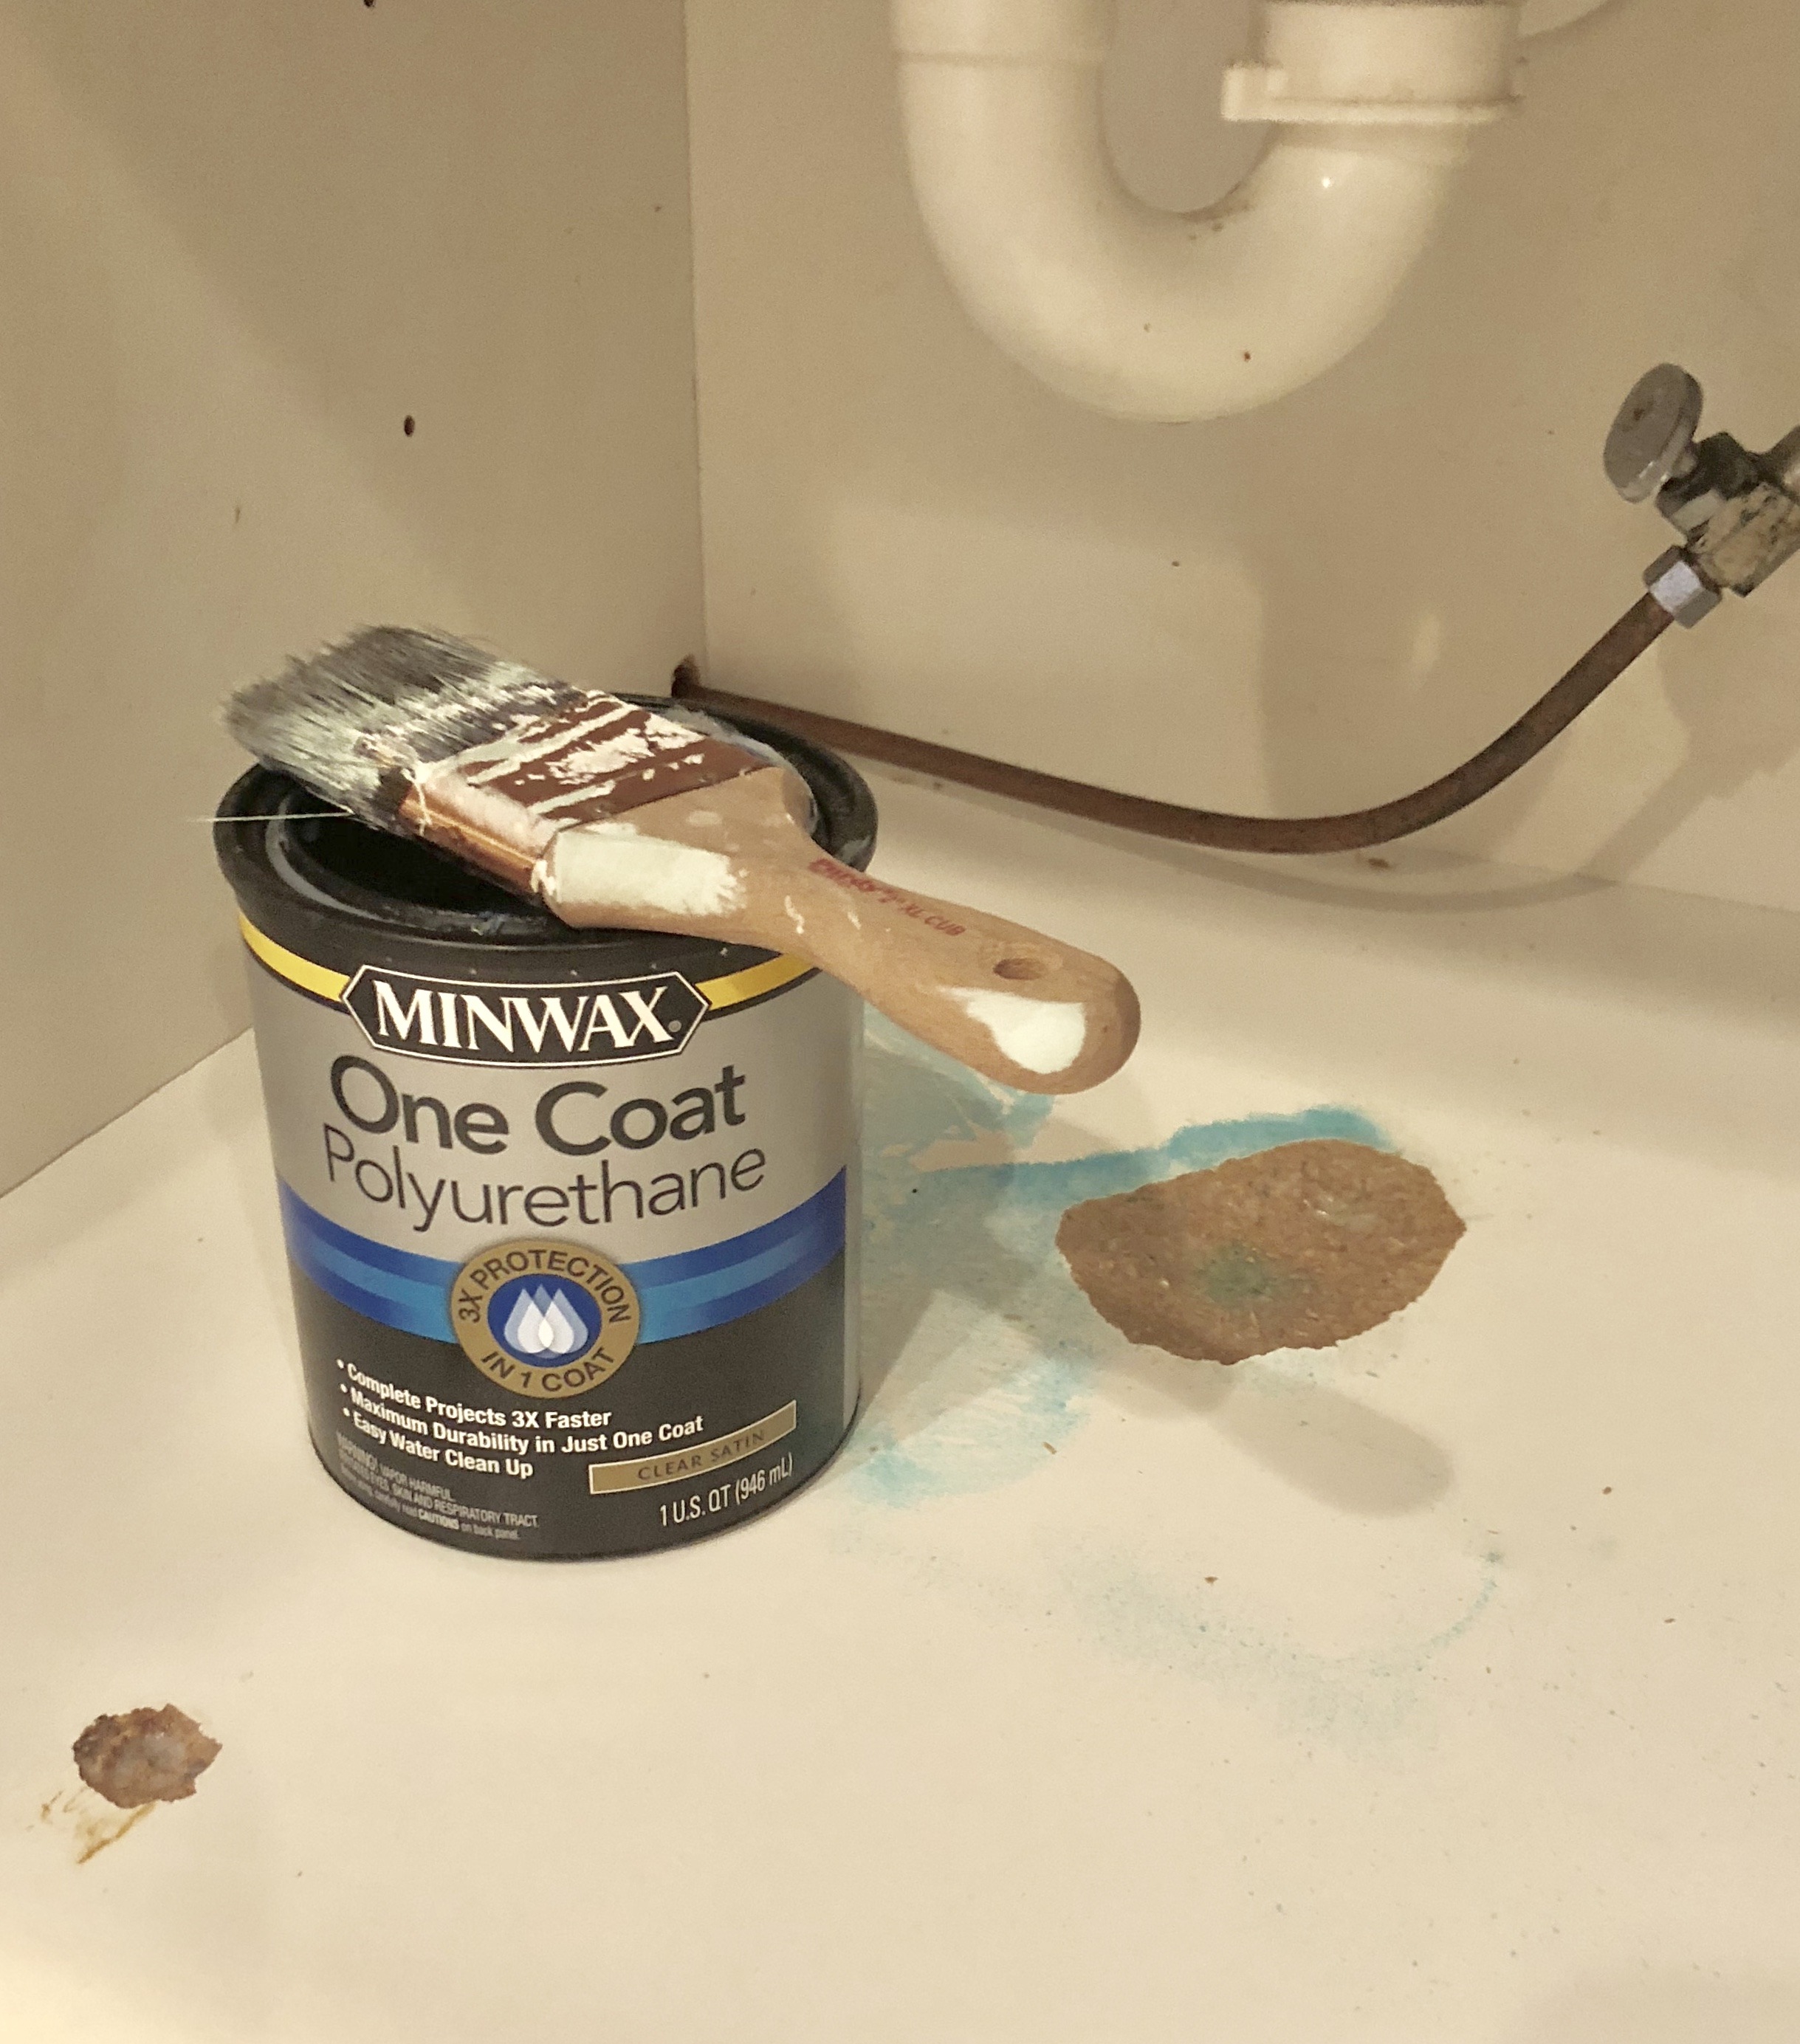
To make sure that there would be no further damage to the open areas of the cabinet, I sealed everything with Minwax One Step polyurethane in Satin.
Once that dried, I placed the 12 X 24 peel and stick tiles (backing still on) and marked where it needed to be cut. I used a Husky utility knife and carpenter’s square to score and cut the tile on the front. All the tiles were a tad too long and one was a tad too wide.
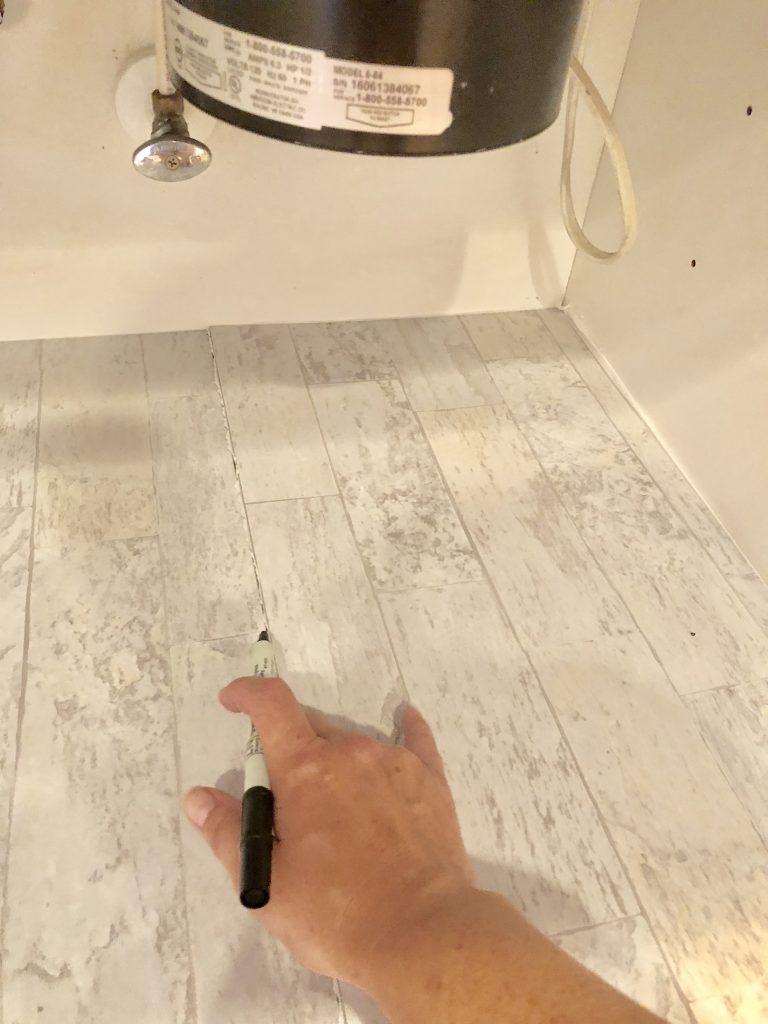
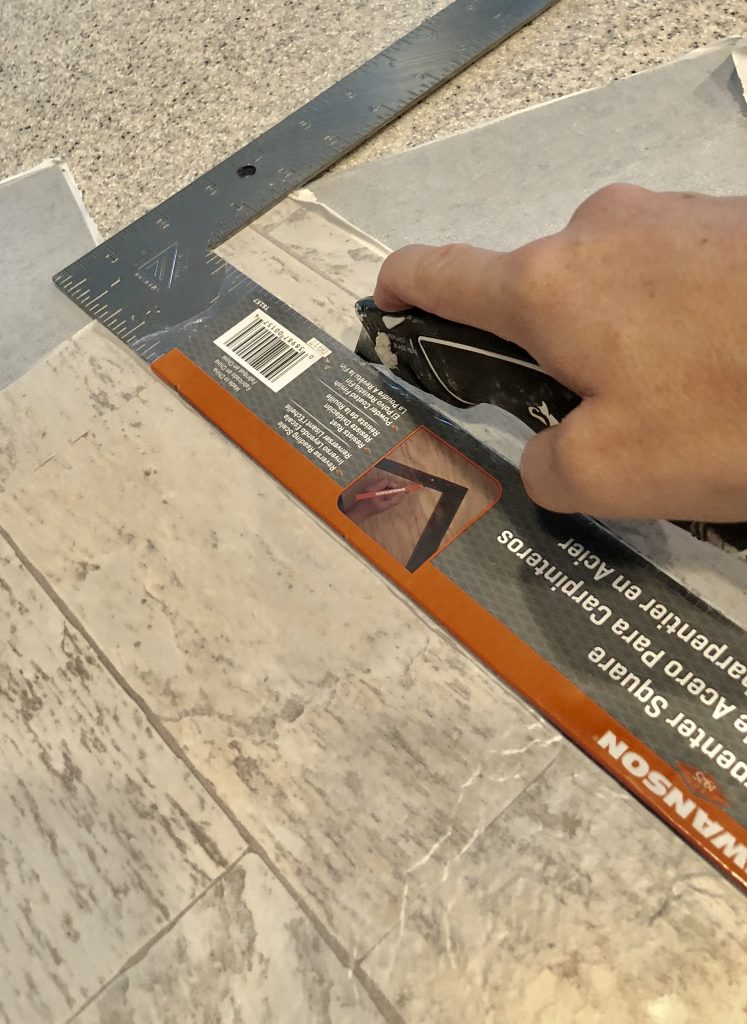
Tip: Cutting on the front is super important because when you bend it back to break the tile, it won’t damage the side facing up.
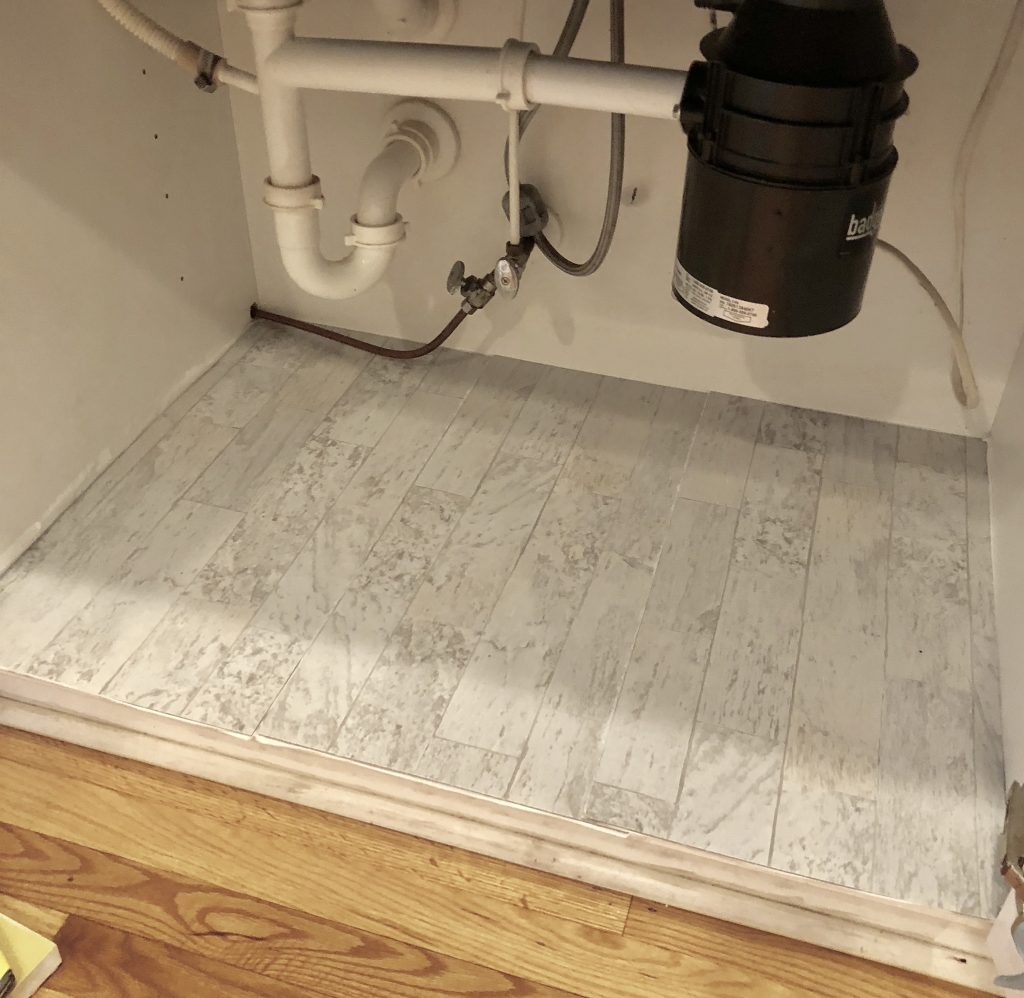
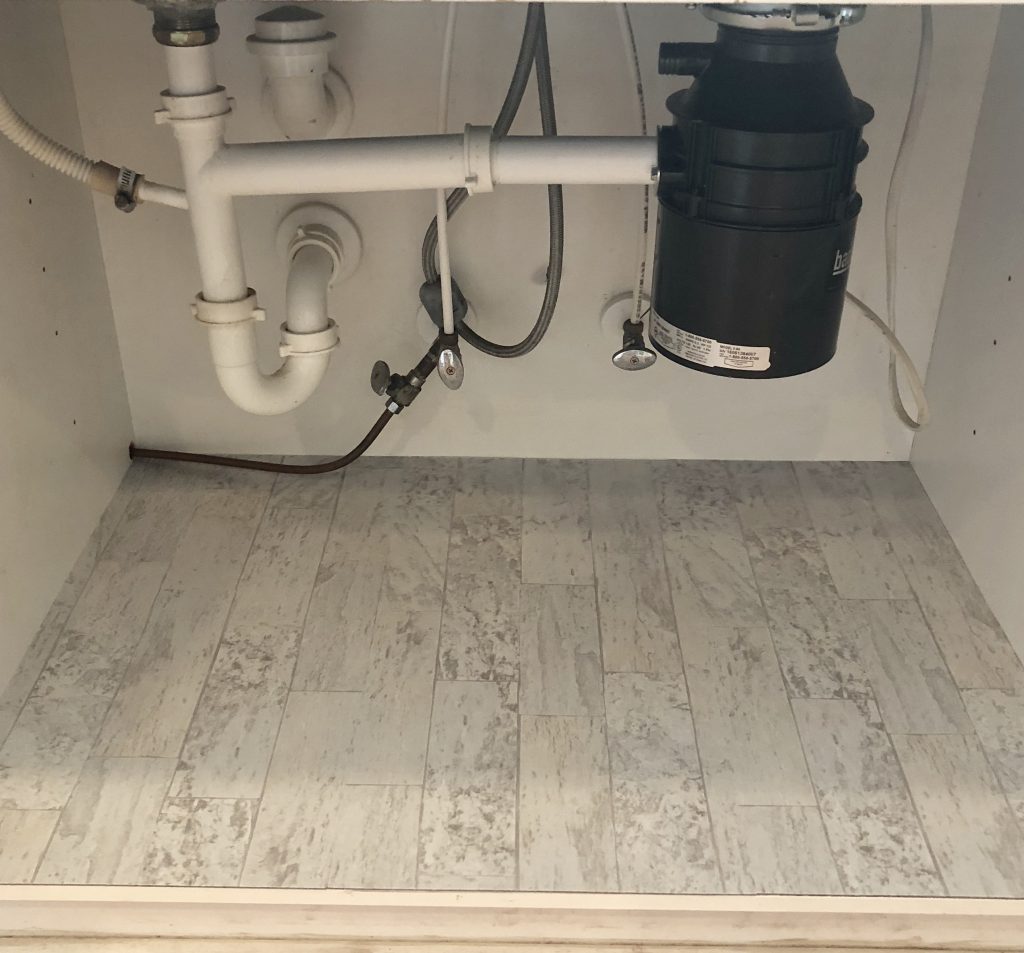
After everything was cut, I removed the backing and placed each tile up against one another. I used a rolling pin, to smooth everything out (probably the most action the rolling pin has seen in years, thanks Mom for the tip) and just like that, the cabinet bottom was done! The best part, it cost me less than $6 to make this improvement.
It’s amazing what
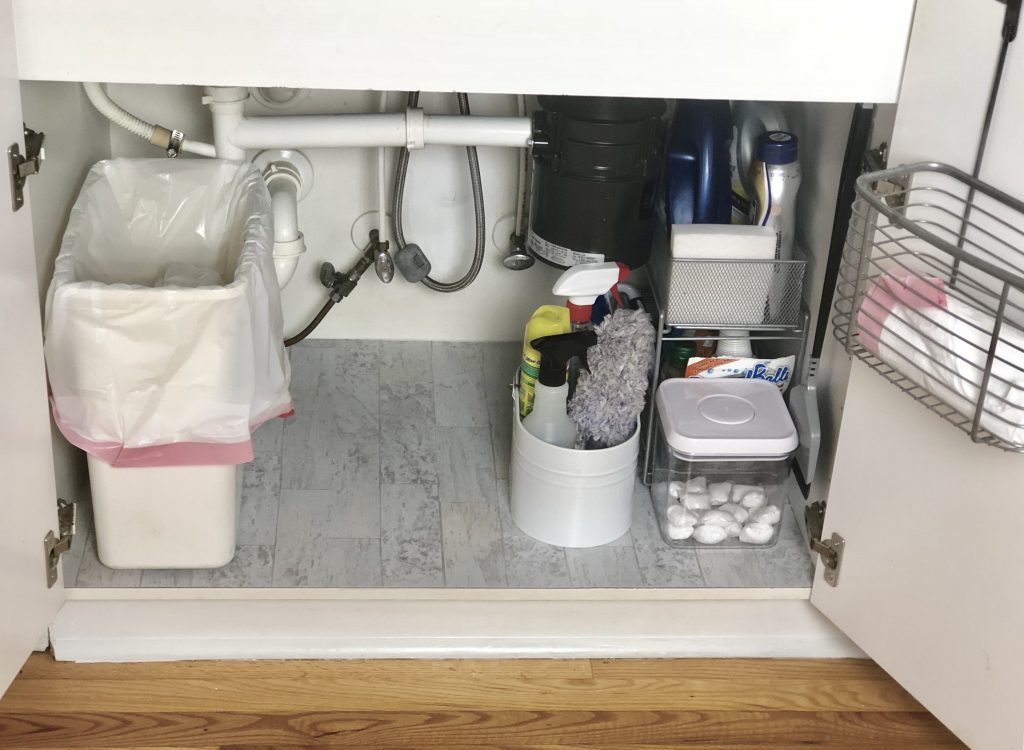
The funny part is that when I put everything back and I turned the trash can, I have MORE space! So much space that I could add a secondary trash can to hold the recycling. Just goes to show you that not all organizing products are useful if you’re using them wrong. Oh and while I was down there, I realized I hadn’t painted the kitchen base boards. Guess what got painted before I posted this, that’s right, the baseboards.
XOXO,
Brooke
Let's connect!!
Stay connected for all your DIY and organizing needs!