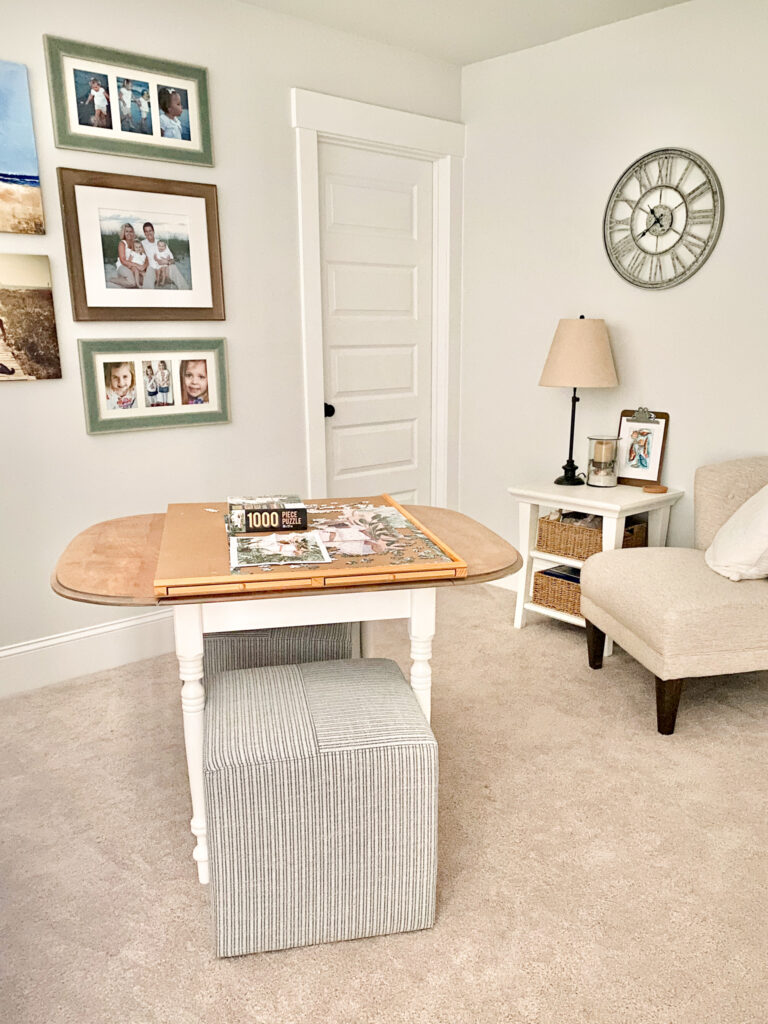
Rust-Oleum Furniture Transformation Kit- Coastal Desk Refresh
I am always willing to try new products and this furniture transformation kit from Rust-Oleum was a hit.
**This post contains affiliate links, which cost you nothing extra, but help me to continue doing cool projects. I was also given this product to try, but the opinion is my own**
I have been blessed with a few free roadside finds in my time, and this cute little desk did not disappoint.

The Rust-Oleum Furniture Transformation Kit is pretty much all inclusive. Only things missing were the gloves and the brushes you would need.

Fist things first, I removed the arms that extended out from under the top. Then it was time to paint.
Step 1 Deglosser
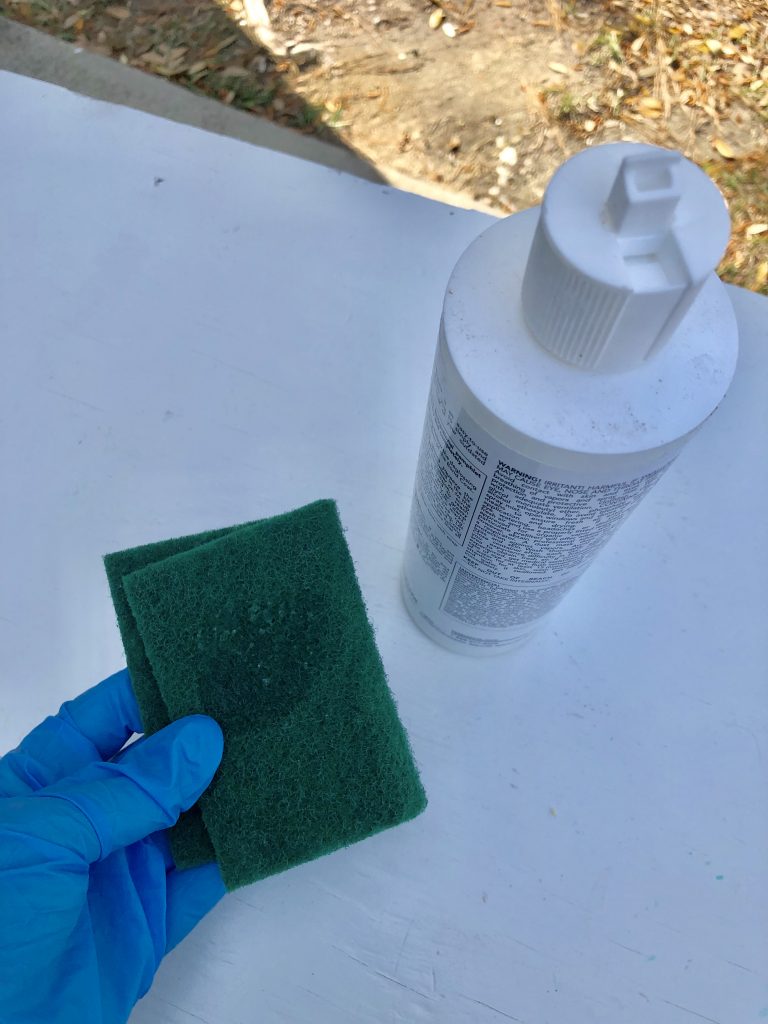
Using the enclosed scrubber pad I wiped the whole piece down with the deglosser. When that was done, I wiped it off with a damp rag. The instructions did not say anything about sanding, which made me a little nervous since the original paint was a gloss sheen.
Step 2 Base Coat

The paint already came tinted for the product review, but you can choose from an array of colors and have it tinted at the store. The back of the box shows the colors available. This is where I got a little nervous since I was going from a bright white piece to a very dark navy.
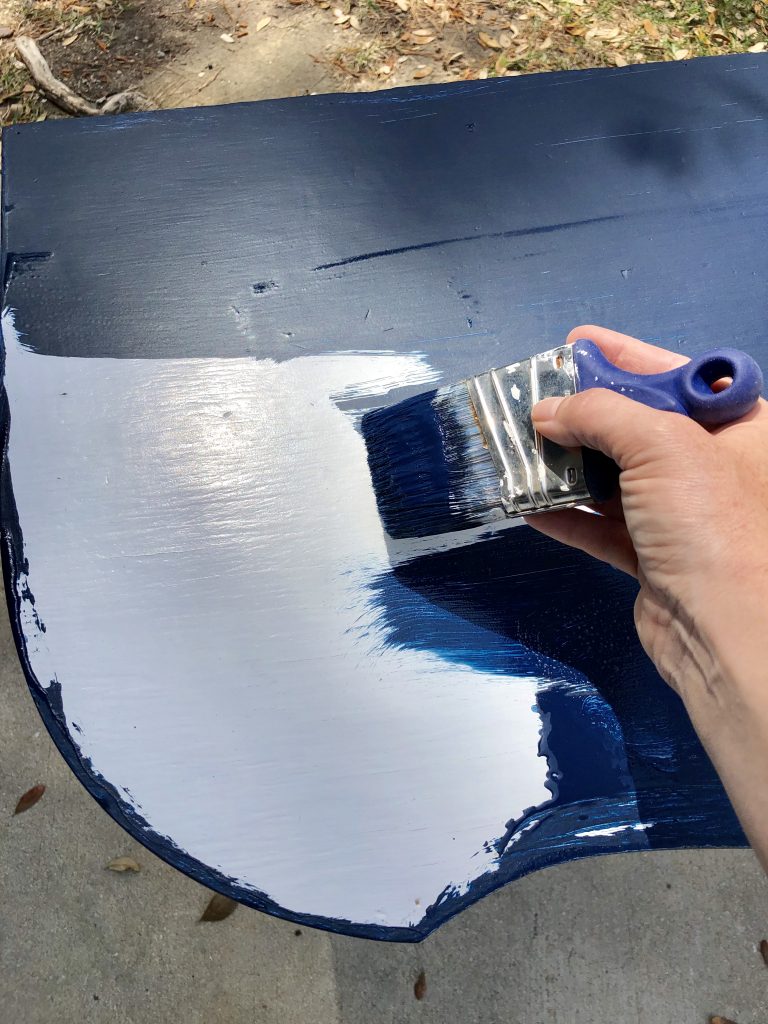
I was actually quite impressed with the coverage, even with the first coat. The second coat was more of a touch up than a complete cover. I will say, there were some fumes with this paint, which is why I’m glad I painted outside. It did take a little bit longer than normal to dry completely between coats. Normally the weather places a factor, but on this day, there was zero humidity.
The base coat was absolutely gorgeous, but the best was yet to come!

I was very pleased once I was finished and how well the base color covered. I loved the richness and it was definitely a true navy and not a dark royal blue that so many paints favor.
Step 3 Decorative Glaze

Since I needed to test all the aspects of the kit, the next step was the decorative glaze and my most favorite part of the project. This is where you can decide to go as light or as heavy with the stain as you would like.
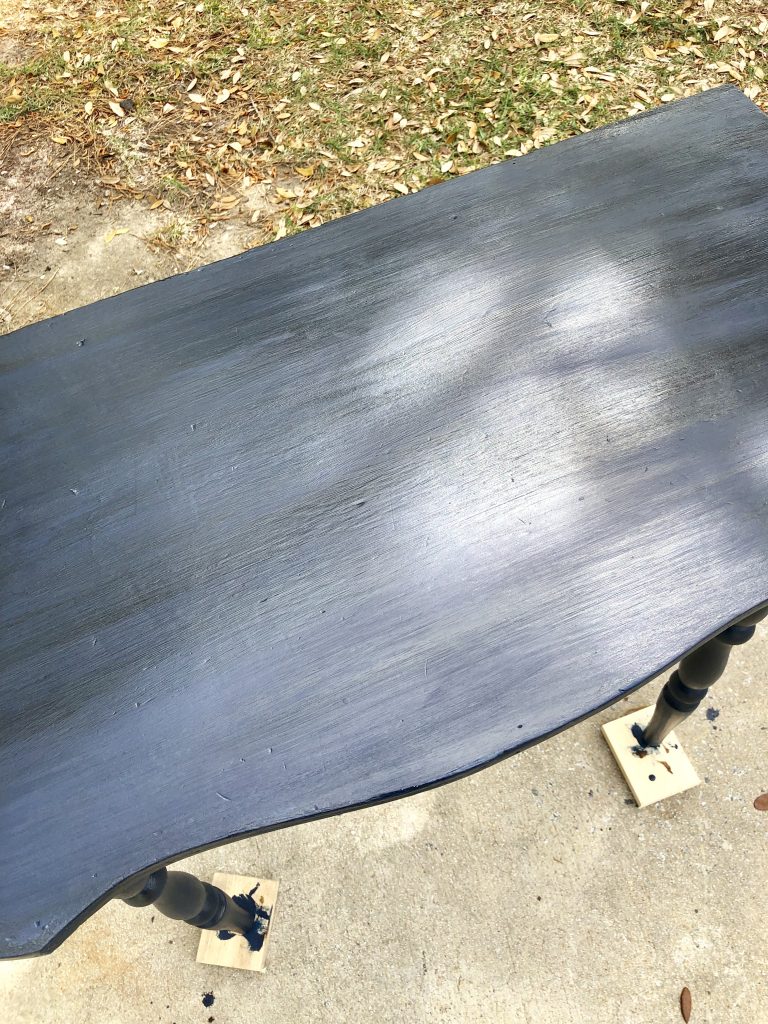
I love how the glaze gave the piece a richer look. I am very happy with how well it all came together.
Step 4 Protective Top Coat
After 8 hours of dry time for the glaze, I was time to add the protective coat. I did find that you really had to make sure that you got all the drips. It goes on opaque and dries clear, but if you have a glob, it will dry a glob.
Step 5 add a new drawer pull and enjoy.
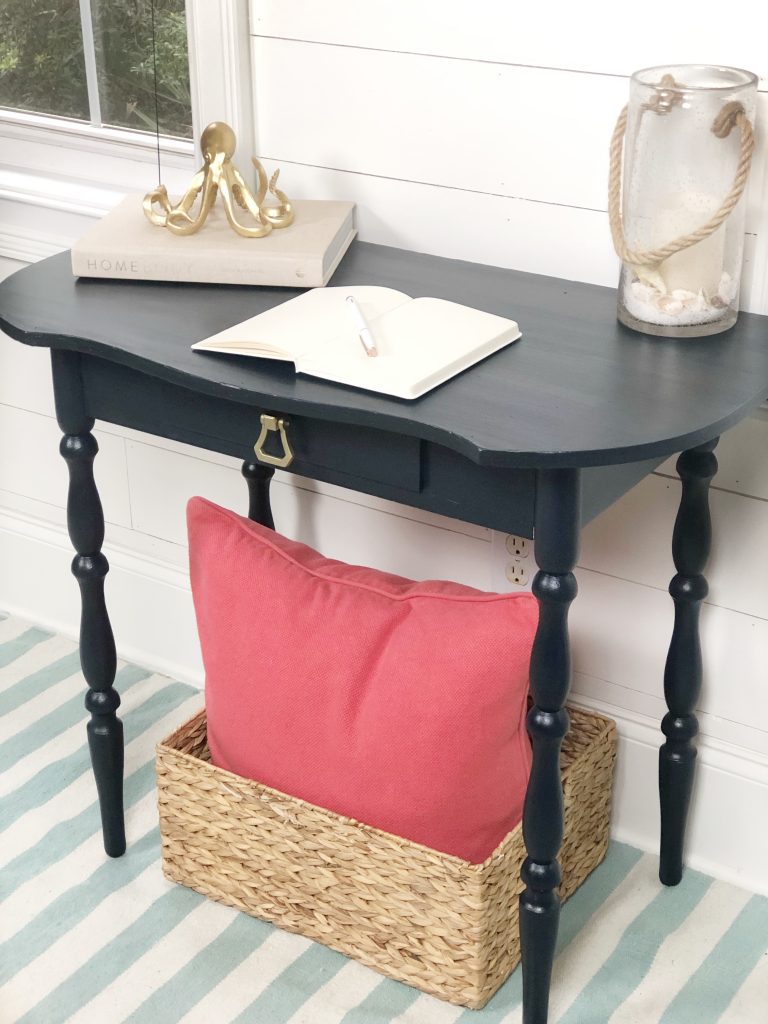
I found the perfect drawer pull at Hobby Lobby to give a pop to this piece. I am thrilled with how the Rust-Oleum Furniture Transformation Kit turned out! I loved how easy it was to use and the quality of the product.

Have you tried a kit before? If so, what did you think?
XOXO,
Brooke
Let's connect!!
Stay connected for all your DIY and organizing needs!
