Simple Organizing Using Wasted Closet Space
**This post contains affiliate links, which cost you nothing extra, but help me buy more wood.**
Adding a few extra shelves opens up a lot of possibilities!
This month I’m teaming up with a talented group of bloggers who are going to WOW you with some organizing tips, tricks, and projects!! But first, here’s a look at mine!
Organizing has always been my first love. (Yes, even before my husband, he knows this and it’s ok.) Then I married organizing with my love of DIY, and it’s been a match in efficiency heaven! It’s safe to say that most of my DIY projects have been associated with some way to make our home more organized. This past year it’s been the year of the closet and the latest victim, our playroom/ guest room closet.
**WARNING** Some of the photos are not the best quality and mostly due to the fact that I 1) needed this project done quickly 2) chose to do this project during one of the busiest weeks thus far 3) had a sick kid at home and nobody had time to set up lighting. Just a dose of real life DIY for ya. 🙂
To appreciate the after, you have to see the before…


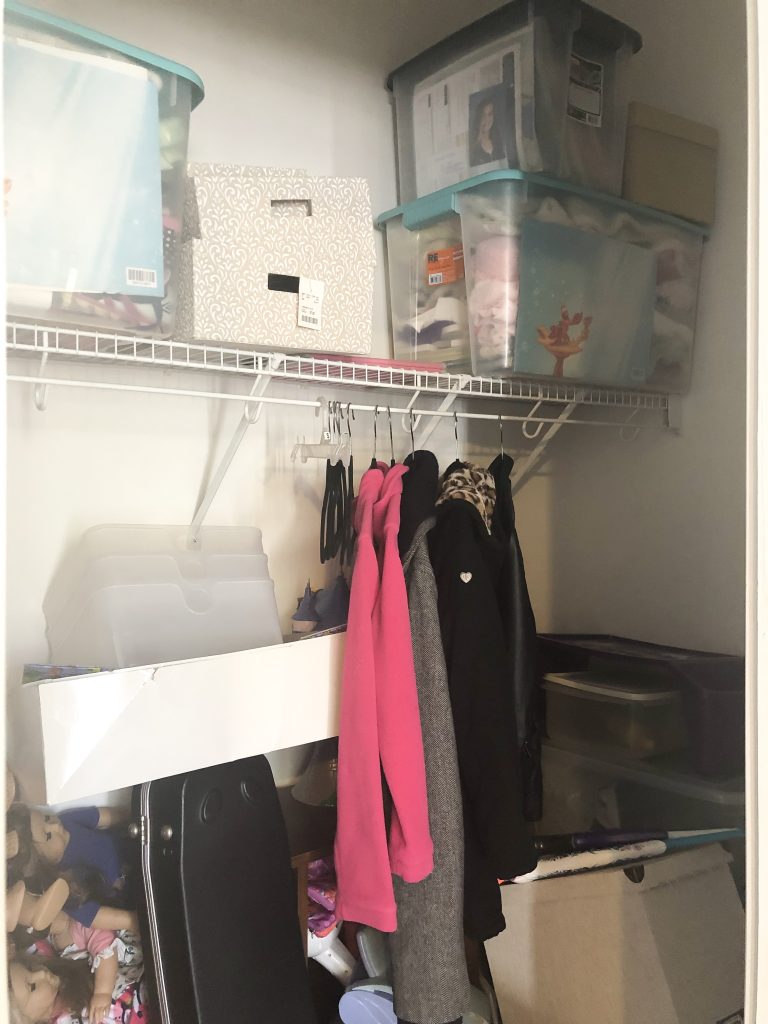
Yep this closet is a hot mess.
It’s where the remaining toys live, the keepsakes are kept, and where guests can put their things. Although honestly, the thought of a guest opening this closet makes me cringe. The cool part about this closet is that it’s sort of a walk in closet, but as with most builders, they didn’t utilize it’s full potential. There was wasted space galore in this closet.
But I don’t have time to do a full overhaul, now what?!
This closet was deeper on one end making it the logical space to add shelving.
Materials
1″ x 2″ X 8 ‘ boards (2)


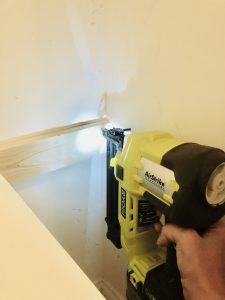
I have been on a mission to take out all of the wire racks in the house, but for right now, I’m leaving it. I am using it as part of the support for the top shelf. I decided to only add three shelves for the time being. Just like with the hall closet refresh, I cut the 1″ x 2″ support pieces for the width of the all, cut two additional pieces for the width of the board, and attached them all temporarily with my Ryobi brad nailer.
Next I cut the 1″ x 12″ boards for the shelves and I dry fit them into the closet.
Next, I marked the studs on the wall using my Ryobi stud finder.

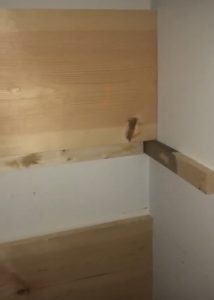
Once the studs were marked it was time to use the 2 1/2″ wood screws to attach the 1″ x 2″ supports into the wall. I pre-drilled the holes for the screws so as not to split the wood. I also counter sunk all the holes so I could cover the screws with wood filler. I painted the supports white to match the wall with paint I had on hand.

I stained the shelving using stain I also had on hand called “Weathered” by Old Barn Milk Paint. Once dry, I gave a coat with polyurethane.


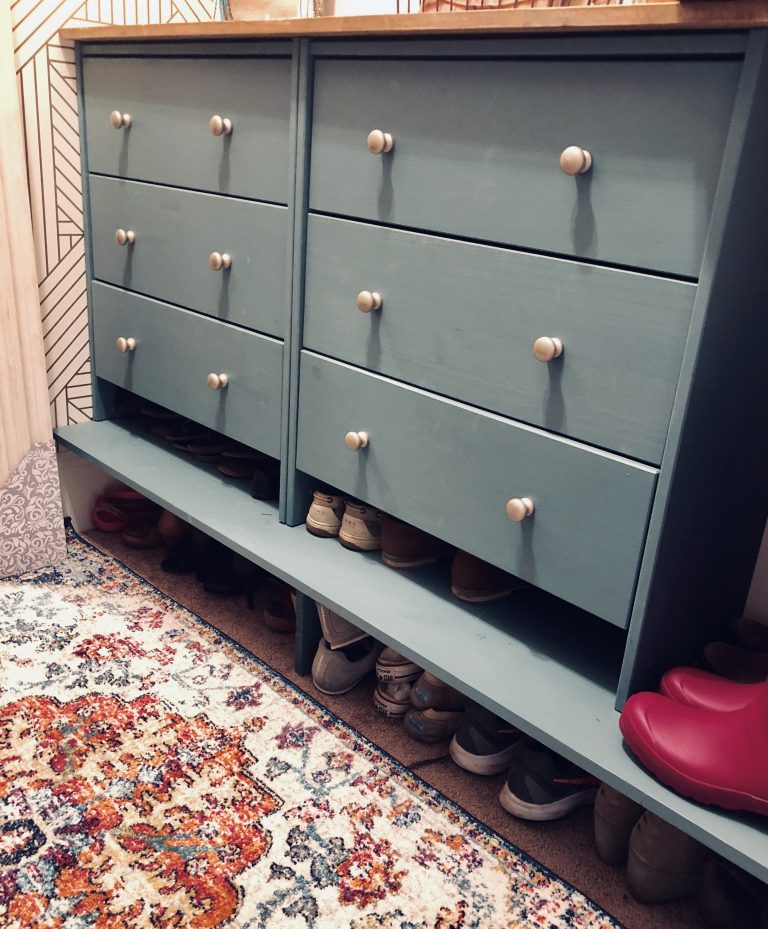
Just like that, I was able to expand the storage in this closet!
You know wha else happened? I was able to move even more things into this closet like the bed linens for the guest bed. By moving the bed linens to the guest room, I was able to free up space in the family linen closet. PLUS, there’s still room in the closet to spin around (believe me I tried) and all of this cost me less than $40.
Want to see??


Now when you open the door you don’t see a mountain of dolls and there’s plenty of space for guests to hang stuff and put their suitcase inside the closet.

The back of the closet door can now hold odds and ends for the guests.
Is it magazine beautiful? No. Is it functional? Yes! Will it change our lives? You better believe it! That’s the part I love about organizing, just a few simple changes and you can completely change a space.
Guess what!! Check out these amazing organizing ideas too!!

XOXO,
Brooke
Let's connect!!
Stay connected for all your DIY and organizing needs!
looks great Brooke! awesome job!
Thank you Carmen!
This closet looks so much better!! I like what some shelves can do for a closet! Thanks for sharing!
It was crazy how much it opened up the space!
Such a great use of space! It always feels better when we know where everything is, doesn’t it? Thanks for sharing your ideas.
Thank you Meegan! It is a huge project to mark off my list for sure!
It looks amazing! I love organization too – so many of our projects revolve around storage. Hope everyone is feeling better now 🙂
Thank you so much Eileen!! Everyone is on the mend, thank goodness!!
The closet looks amazing now, those shelves are perfect for holding all those cute dolls and other essentials that you don’t want in a big heap on the floor. I just love making every space work for you.
Thank you Toni!! At least the dolls aren’t the first thing you see when you open the door anymore that’s for sure!
Function over beauty anytime! Great idea to add the extra shelves and make that closet fit your needs.
Thank you!!! This closet definitely keeps evolving and is so much more functional than it was before.
Smart Smart Smart! I would have never thought to use the space like this before, I need to do this in my daughters closet.
Woot Woot!! Way to maximize closet space!! Looks great! And those shelves are beautiful!
The After is amazing! I need to get to organizing my closet now.
You have done a great job with this closet space. I love an organized closet!
You guys have really inspired me to get started on my own closet. It needs an intervention! Great job!
Much better!
Brooke that is such a smart idea to utilize that wide space in your closet! I think this is a project that a lot of people will be able to recreate using their existing wire shelves too! What is better than organizing a space and then standing back to admire your work!
Looks great! Love those simple shelves! Great job. Hope your kiddo is feeling better!