The best Woodgrain moulding we picked for the beach condo.
My most favorite upgrade for the beach condo, was the Woodgrain moulding, hands down.
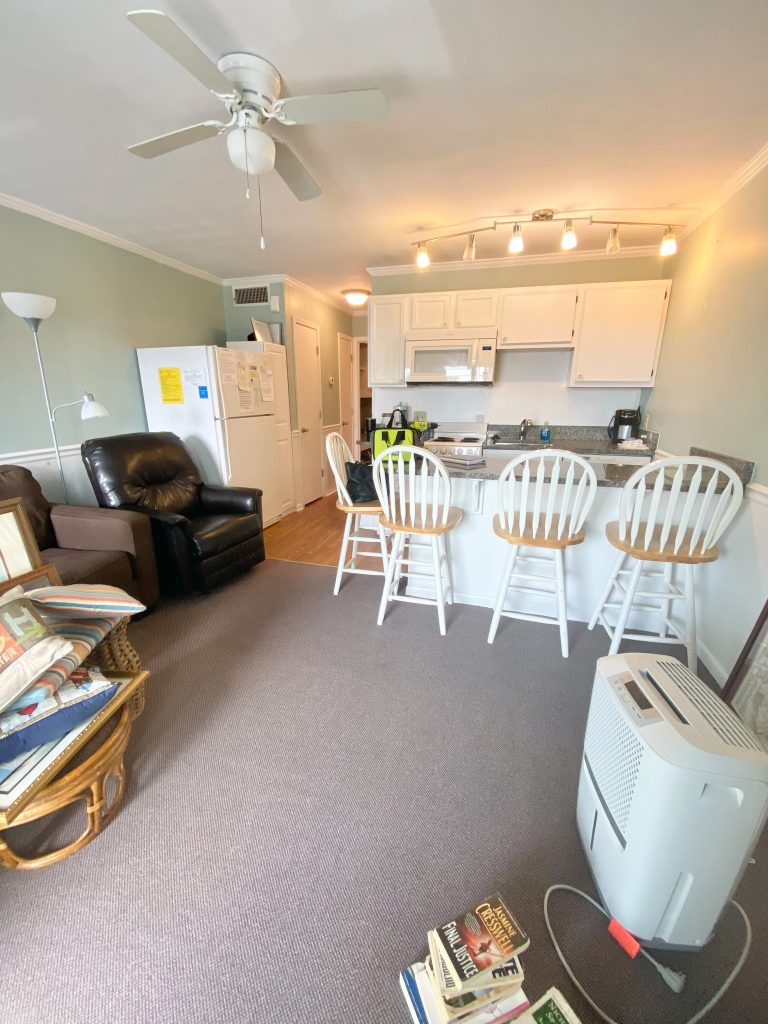
There was no denying that the beach condo was in desperate need for a glow up. In keeping with the aesthetic that the owners desired, I knew that the final touch, the trim and molding, would need to be simple.
**Woodgrain was generous to provide all the wood trim moulding for the beach condo renovation, but the opinion is my own.**
**This post contains affiliate links for various brands including Amazon, which does not cost you anything extra, but helps me earn a small commission that keeps my business grow. Click here for my complete disclosure.
Woodgrain has a ton of styles and selections to choose from. I see wood trim as the most important accessory to any home decor. For the beach condo, I was drawn to the Woodgrain Timeless Craftsman Collection found at Home Depot. I loved not only the style, but also the fact that the pieces were already primed. A huge time saving win in my book!
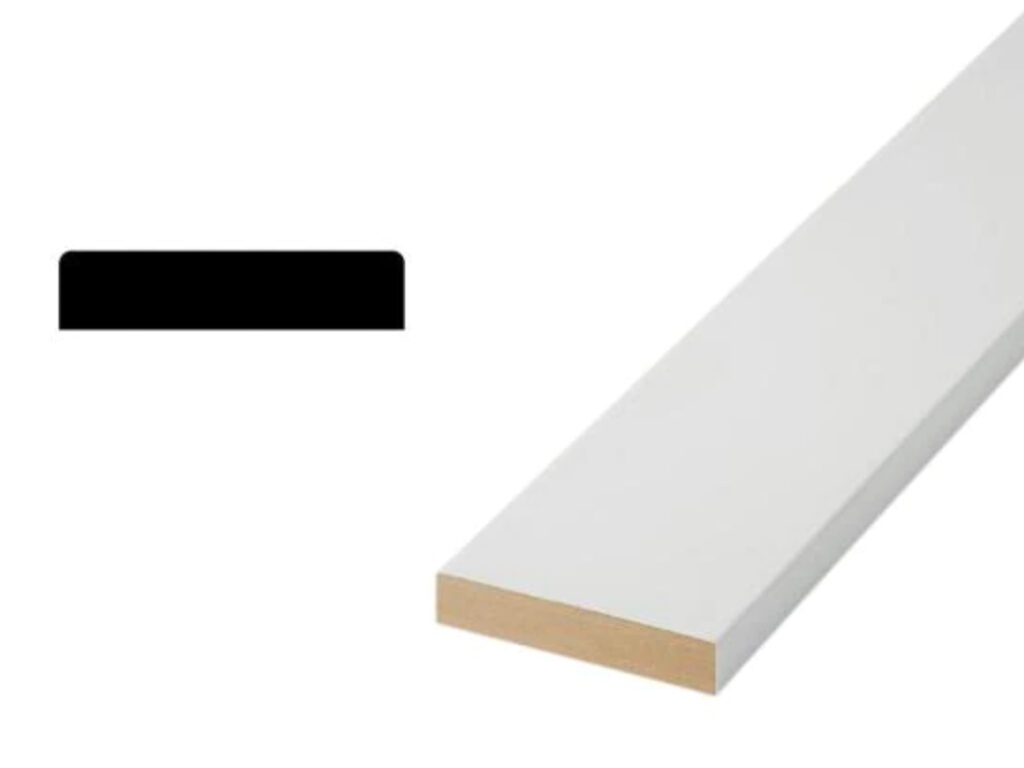
I chose the Timeless Craftsman header piece, the top piece of every door and window, mostly because it is just one piece. All this piece requires is straight cuts making it a DIYer dream.

The beach condo isn’t a large space and to go with the header piece, I chose 3 1/2 inch casing for the side trim pieces.
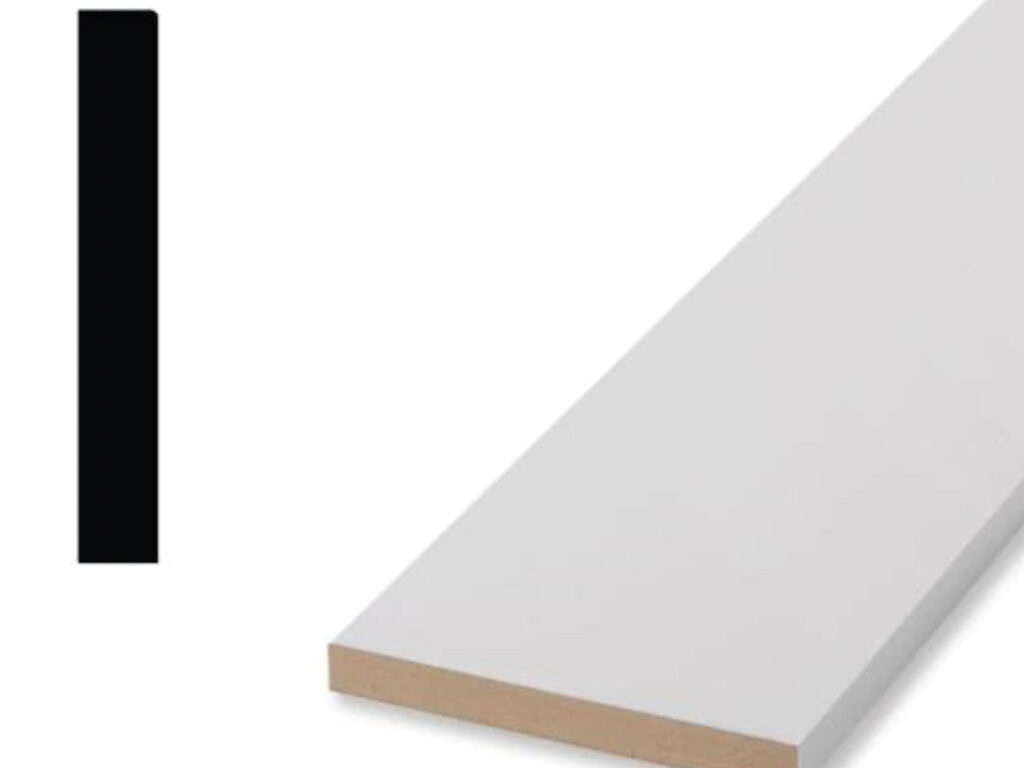
I still wanted a taller baseboard and chose the 5 1/2 inch baseboard to pull the look all together.
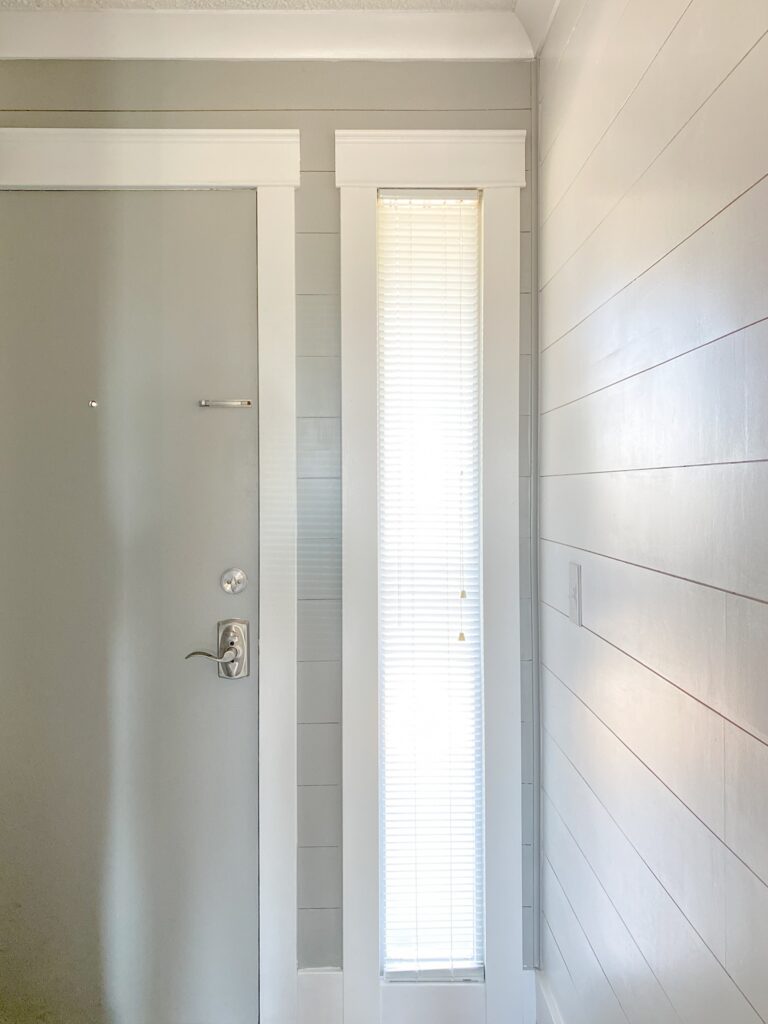
Installing the Woodgrain Timeless Collection Craftsman molding.
There is definitely and order to follow when installing this particular Woodgrain Craftsman molding:
- The side trim pieces to the windows and doors are installed first.

2. Next the Timeless Craftsman Header is installed. There should be a 1/2″ overhang on each of the side trim pieces. To get the hang of this, we would secure the side pieces in with one nail and fit the header piece on just to make sure we had the correct measurements. The best part, these are all straight cuts.

3. Last to install- the baseboards.

With the exception of the corners, which are cut at a 45 degree angle, inside and outside, the pieces that install next to the side pieces are again, straight cuts.
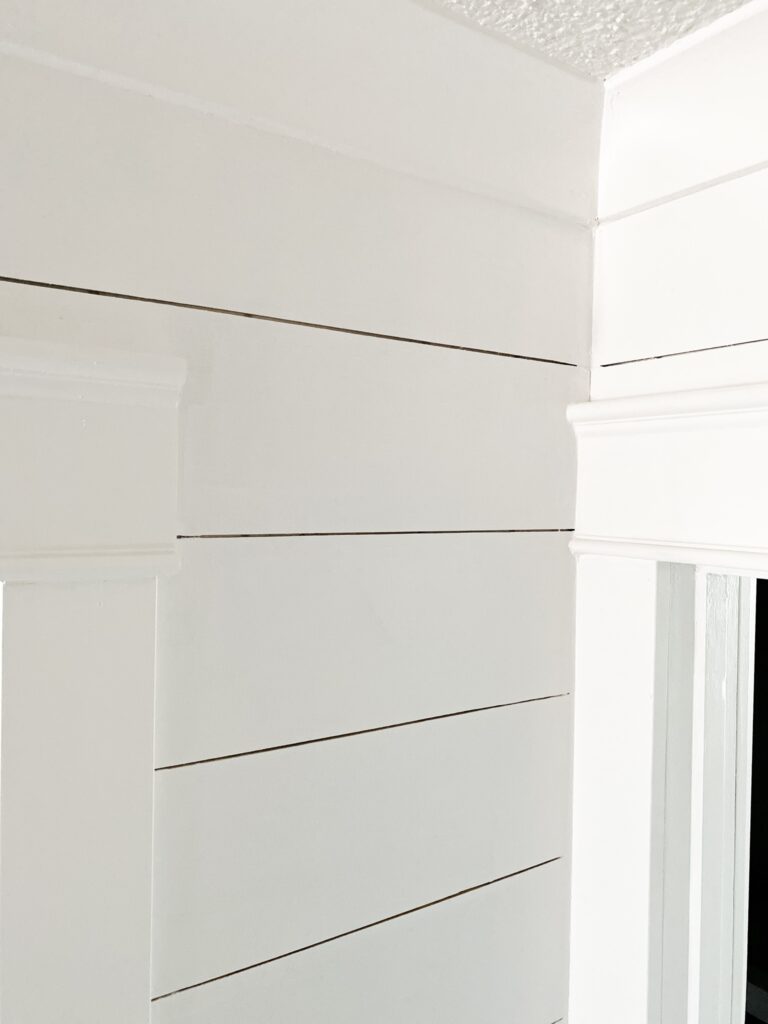
Timeless Craftsman Collection Crown Moulding
They don’t call it “crown” moulding for nothing, because it’s definitely the royalty of the moulding. The Woodgrain Timeless Craftsman Collection offers a couple choices, but this particular crown moulding is my favorite.

This is also where I need to get extremely vulnerable.
Everything in the beach condo renovation, we have done before, except install crown moulding. I can say after trying to install it ourselves, becoming extremely frustrated (no fault of the beautiful moulding), we decided it was time to call in the professionals. There is NOTHING wrong with asking for help. Our owners were eager to get the beach condo on the market to rent and now was not the time to learn a new skill.
Crown moulding is truly an art form. We read, a lot, watched even more tutorials, but when it came down to it, I could not wrap my head around how to cut the angles. There’s a lot of flipping of the moulding and adjusting angles on the miter saw. It took our crew three hours to install what would have taken us, I’m certain, well over a week.
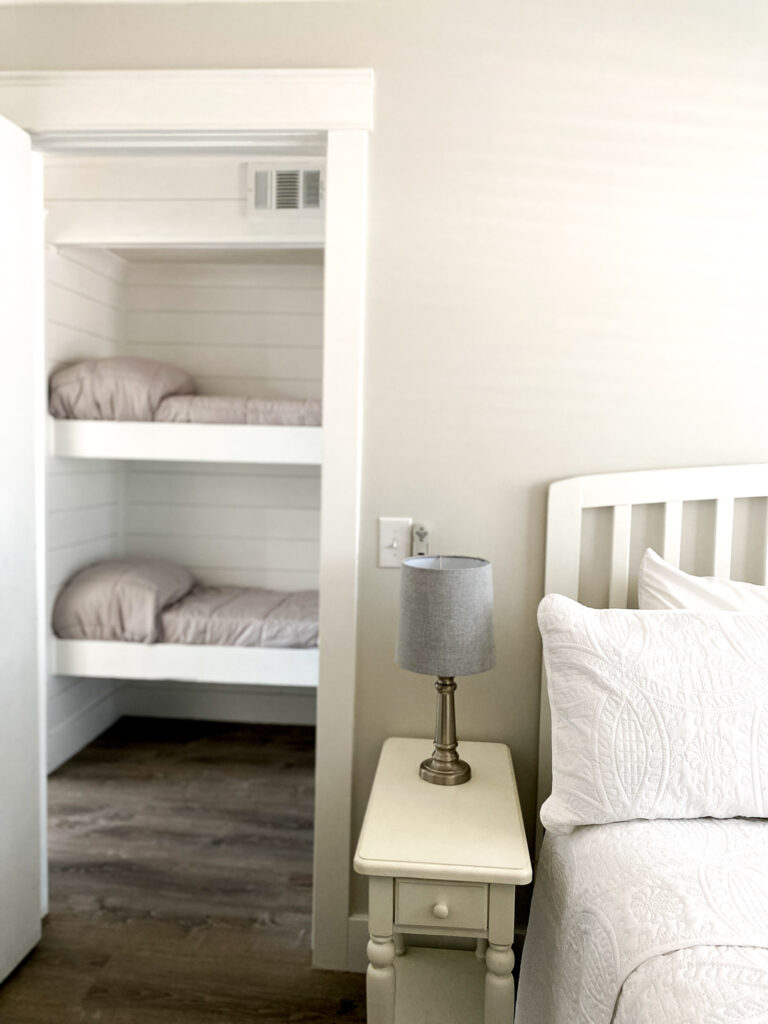
I did find this amazing tutorial and give it one more college try on the bunk beds, and guess what??? I did it!

Once all the moulding and trim were installed, I caulked, wood filled the nail holes, and painted.
Repeat after me: “caulk is your friend” Don’t sweat or get hung up on the small gaps. Walls and ceilings are not perfectly square and you will drive yourself batty trying to get it to line up absolutely perfect. Even the professionals I called in left some gaps here and there. Caulk is your friend my friend, trust me.
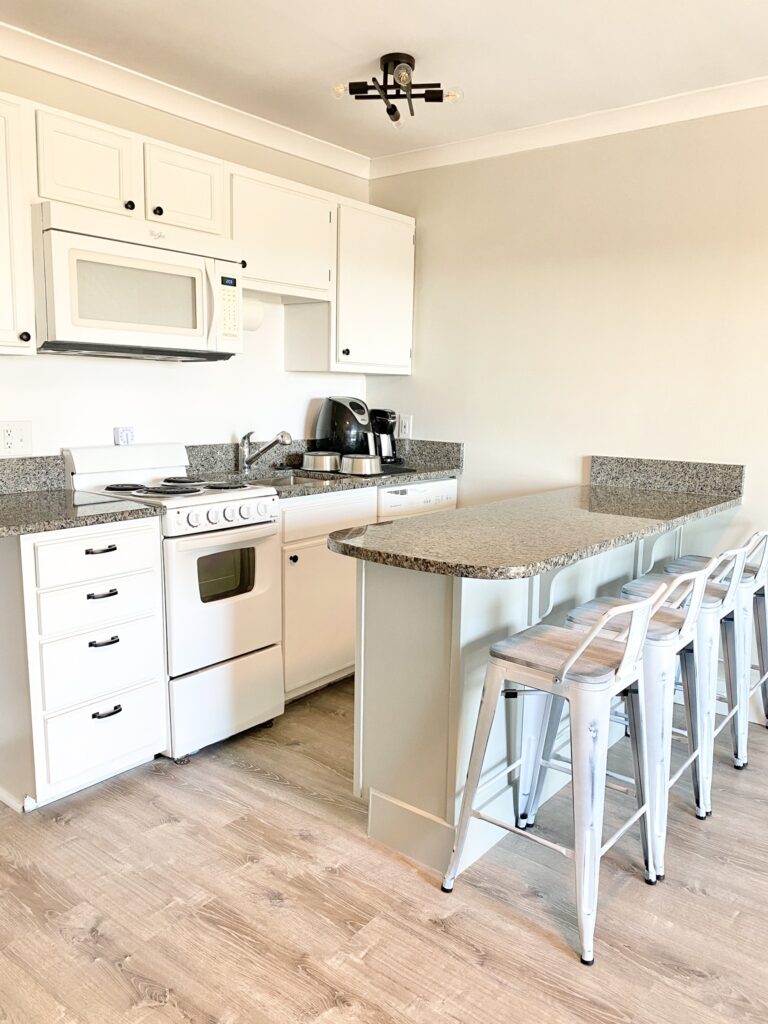
I am so in love with the Woodgrain Timeless Craftsman Collection!
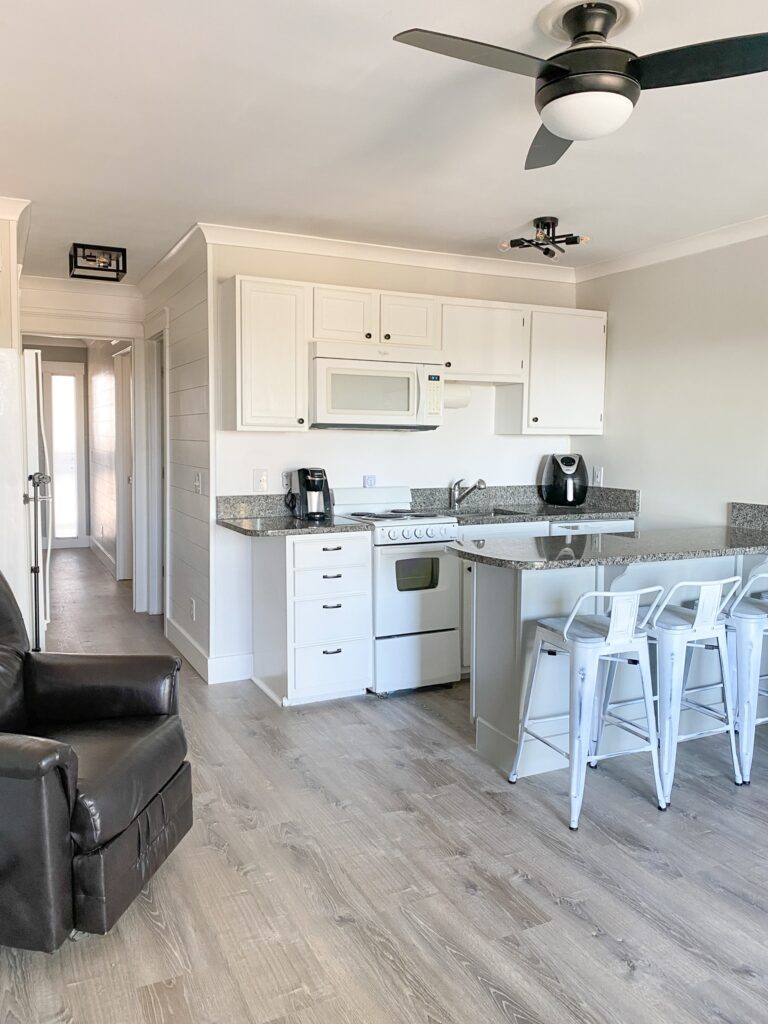
Not only was it so easy to install, but the Woodgrain Timeless Craftsman Collection is beautiful to look at in this space. It gave the beach condo a completely updated and classy feel.
You definitely should check the Woodgrain Timeless Craftsman Collection out for your next moulding and trim project.

Also check how the beach condo turned out, you won’t believe the night and day difference.

Let's connect!!
Stay connected for all your DIY and organizing needs!