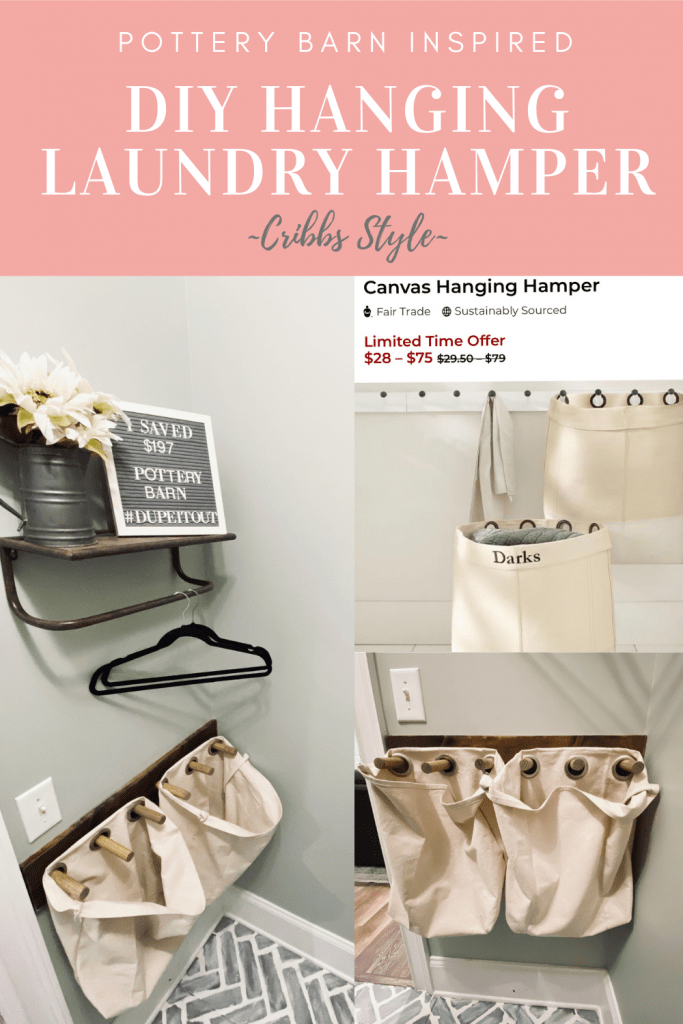
DIY Hanging Laundry Hamper Inspired by Pottery Barn
I cannot believe how much money I saved making my own hanging laundry hamper inspired by Pottery Barn!
I’m coming to the end of the $100 Room Challenge sponsored by Erin from Lemons, Lavender and Laundry. Before I do the final reveal, I wanted to share one more project. This time I’m teaming up with my friend Jessica from The Martin Nest for a #dupeitout.
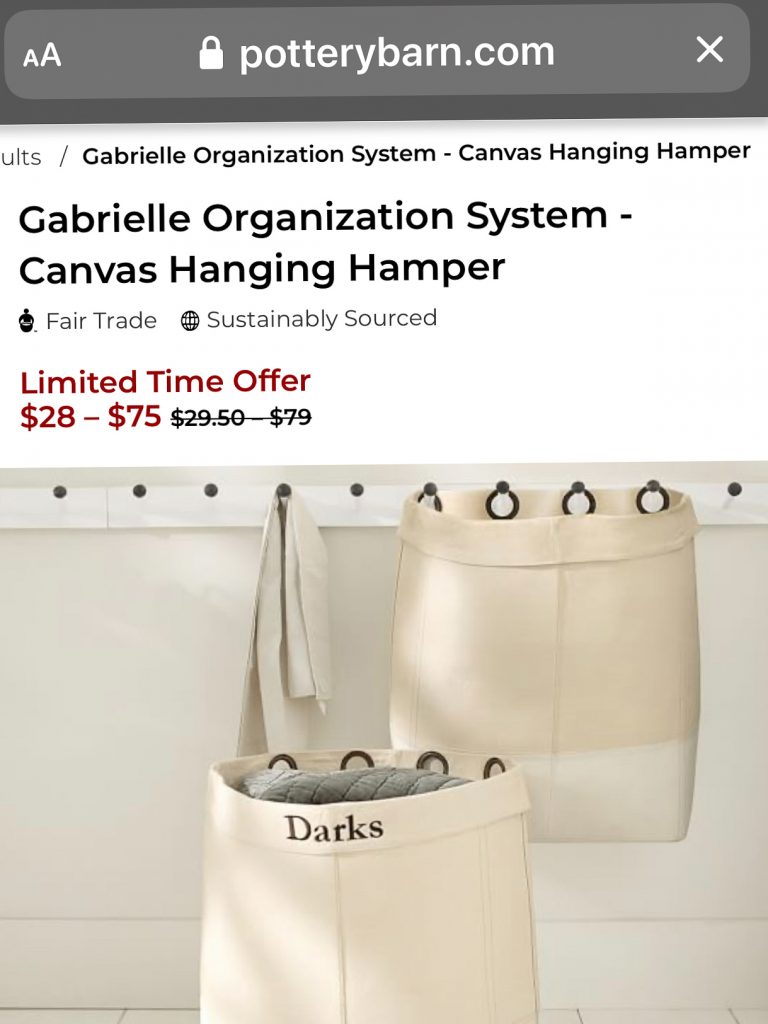
There’s no denying our laundry room is small. Thankfully because of the updates we made, I’ve been able to maximize the space, but I always felt like I could do a little bit more. To keep things easier for me, I use a laundry hamper sorting system, but the laundry hamper’s we have just take up too much space. Then I saw this hanging laundry hamper from the Pottery Barn.
**This post may contain affiliate links, which cost you nothing extra, but help me to maintain this site.**
But I wasn’t about to pay that price!
The whole budget for the $100 Room Challenge has already been spent at this point, well except for $1 something. Thankfully I have a stockpile of supplies and procrastination runs deep with returns. This hanging laundry hamper should be free!
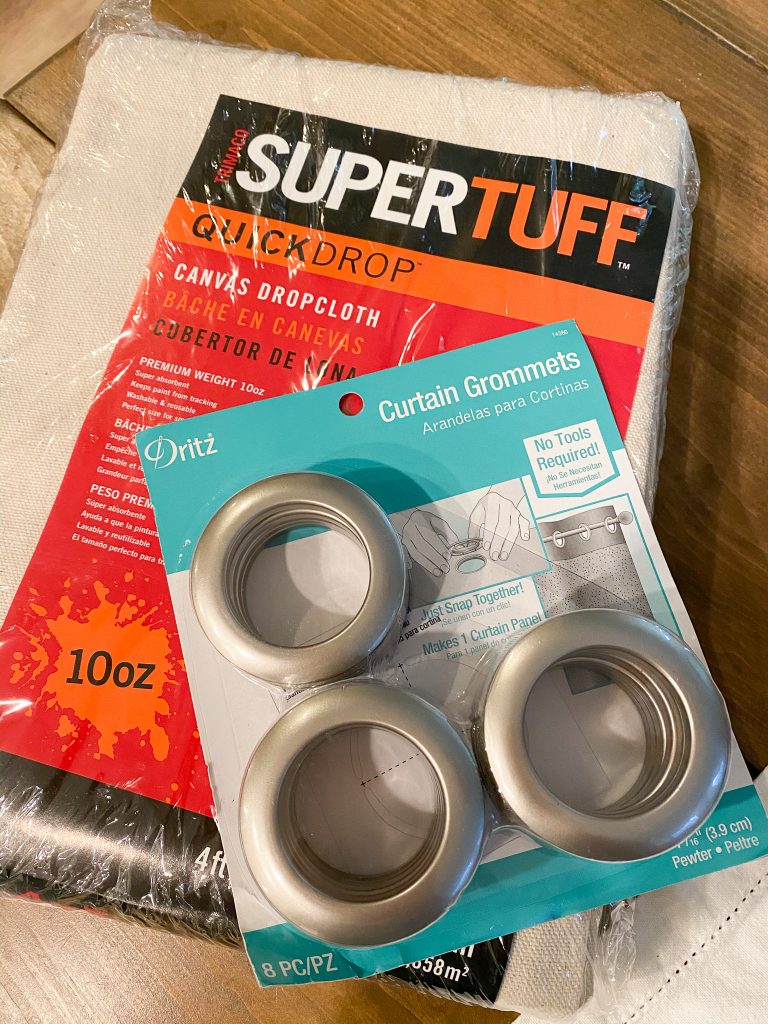
Materials
Wood glue
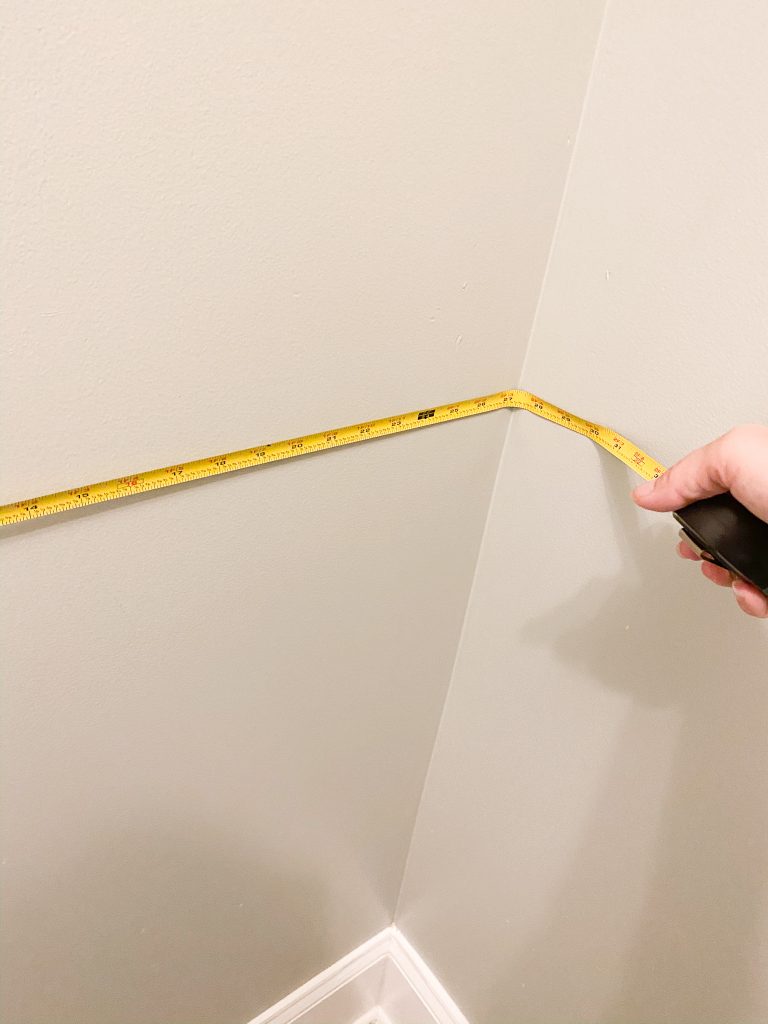
Build the peg board
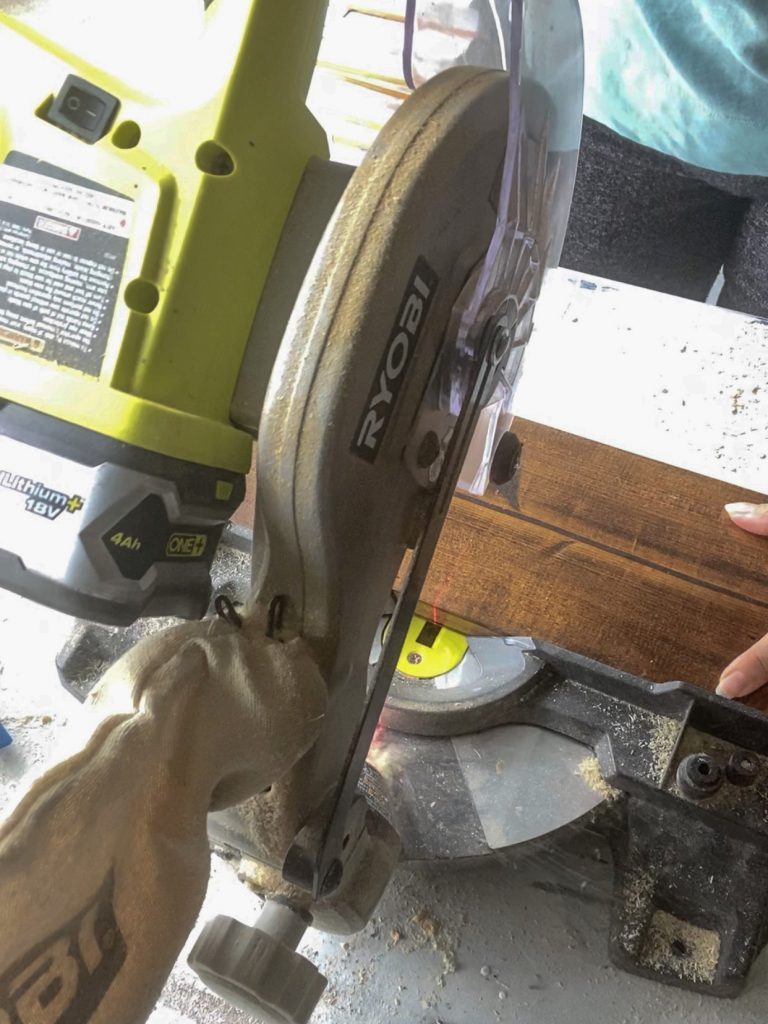
I measured the width of my wall and determined that 6 pegs (3 for each laundry bag) would be a good amount, and cut the board to length.
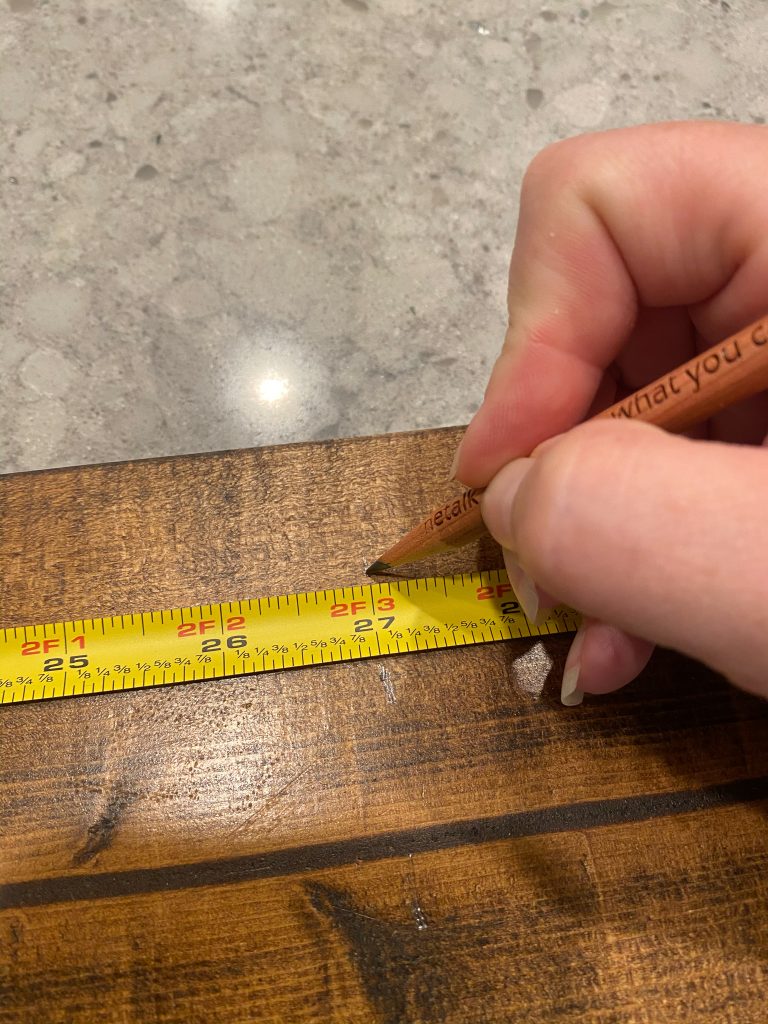
After measuring in 2 inches I evenly divided up and marked where I wanted the 6 dowels to be placed on the wood.
Using a 1 inch shank spade bit, I made holes for the dowel rod. I didn’t go all the way through the board as I wanted to have a way to secure the board to the wall and hide the screws.
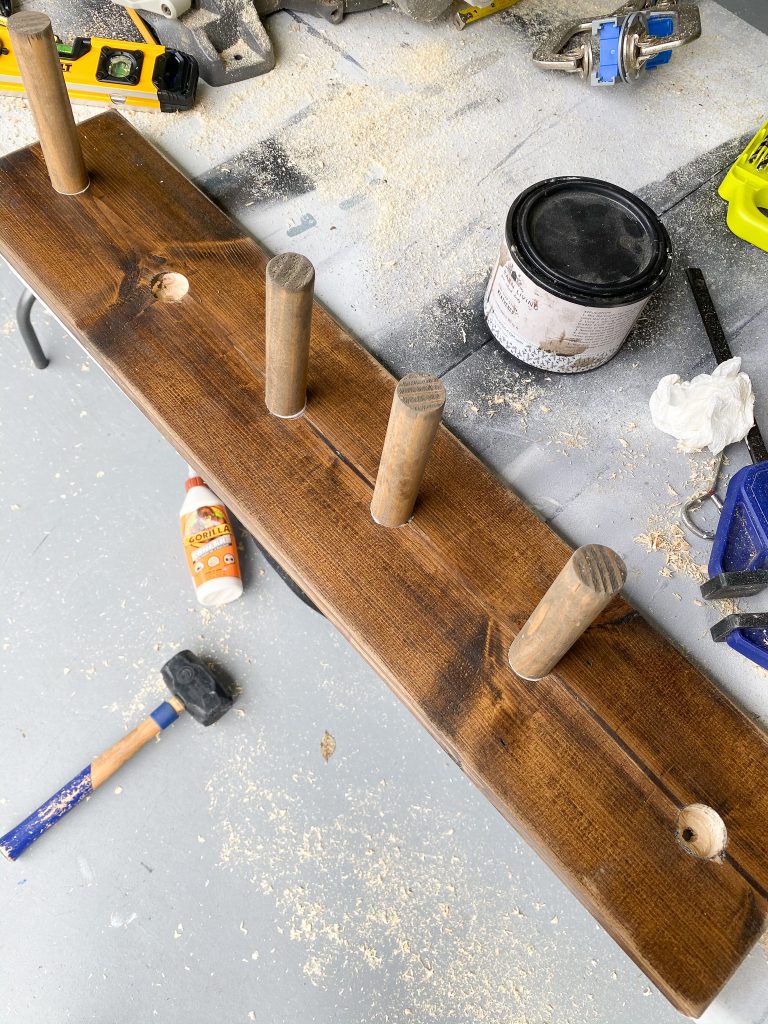
I cut the dowel rod into 5 inch increments, sanded each end, and coated them in stain.
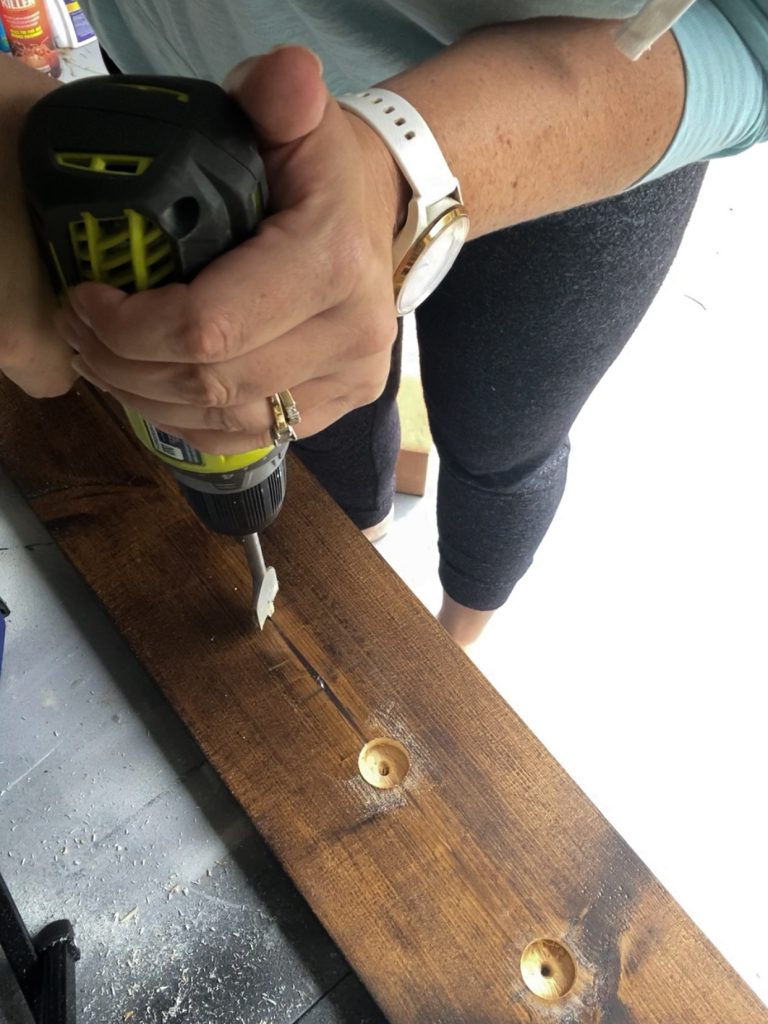
Once dry, I used wood glue and attached all but two of the dowels so I could secure the board to the wall and have access to the screws to be able to remove later.
Making the laundry hamper bags
While everything was drying, I used the laundry hamper bins we were already using as a template to cut the drop cloth to size.
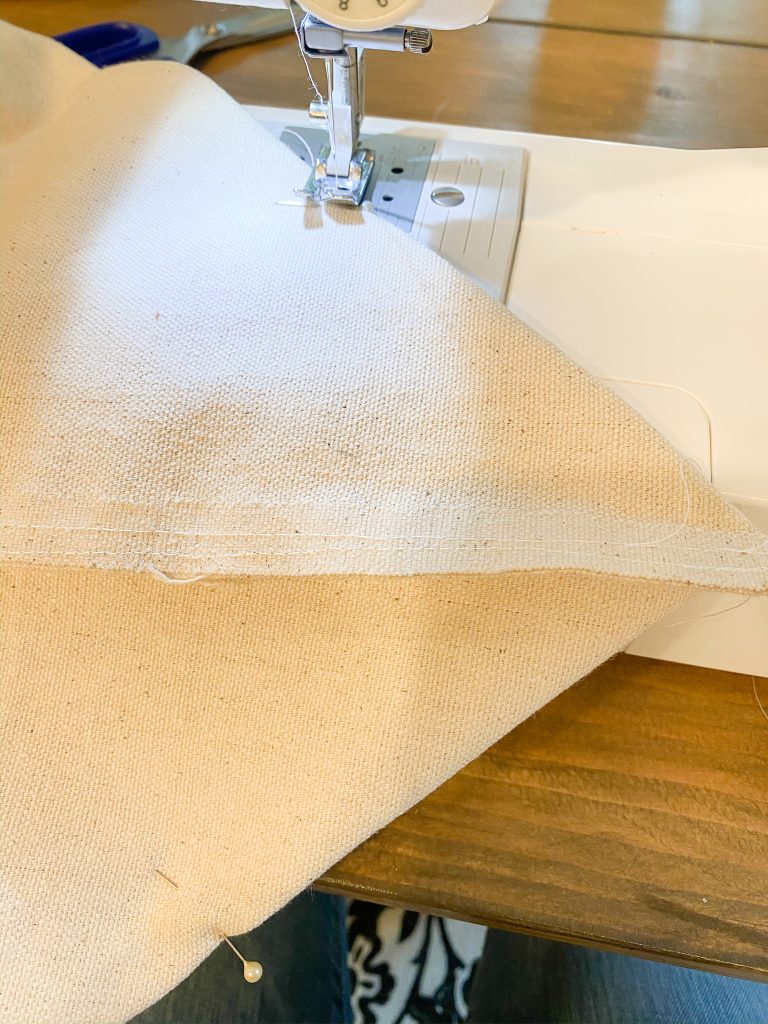
I used the hemmed side of the drop cloth for the top of the laundry hamper, and sewed a hem on the opposite side. Placing what I felt would be the right sides together (not that drop cloth has a right or wrong side), I then sewed down the sides.

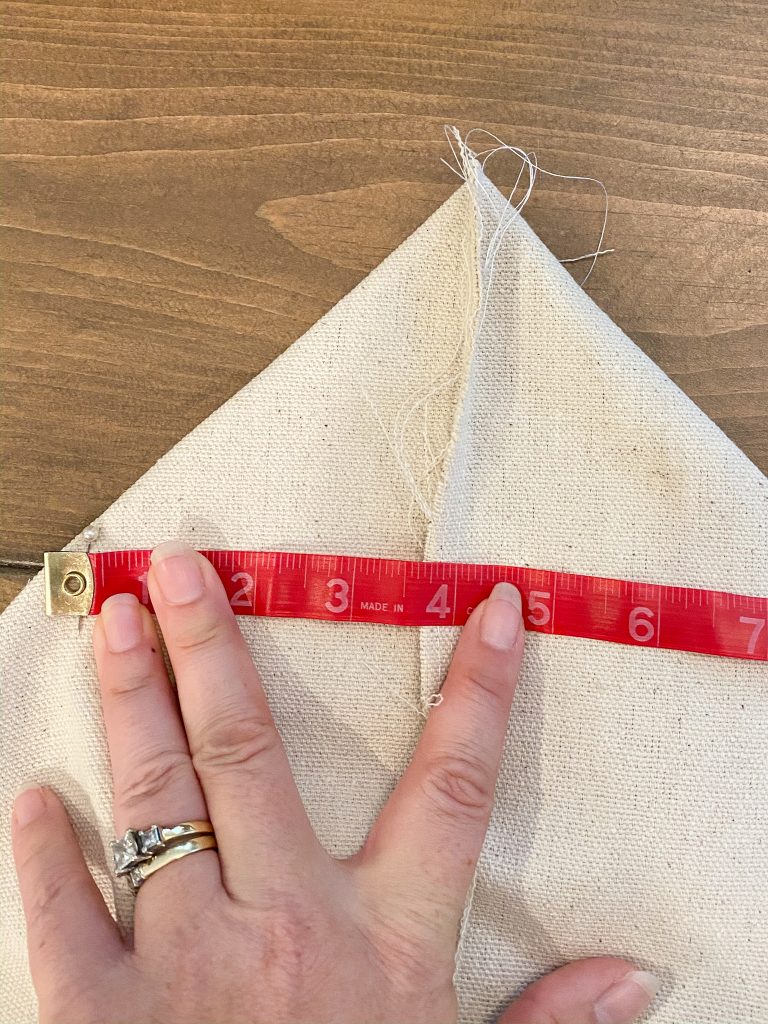
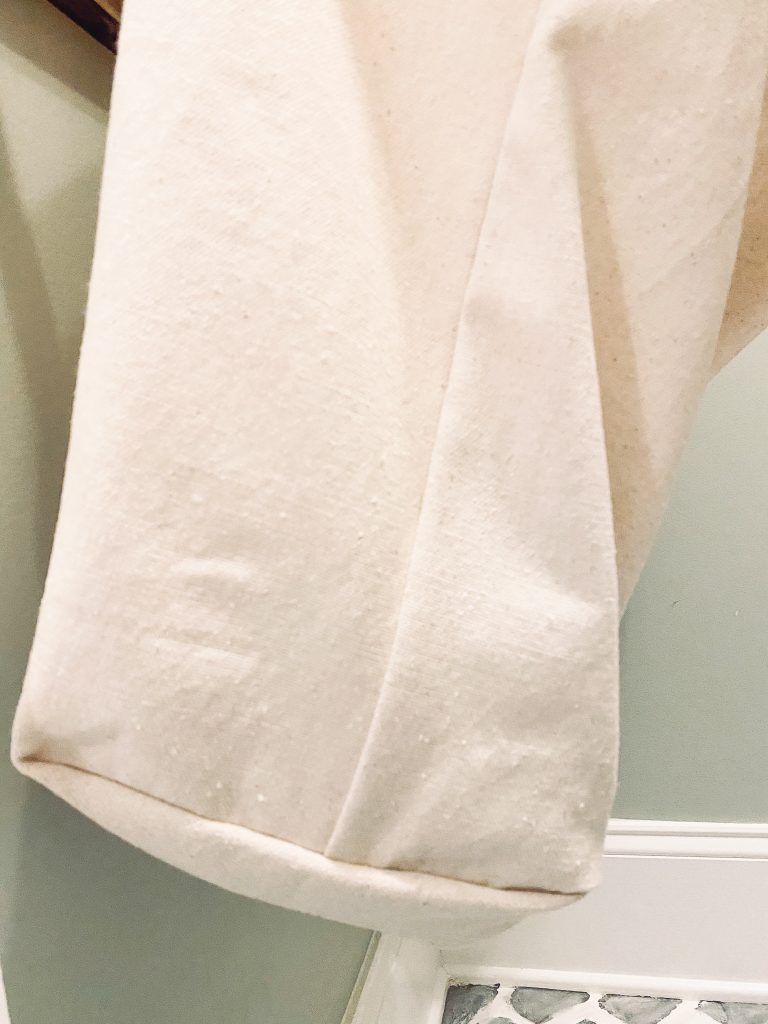
Once the two sides were sewn I measured across the point and sewed. This creates a flat edge similar to something you would see in a bag that can stand up on its own. In my opinion, it also give the laundry hamper bags a more finished look.
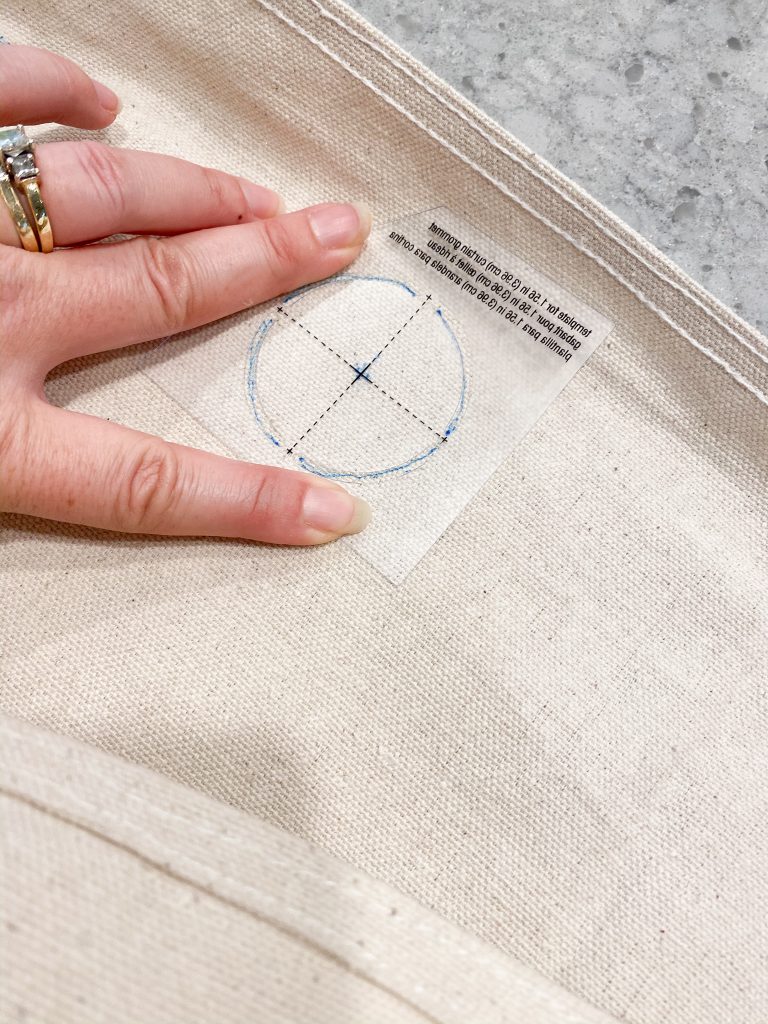
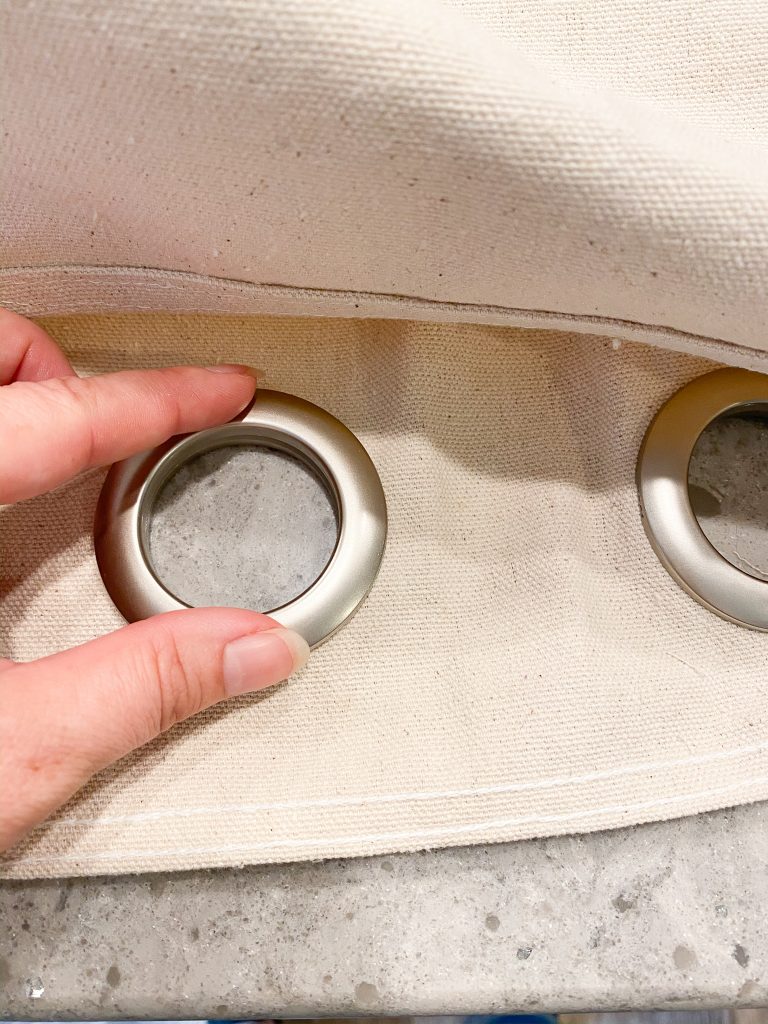
With the left over grommets from the outdoor movie screen project I completed, I made three openings on the laundry hamper bags using the peg board as a guide.
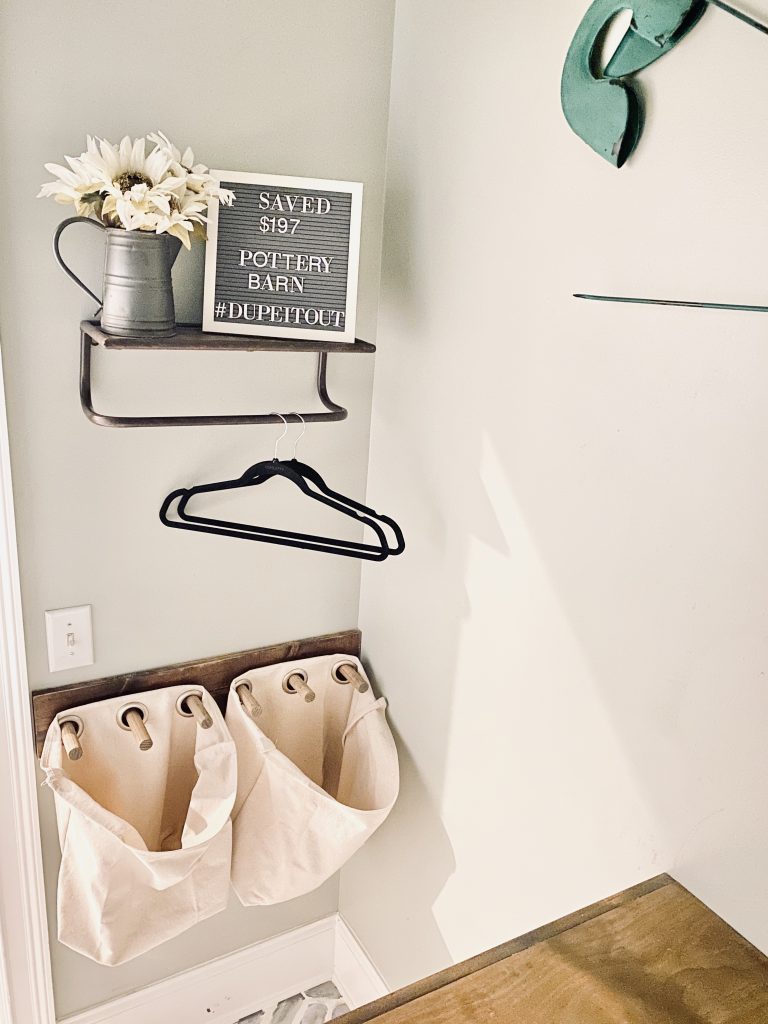
It’s amazing how much room I gained by hanging the laundry hamper bags on the wall.
I am loving this spin on laundry hampers by hanging them on the wall. I also love the fact that I can take the laundry hamper off the wall and dump them into the washer.
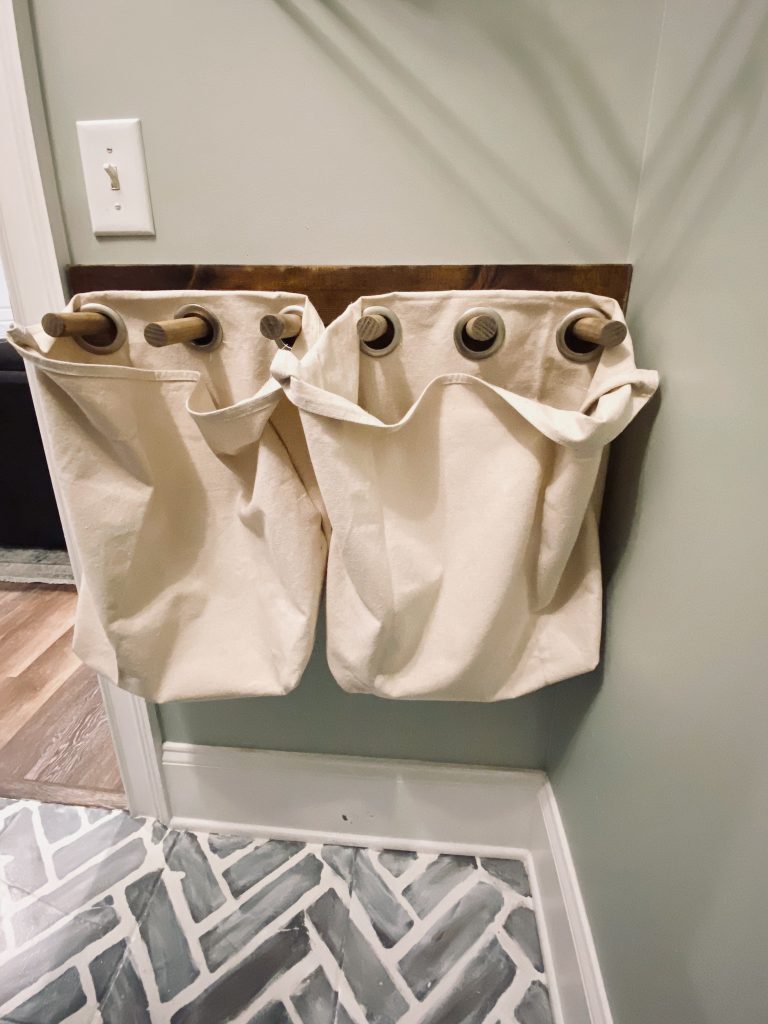
On the other hand I am on the fence about how I feel about the length of the dowels. If I was better able to get more of an angle, I probably wouldn’t need the dowels to be as long.
I was concerned that the laundry hamper bags would fall off the dowels, but once you start adding clothes to the laundry hamper bags, the weight holds them in place.
While the laundry hamper bags may look a little small, I actually prefer to not have overflowing laundry. The laundry loads are a lot more manageable to do a little at a time.
Let’s take a look at the cost.
To buy the similar set from Pottery Barn, it would have cost me over $197 once you figure in the cost of taxes and shipping.
To buy all the materials to create this look yourself, it would cost you approximately $31.29 plus tax.
Because I had everything on hand, this project cost me $0.00 keeping me on track to stay under the $100 budget for this laundry room refresh! And that makes this girl super happy!
Be sure to check back for the full laundry room reveal!
Best,
Brooke
Let's connect!!
Stay connected for all your DIY and organizing needs!

Well this was one heck of a diy done right and saved a bunch of money!! I love how the rack looks.. great hack!!
Thank you!! I love a good dupe.