Homemade Holiday Gifts: Lazy Susan Tray with The Home Depot
**I am a sponsored partner with The Home Depot, but the work and opinions are my own.**
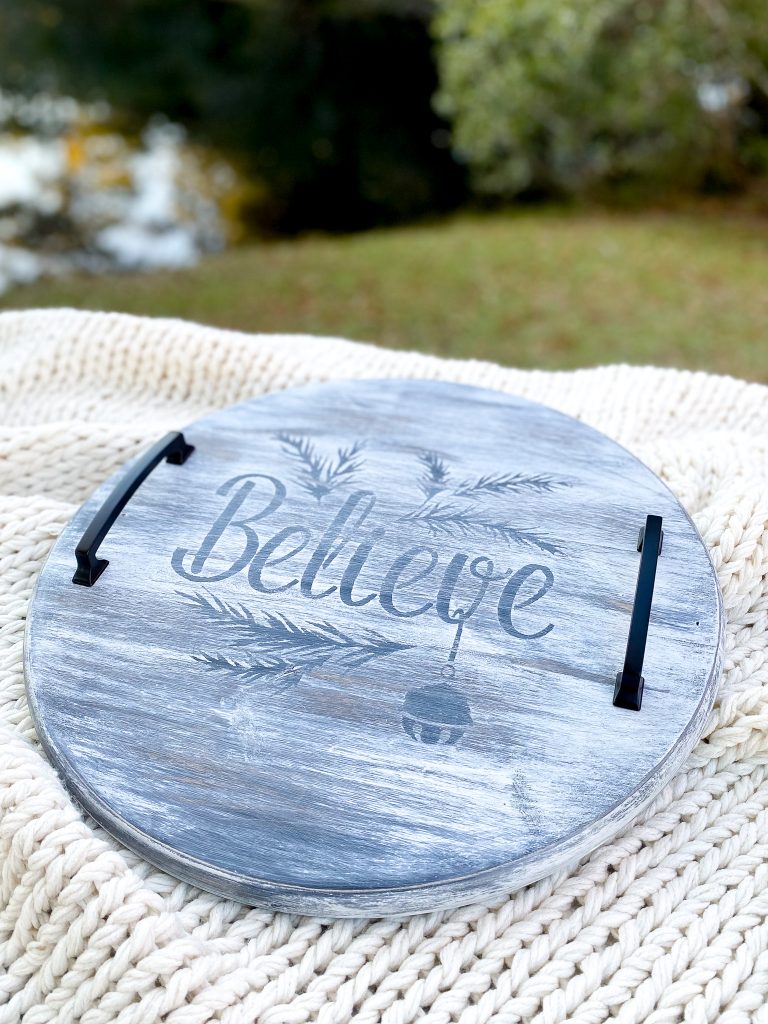
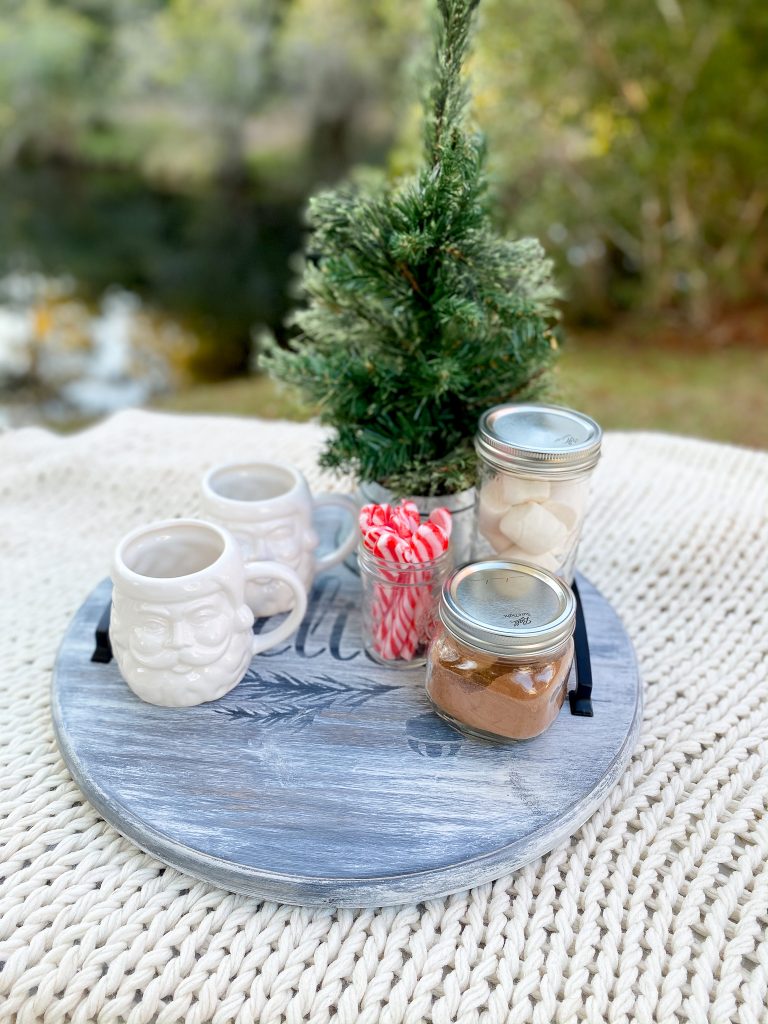
You won’t believe how easy and inexpensive this lazy susan tray was to make!
This holiday season may look a little different from years past. This is why handmade gifts are the perfect answer to keep cost (and stress) down. I am teaming up with The Home Depot to bring you not only a list of great handmade gift ideas, but the best part, you can make them in a weekend!!
For my project, inspired by the lazy susan tray from Ashleigh Lauren, I’m featuring products from Colorshot, stencils, stain, and chalk paint, all conveniently available at The Home Depot and on their website.
Materials
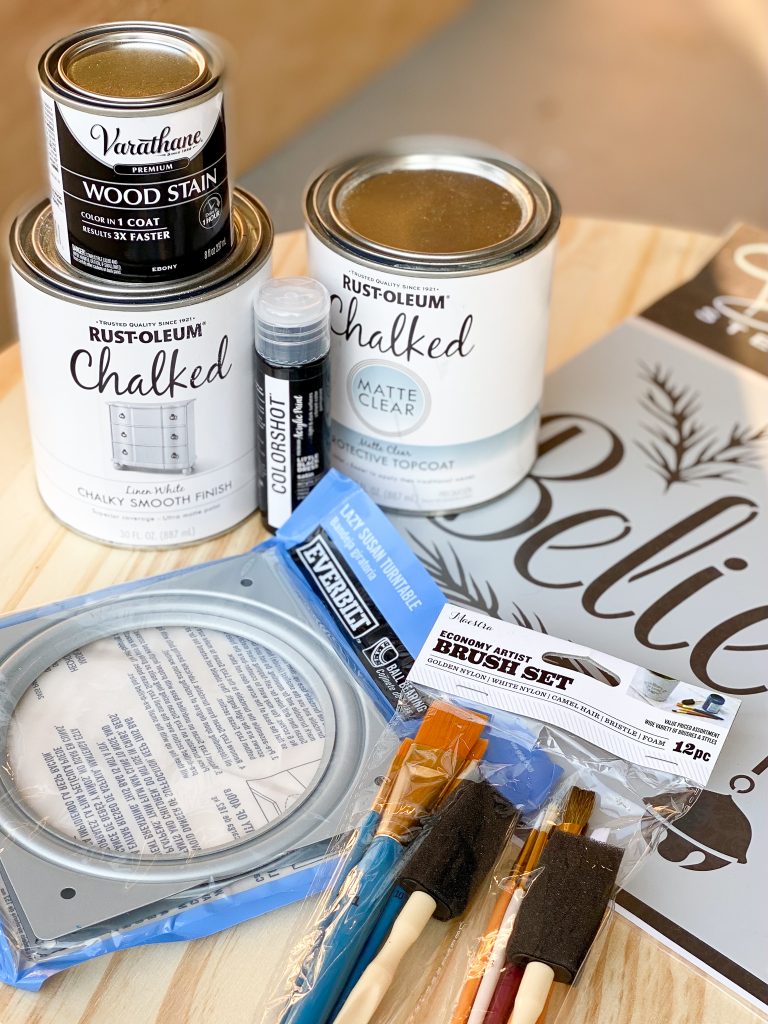
- Wood Round
- Varathane Ebony Stain
- Disposable Gloves
- Lint Free Rag (old cut up t-shirts work)
- Rustoleum Chalked Paint Linen White
- Believe Stencil
- FrogTape Painters Tape
- Colorshot Acrylic Paint Paint Little Black Dress
- Chip Paint Brush
- Foam Paint Brush
- Rustoleum Chalked Matte Clear Protective Top Coat
- Sand Paper 120 Grit
- (4) #6 1/2″ Wood Screws
- Everbilt Metal Swivel Plate
- Liberty Hardware Drawer Pulls
- Longer Machine Screws
- Felt Pads
Tools
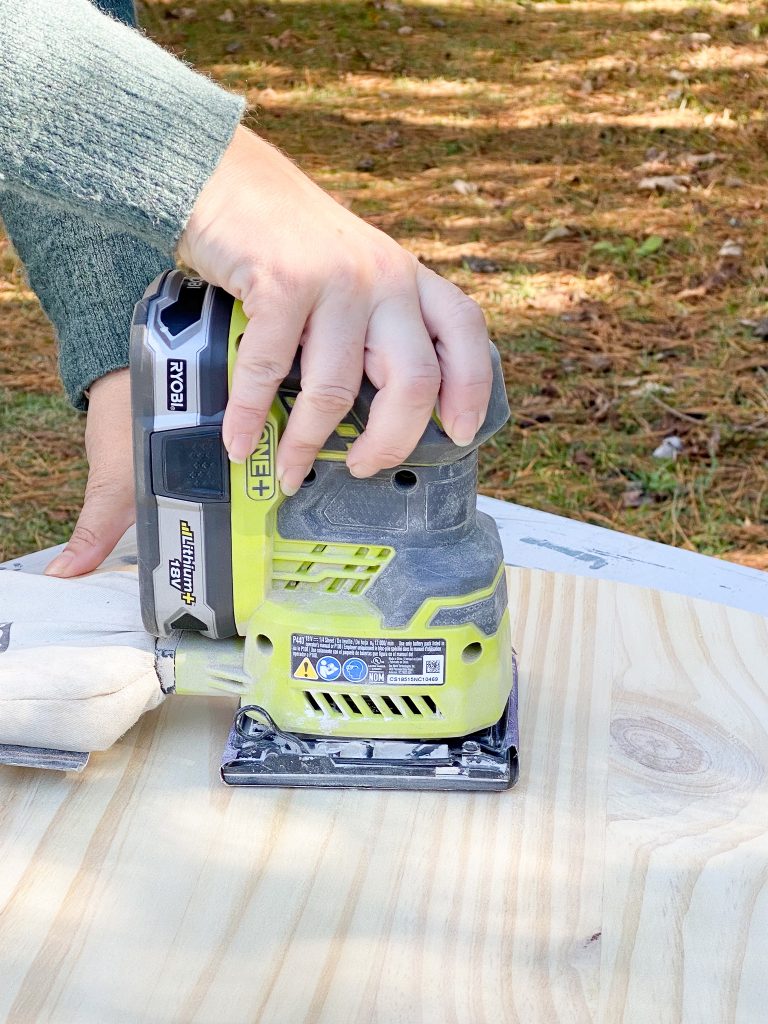
Step 1- Sand the wood round
Using a Ryobi Sander and 120 grit sandpaper, sand off the entire wood round surface, including the edges. This will prepare your wood round for stain.
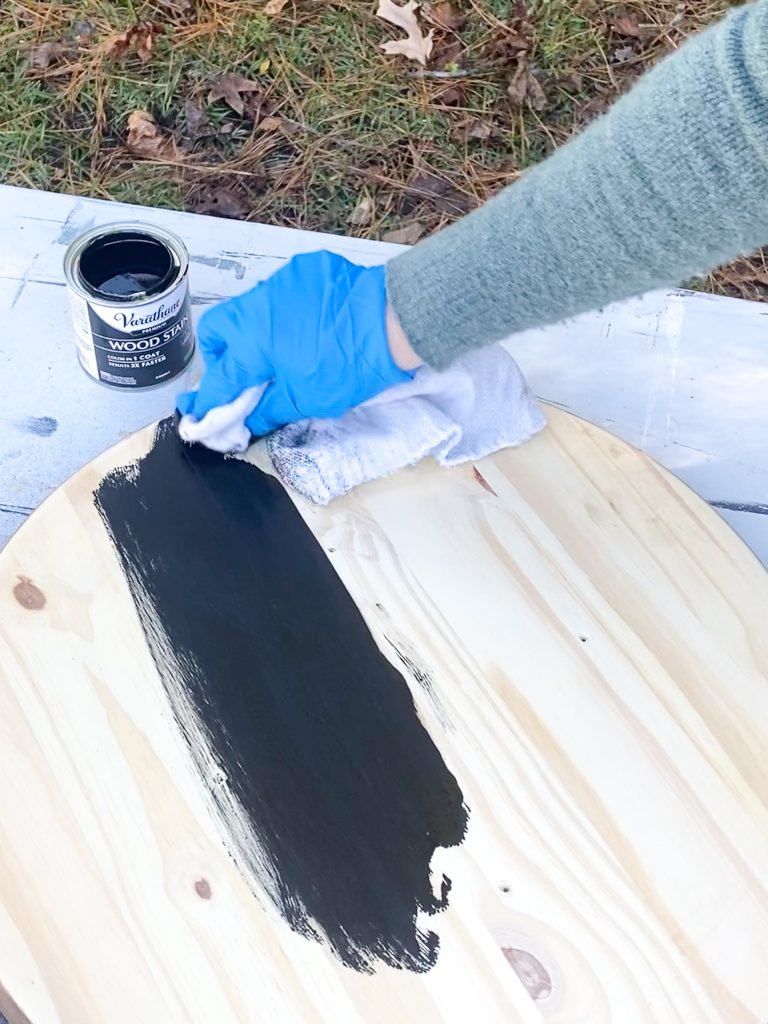
Step 2- Stain
Protect your hands with the disposable gloves and using a lint free rag, wipe the entire surface with the Varathane stain. Let it dry according to directions on the label.
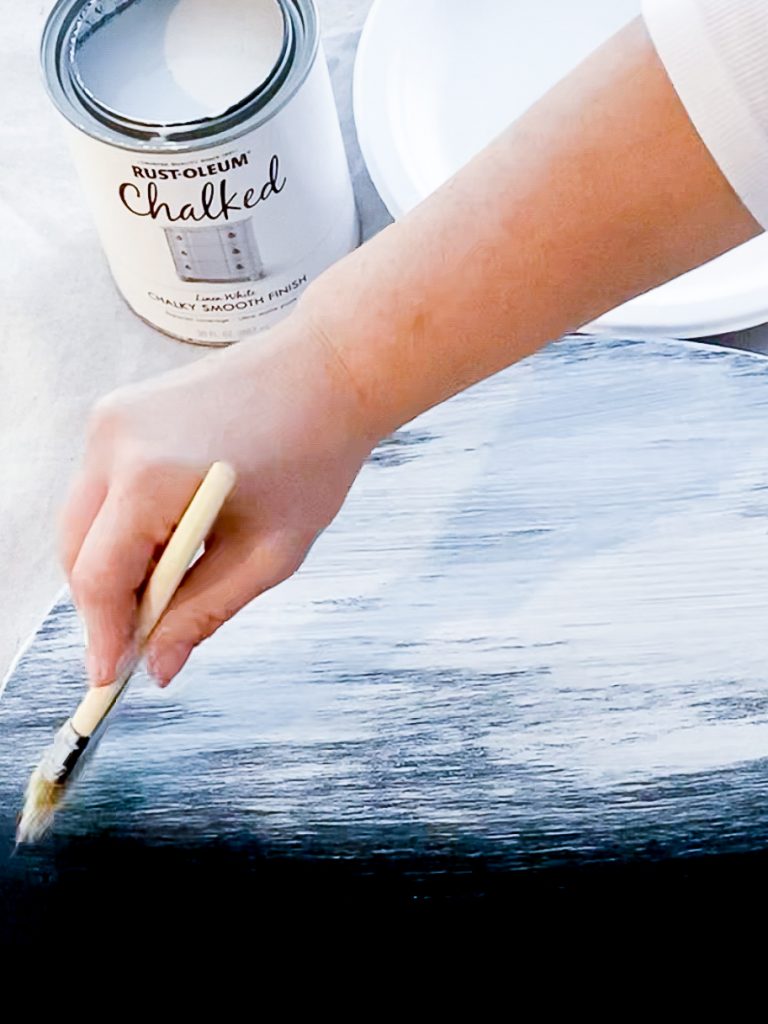
Step 3- Dry brush with chalk paint
This part doesn’t have to be perfect or complete coverage. Using a chip paint brush cover as light or as thick as you want with the Rustoleum Chalk Paint. Let it dry according to directions on the label.
**Paint and stain tip: Start on the back side of your project first. It gives you a chance to try out color and paint techniques. Also, when you flip your project over, it will allow the finished side to dry longer without worry of messing up your project.
Don’t forget to dry brush the edges as well.
Step 4- Center Stencil
After the wood round is dry, place your stencil where you think it looks best. Secure the stencil with FrogTape painters tape.

Step 5- Paint Stencil
Using a foam paint brush and the Colorshot acrylic paint in Little Black Dress, dab the acrylic paint over the stencil using an up and down motion.
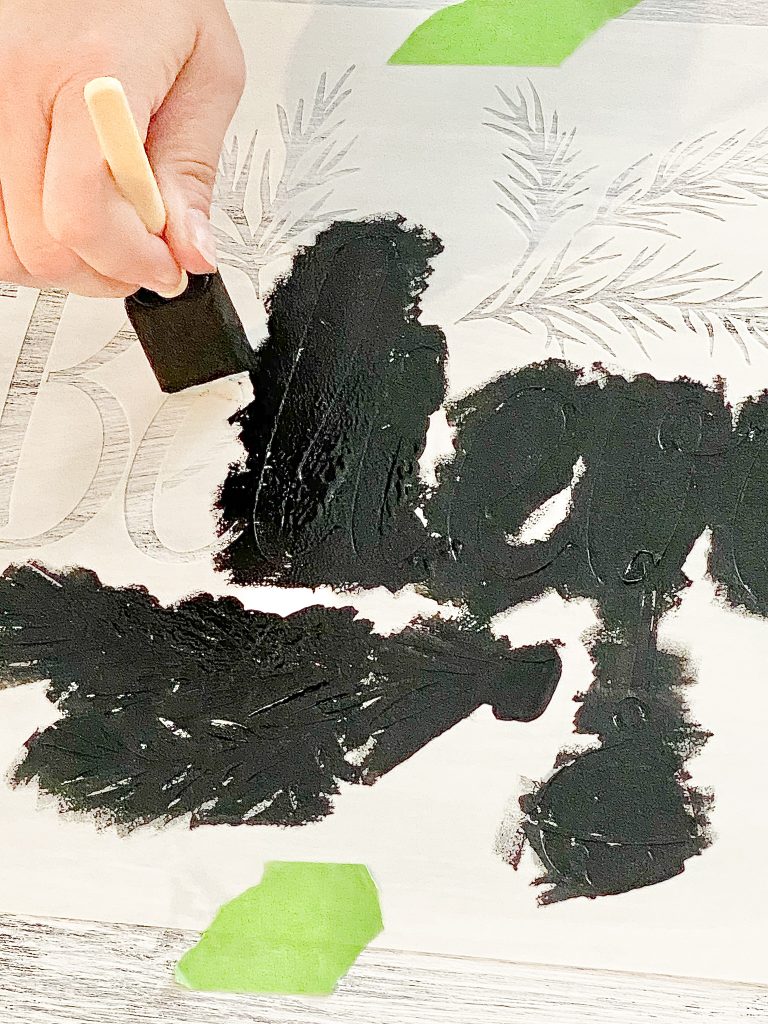
Try not to drag your brush or push too hard or the paint will bleed under the stencil. Once you’re done, don’t wait for paint to dry before removing stencil; just be careful.
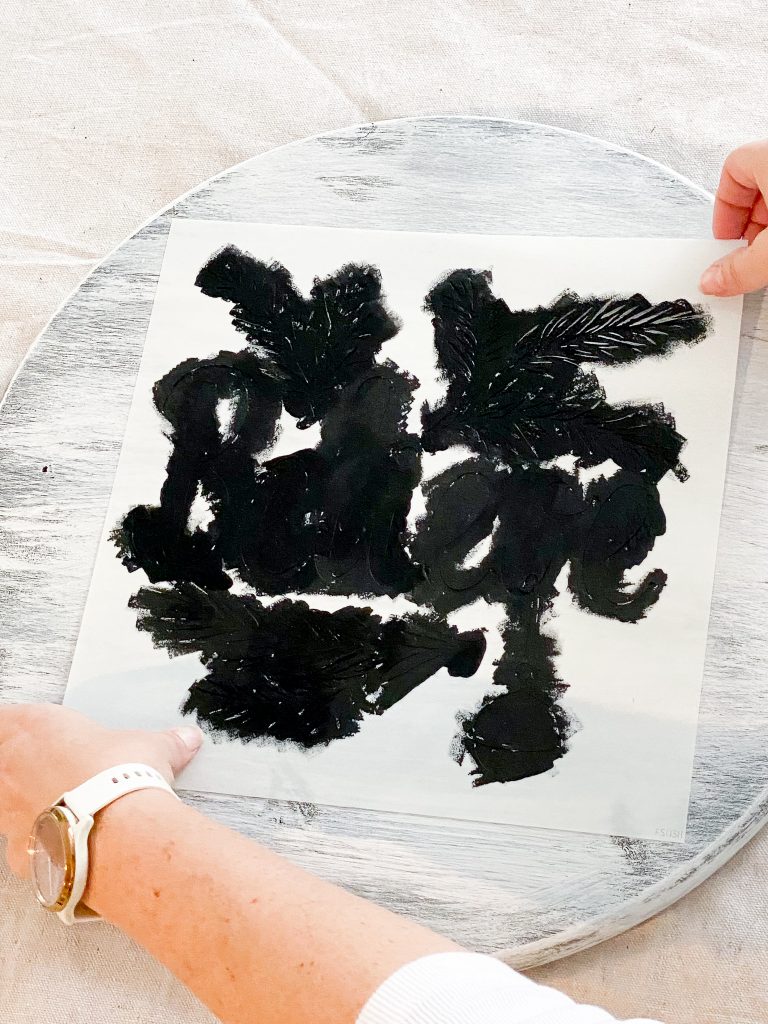
Let the paint dry.
Step 6- Make it look loved
This next step is completely optional as you may just want to leave the stencil as is.

To get a rustic and weathered look, use 120 grit sandpaper, and hand sand over the entire piece.
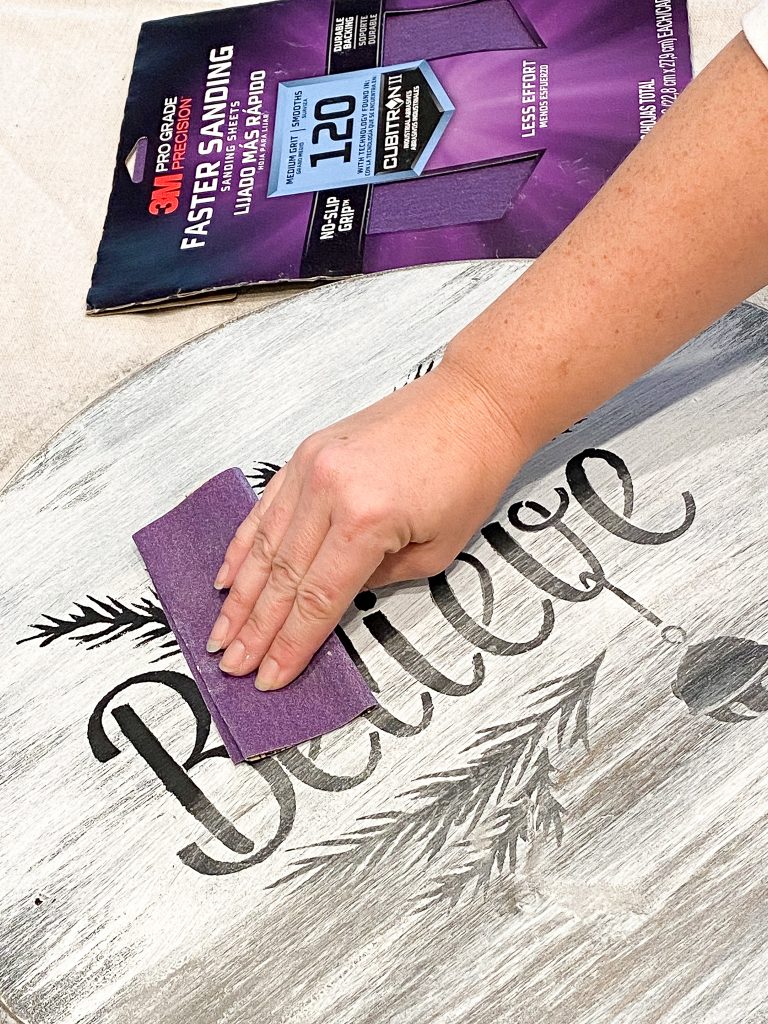
Wipe down with a lint free rag to get off any dust left from sanding. Even if there were any bleeds or imperfections when stenciling, they don’t look as obvious.
Step 7- Protect
Using the Rustoleum Chalked Ultra Matte Protective Top Coat and a foam brush, paint over the entire top and sides of the piece. This will help prevent any spills or drips from ruining your gift.

Step 8 – Add swivel plate
To make the lazy susan tray move, flip the wood round over and center the swivel plate in the middle. Using small screws and the Ryobi Drill, attach the swivel plate to the side of the tray without the stencil.
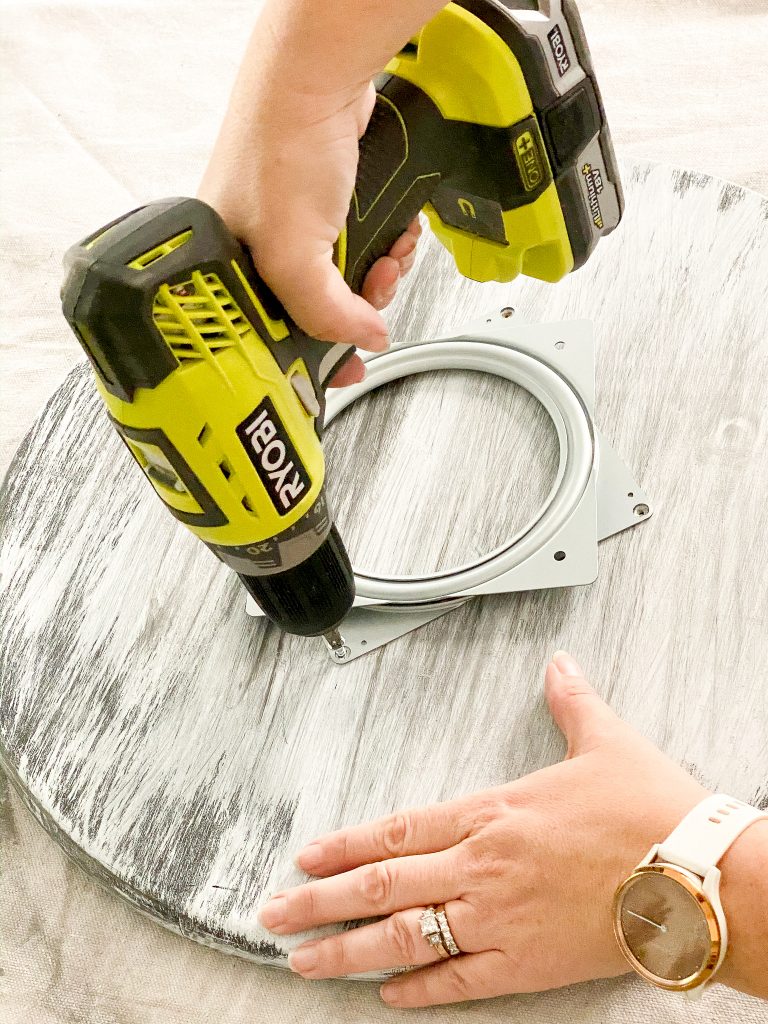
This would also be a good time to add felt pads to the bottom to protect the surface the lazy susan will be placed.
Step 9 – Carrying handles
To make the lazy susan look more like a tray, you can add drawer pulls as handles in any finish and style you like. Using the painters tape, make it the size of the handles and poke holes where the screw will go in.
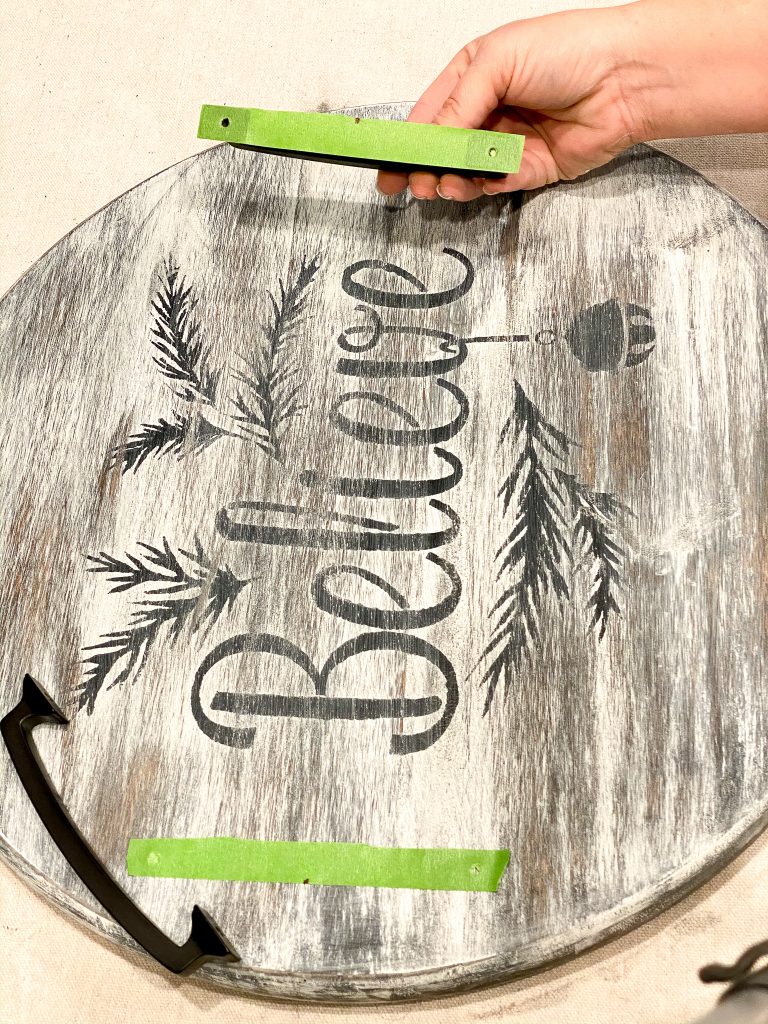
Place the tape on the top of the lazy susan tray where you think the handles look best. Measure just to be sure the handles are the same on both sides.
Using a drill bit, drill through the wood, be sure to protect the surface you are drilling on.
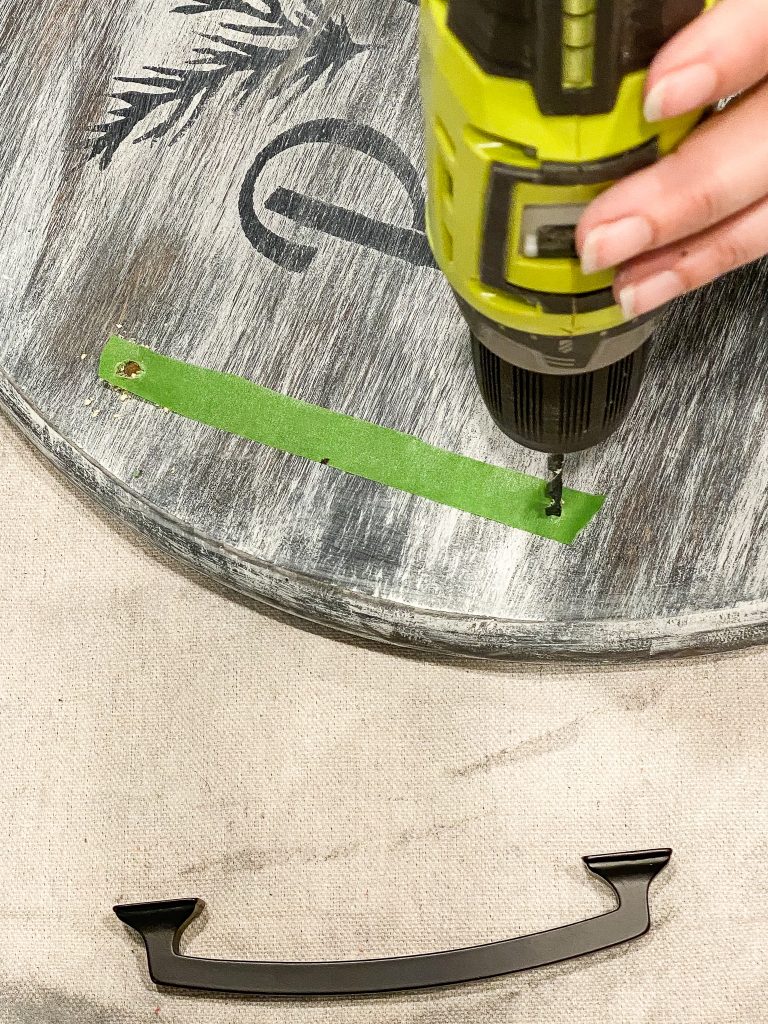
Since the wood for the lazy susan may be thicker, use longer machine screws inserted from the under side, to attach the handles. Tighten with a screw driver.
Step 10- Watch your loved one light up with joy!
Handmade gifts are a sentimental way to show the special people in your life you’re thinking of them. You can use any color combination you like to better match your special someone’s decor. The Home Depot wants to help you with great gifts ideas that are sure to keep spirits up, cost down, and make memories for years to come!
Don’t forget to check out The Home Depot Handmade Holiday Gift Ideas for even more inspiration.

Happy Holidays,
Brooke
Let's connect!!
Stay connected for all your DIY and organizing needs!