DIY Easy Farmhouse Style Wood Box
**This post may contain affiliate links, which cost you nothing extra, but help me update my decor one box at a time.**
This easy and versatile farmhouse style wood box is perfect for holiday decorating or corralling your stuff.
We’re on week TWO of the Deck the Home Blog Hop!! Last week was so much fun and this week, the projects involve wood. I am partnering with Hometalk to host a DIY workshop in my area, and the first project is going to be this super easy farmhouse style wood box.

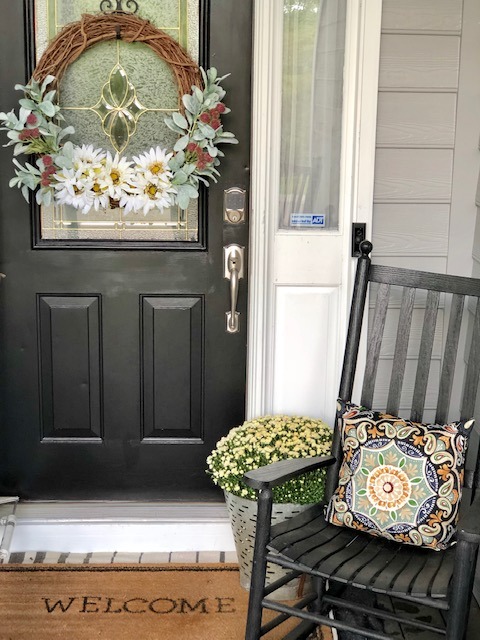
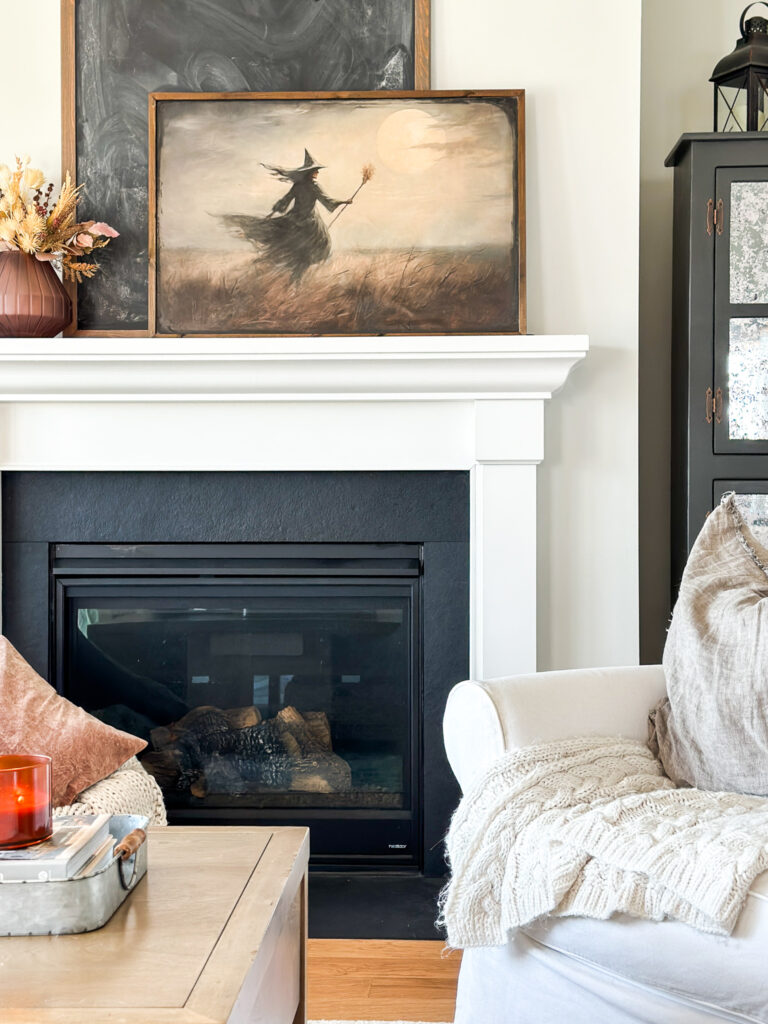
Of course when I styled this box, I had it for fall, but I’m going to show you several ways you can style it!
First I need to show you just how easy it is to build this farmhouse style wood box!
Supplies:

Wood
1 x 6 cut to 12.5 inches (1)
1 x 4 cut to 14 inches (2)
1 x 4 cut to 5.5 inches (2)
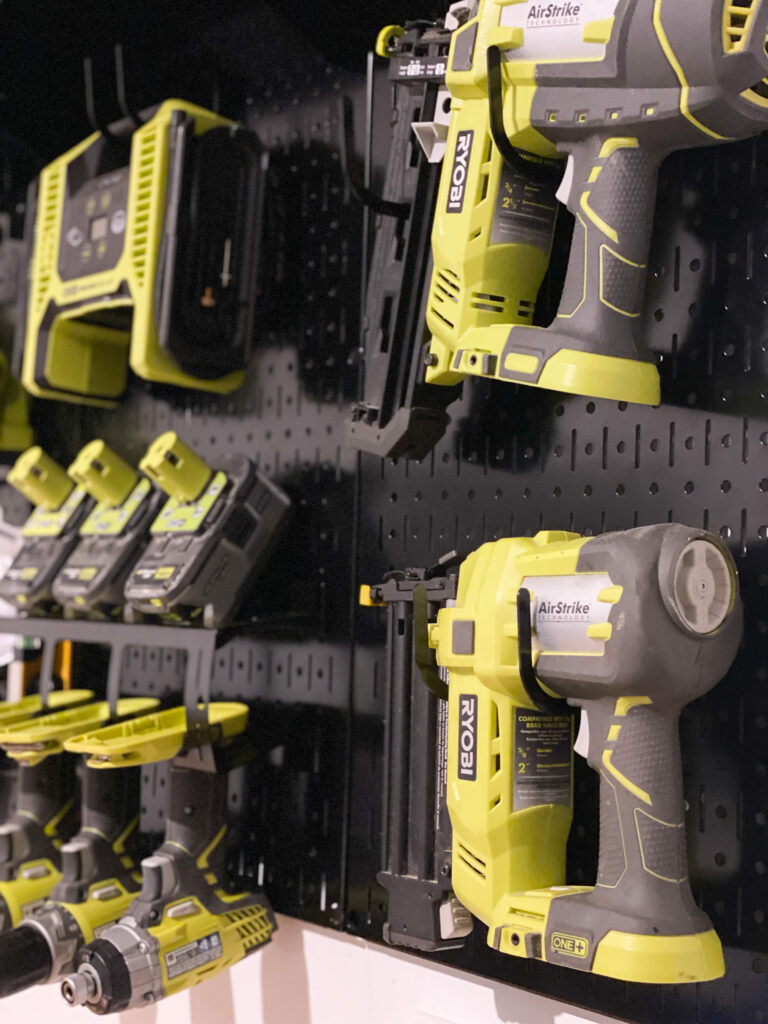
**Whenever you operate power tools, ALWAYS wear eye protection**
Measure and cut all of your pieces.

Sand all the edges of the pieces so they are nice and smooth. I also recommend dry fitting the pieces to make sure it’s going to fit nicely together. If not, you will need to make any necessary adjustments.
Add wood glue to the short end of your 1 x 6 and smooth out the glue.
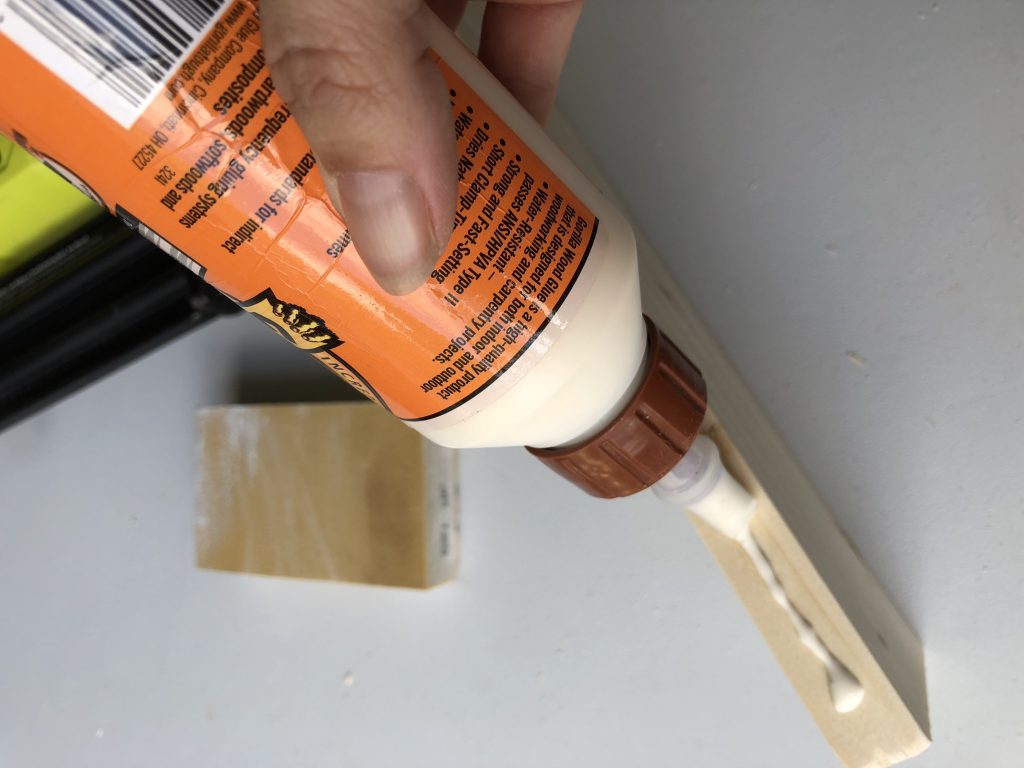
Then line up the short end of the 1 x 4 all the short end of the 1 x 6.

Using the brad nail gun, and making sure you’re not too close to the edge, nail the pieces together.

Repeat the above steps for the other short side of the box, then lay the piece on its side. Add wood glue to the edges.

Lay the 14 inch 1 x 4 and nail. Repeat these steps for the other side of the box.

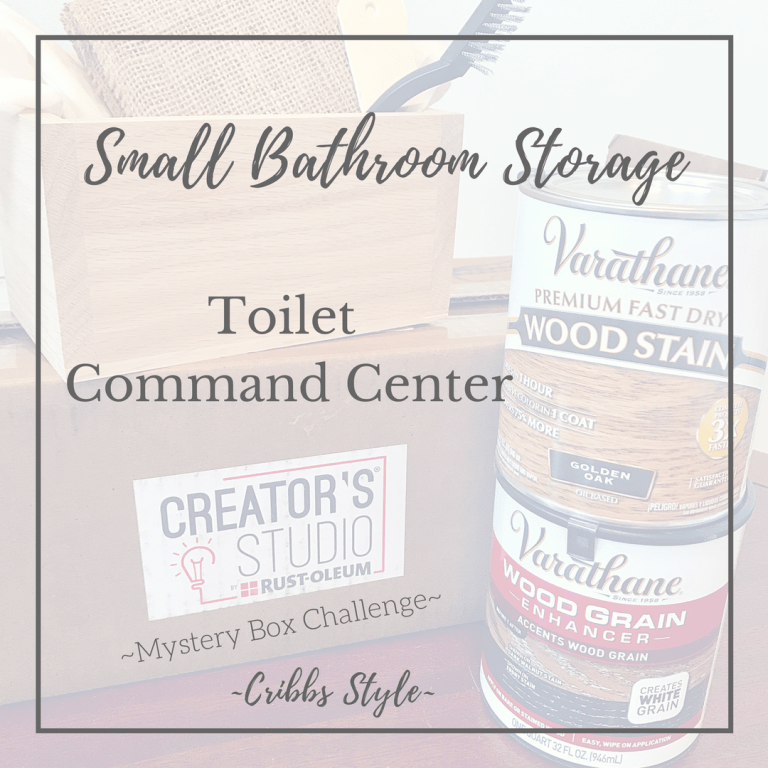
That’s it! I told you that building this farmhouse table top box would be easy! After the wood glue dried, I painted the box with chalk paint, distressed it and used stain to give it a rustic look. You could use any color paint or stain to compliment your decor.

There are so many fun ways you can use this farmhouse table top box!
Hot Cocoa Station

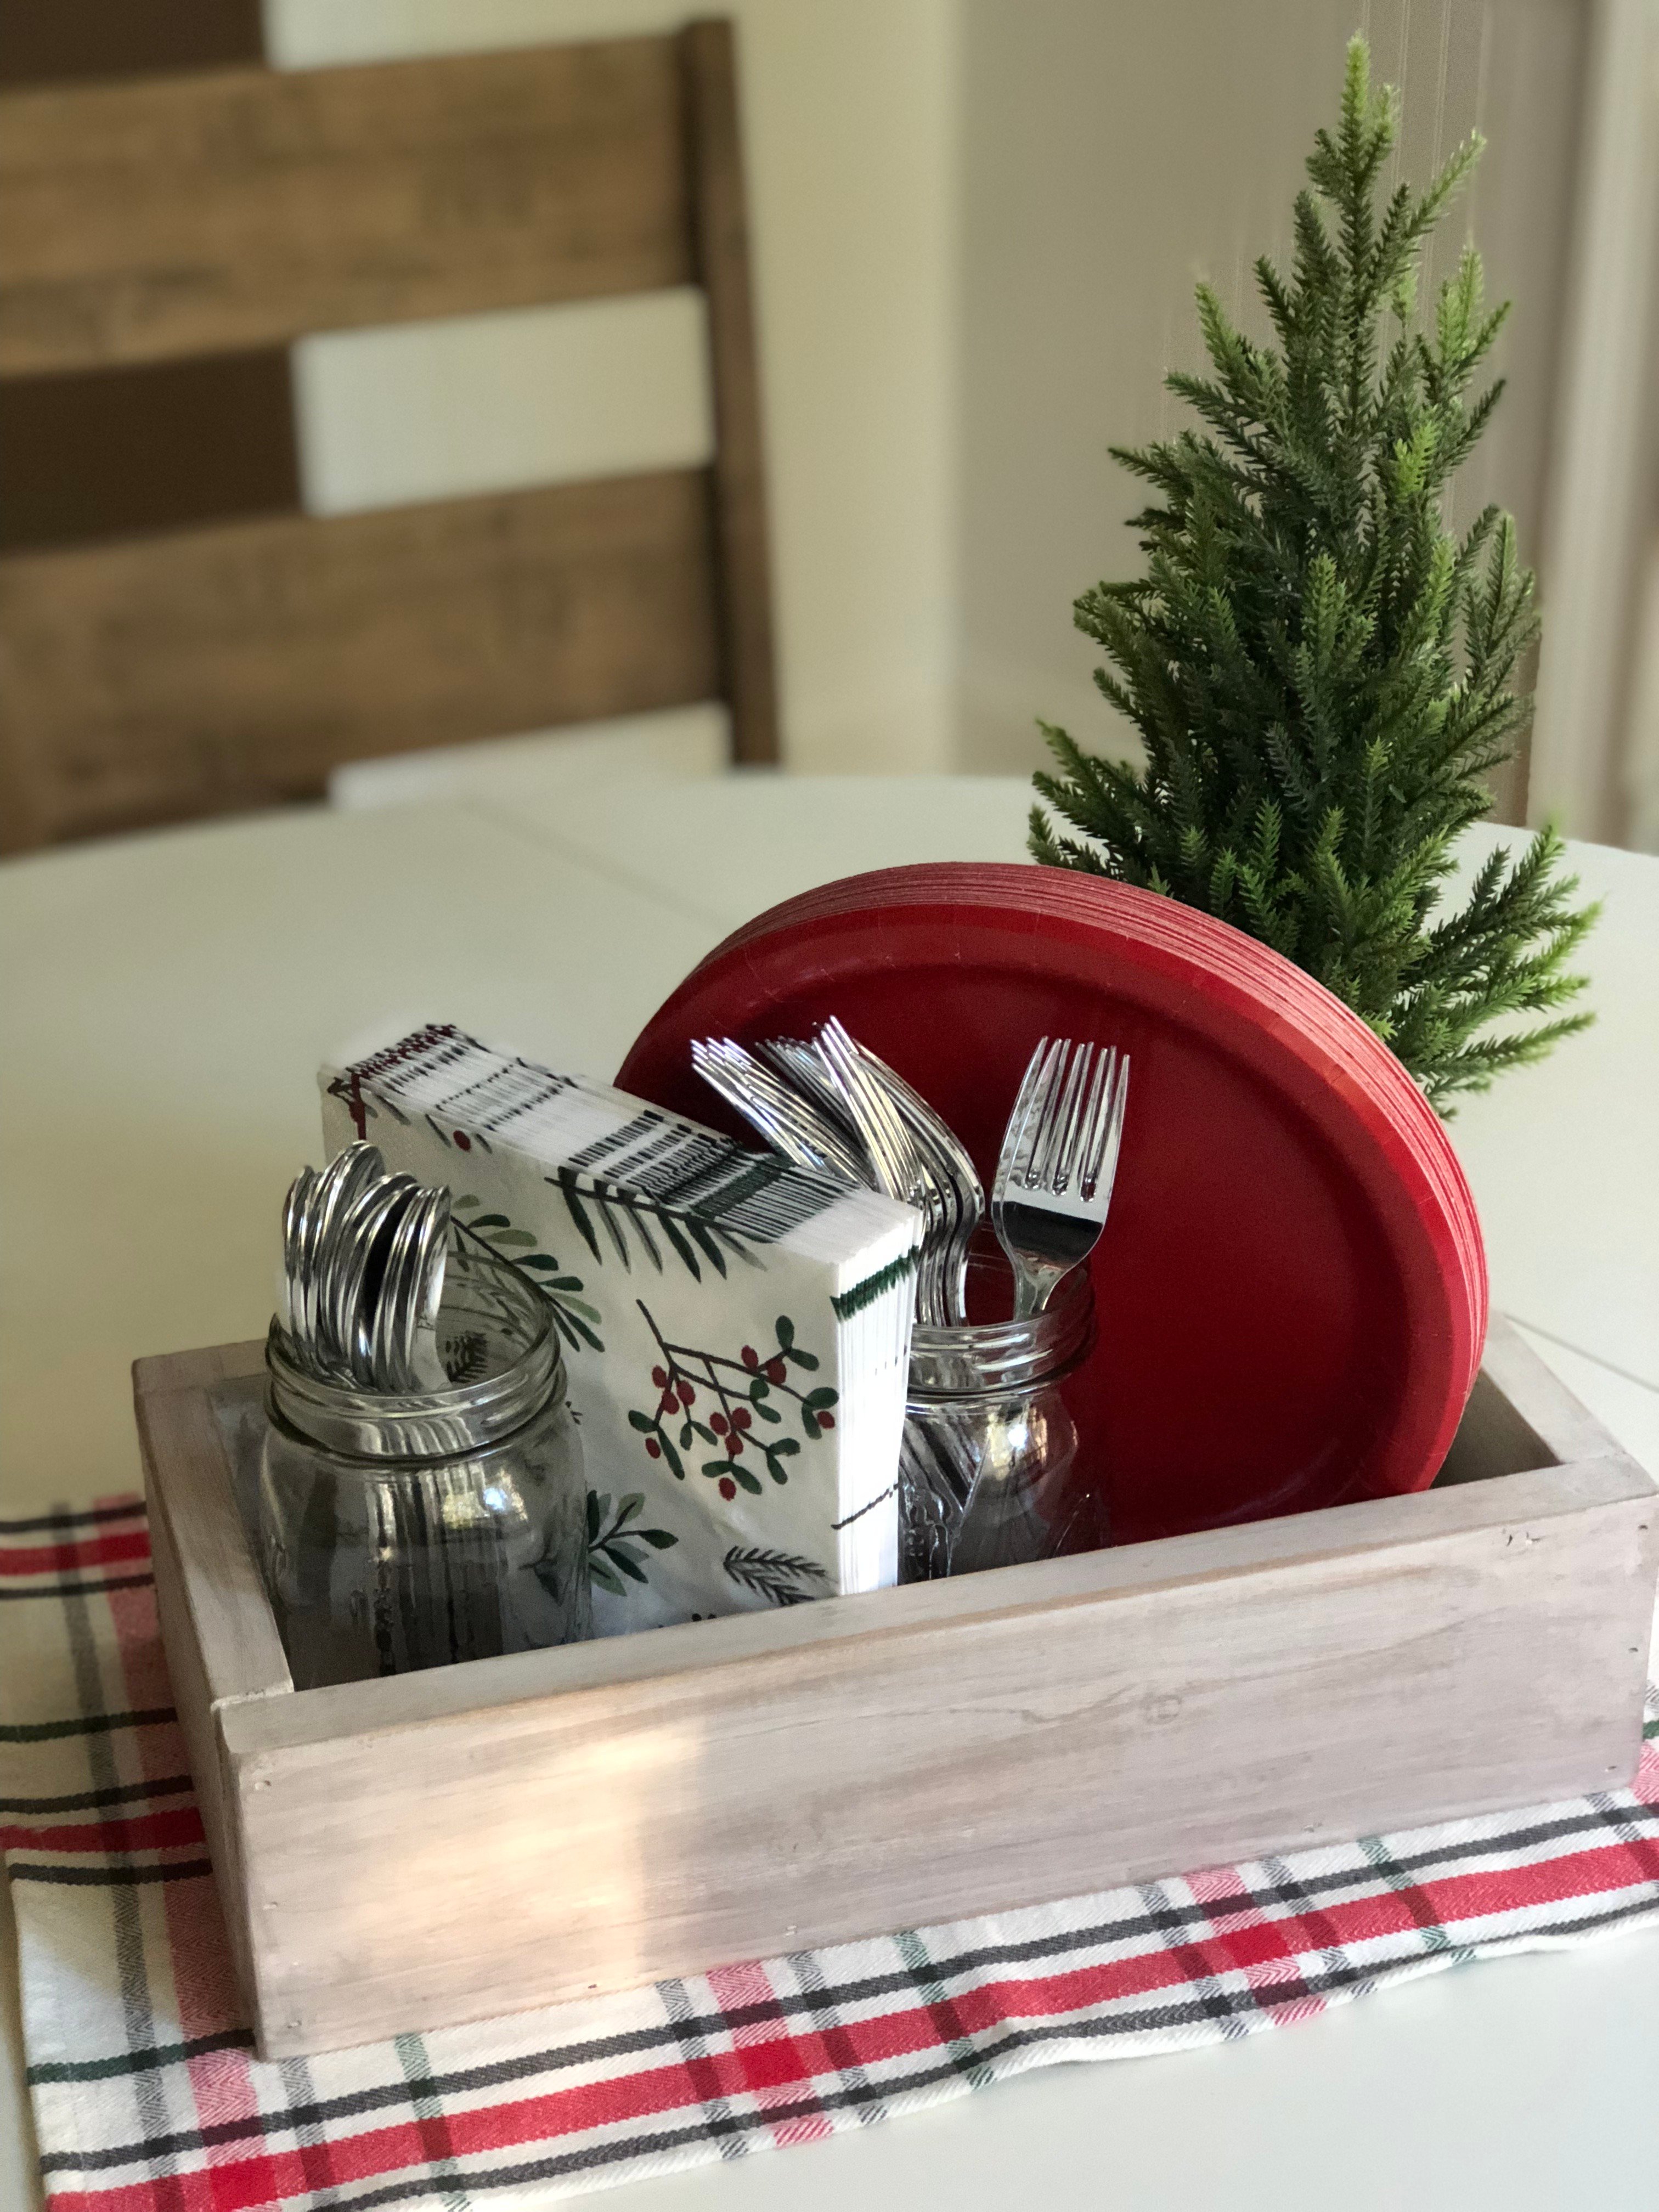
Utensil Caddie
Toilet Command Center

Use the farmhouse style wood box to hold your mail, be a drop-off spot for kids work, hold your TV remote next to your couch… the possibilities are endless.
I hope that you loved this project as much as I did, but also don’t forget to check out the other wood projects in the Deck the Home Blog Hop!
XOXO,
Brooke
Let's connect!!
Stay connected for all your DIY and organizing needs!
You can’t go wrong with a pretty wood box! So versatile! Thanks for the tutorial, must make! Pinning!
the idea to show it used in different spaces is so great. LOVE a versatile piece like this!!
Thank you Carmen!
Love how you can use this wooden box in so many different ways!
There are so many different and cute uses!
So stinkin easy! Thanks for all the tips!
Thank you Amy!
This wood box has so many uses and I love that you share some with me! Nice work!
Thank you Megan!! The best part is you can adjust the length to fit your needs too!
This is awesome and so easy! I don’t know why I never thought about making one myself. But now, I’m going to have to make (or three). Ha! I love the idea of wrapping a ribbon around it, too. Love!
Thank you Amy!! You could even add a little stencil to give it more personality.
So versitale! I love it!
Thank you Jessica, I really did love how easy it is to transition different ways around the house.
This is so cute! and it would be perfect in my house in the bathroom for little extra things! Thanks for sharing
I totally agree!! Glad that you liked it!!
This box is so versatile, I love your Christmas cocoa station.
Thank you Sarah!! My girls were super excited when I pulled that look together!
I love your little box, and all the ways in which you’ve styled or used it. I personally like the Hot Cocoa station 😀
Brooke how smart is this!!!!!!!!!!!!!!!!! I love the crazy amount of uses you could do with this!
Thank you Lidia!!!
This is a great project that can have so many uses@
Thanks for sharing all the details on how to make my own farmhouse style box.
You have it decorated SO cute!
Thank you so much Meegan!
The bow on that hot coco station is absolutely amazing! I just got my own nail brad gun and have been working on projects with it all week… I’ll add this one to my list!
Thank you so much Betsy!! I love my nail gun so much!!