How we designed and organized our kitchen pantry closet.
**This post may contain affiliate links, which cost you nothing, but help me to buy more storage containers for my pantry.**
Take your builder grade kitchen pantry closet to a fully functional beautiful space.
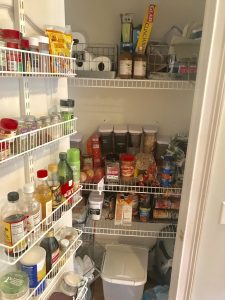
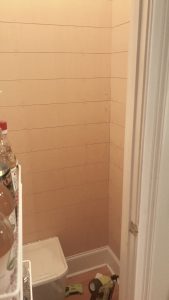
I hate wire racks. There I said it and I don’t feel bad about it at all. As an organizer I know that you can still organize despite them, (blah, blah, blah), but as a personal preference… I want them all gone. GONE! When we looked at our current house to buy, I felt my eye twinge when I opened the kitchen pantry closet and not only saw wire racks, but a huge gaping hole where one had been ripped out of the wall smack dab in the middle. It was almost like adding insult to injury. What’s even more crazier, is we lived with the pantry like this for the better part of over a year. It’s like I don’t even know myself anymore.
I finally had enough and decided it was time to make our kitchen pantry closet a more useful space for us.
Here’s how we transformed our pantry!
Step 1: Plan
Before everything gets pulled out, decide how you want your kitchen pantry closet to function, and what you want to stay in there once it’s all put back together. I knew that I wanted to take the back of the kitchen pantry closet door organizer off as it was only there as a temporary fix.
**As a side note, I love this door organizer, here’s a similar one, and it has had several different lives in each of our houses. It’s very useful to utilize the back of the door space which is often overlooked. Not only has it served as additional pantry space, but it’s lived in the linen closet and is currently living in our girls toy closet. **
We had already acquired a good amount of baskets and my favorite OXO containers. If you don’t have anything like this, we’ll cover that shortly. I don’t recommend purchasing items in the beginning of an organizing project until you see what is going back into the space.
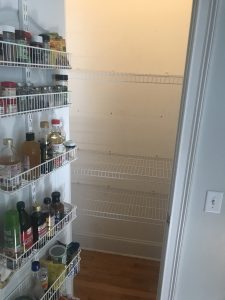
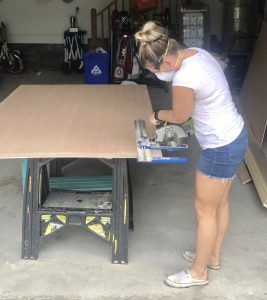
Step 2: Demo and prep
Pull everything out!
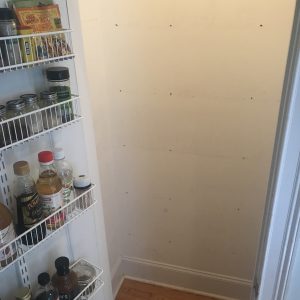
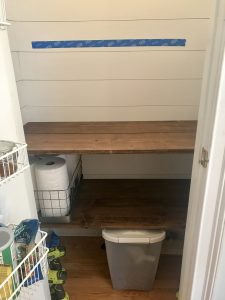
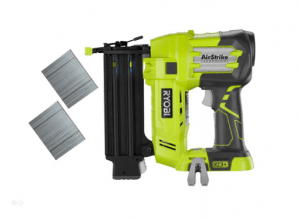
The wire racks that were in the closet had some pretty fierce wall anchors which left some larger holes. Normally I would recommend patching all the holes and painting to give the space a fresh look prior to doing any installation of your new system. However for us, this was the first space I wanted to try my hand at shiplap. Since then we’ve put shiplap in two other spaces, including our home office, but the kitchen pantry closet it where we figured out the process. Deciding to do shiplap meant the walls would be completely covered anyway and also meant we could skip this step and move on. My Ryobi Brad Nailer is my BFF and was super important in this space.

Step 3: Shelf spacing and depth.
After we were finished with the shiplap, we needed to decide how many shelves we wanted in the space and how far apart we wanted the shelves to be. I didn’t want to have adjustable shelving, but there are options if you would prefer to have the ability to adjust your space.
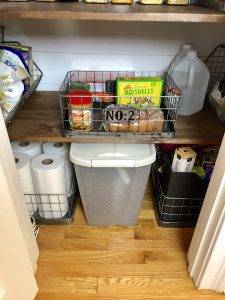
Our first shelf height was determined using our dog food container as a reference and we measured up from there. I used painters tape to mark where I wanted each of the shelves so I could visually see if it would look ok as well as be functional. I spaced the shelves according to how I would have the rest of the kitchen pantry closet organized and the containers we already had on hand.
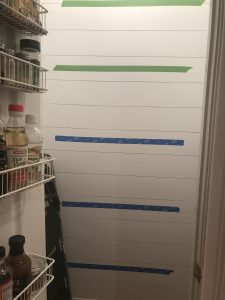
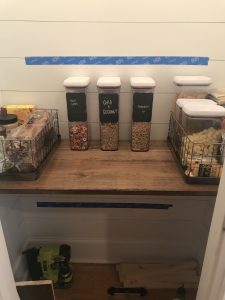
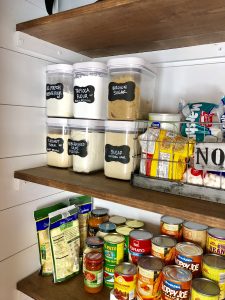
The middle shelf would serve as a counter space and I made it and the bottom shelf 18 1/2 inches deep. To make sure the spacing and function were comfortable we installed the middle shelf first. The spacing in between purely on the containers that would live in the space. I took the measurement of the OXO containers we use to hold the cereal and the snacks and added a couple inches to account for picking up and lifting the container off of the shelf. This particular shelf would be where the kiddos would have the most access and I wanted it to be easier for them

The top three shelves are only 14 inches deep so I could still access them and easily be able to get things in and out of the kitchen pantry closet.
Step 4: Installation
I used 1″ x 2″ pieces of wood as the shelf bracing and did simple straight cuts using my Ryobi Miter Saw.
The first piece I installed for each shelf was the back wall piece. I used my Ryobi Stud finder to know where to screw into the wall and drilled pilot holes before securing the wood brace into the wall. I then measured the side pieces according to the depth of the shelf taking into account the piece already on the back of the wall. Located the studs, drilled the pilot holes, and screwed them into the wall. Then repeated the steps for the remainder of the shelf brackets.
We gave the walls and brackets a coat of my favorite white, Benjamin Moore’s White Dove, mixed at Lowe’s in their Valspar Reserve Satin paint.
The wood we used for the wood shelves was just common wood stained in Minwax Special Walnut, then a coat of Minwax One Coat polyurethane to protect the wood from any spills. Not sure if we wanted to secure the shelving into the wood bracing, we left them as is and they have not shifted at all. We can always go back later and secure with nails, but the weight of what is on the shelves has held them in place.
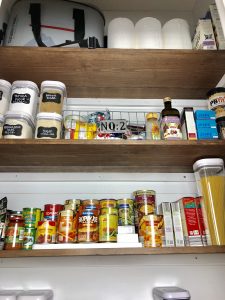
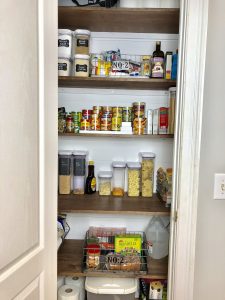
Step 5: Put everything back.
In my YouTube video I explain the thought process on how we decided how we wanted to organize our pantry. The key is figuring out what you’re going to use the most and what you want to have direct access too. In the video I talk about how not everything needs to be taken out of their original packaging.

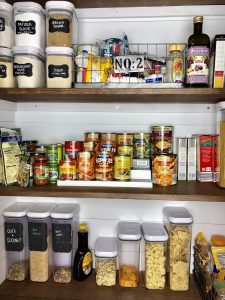
I cannot believe how much this update has improved our lives!!
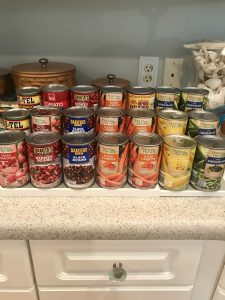
I am in love with this pantry as much as I was the first day we put everything back together. The shelving is way more functional. And the pantry is better organized especially since adding back the shelf that was missing. If I wanted to go to Costco or Sam’s Club, I actually have a space to keep items in and have plenty of space left over.
Now I’m off to rid our house of the remaining wire shelving!
XOXO,
Brooke
Here are a few of my favorite things:


Tools and supplies used:


Let's connect!!
Stay connected for all your DIY and organizing needs!