Easy DIY Furniture Paint Makeover
**This post may contain affiliate links, which cost nothing additional for you, but allow me to keep a piece of furniture out of the landfill.**
Before you get rid of that old piece of furniture, here’s a super easy DIY furniture paint makeover.
My Nonny was known for buying all new living room furniture what felt like every six months. I’m fairly certain she was on a first name basis with the small town furniture store and I’m pretty certain she was one of their best customers. I can’t even remember how, but I found myself with one of the side tables she purchased and growing up, it was next to my bed.
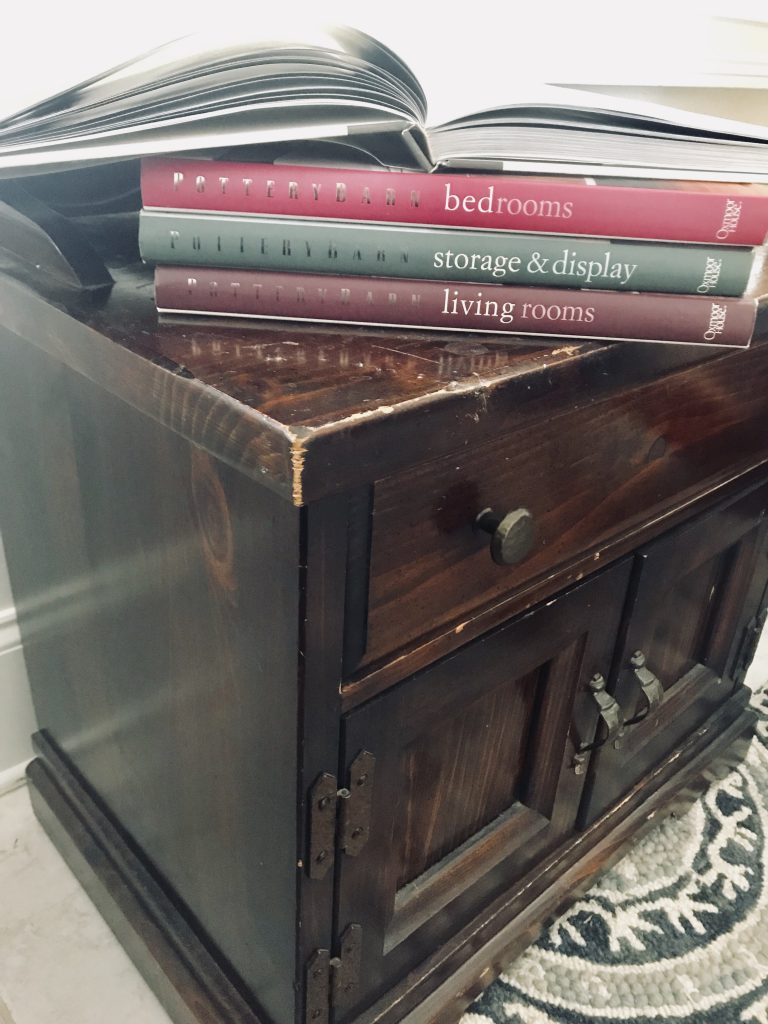
You can see on the corner, as a nervous habit, I used to dig my nail in when I would talk on the phone. This piece protected my diary, heard its fair share of teenage chatter and heartbreaks. When I got a place of my own, she came with me. Mostly because she had grown up with me and mainly because it’s the last piece of furniture I have from my Nonny, who passed away my junior year of college. It’s one of those pieces that as long as I’m alive, will never go away.

My original thought was to strip her down and stain her back a different color. I also knew I wanted to give her hardware a much needed upgrade as well.
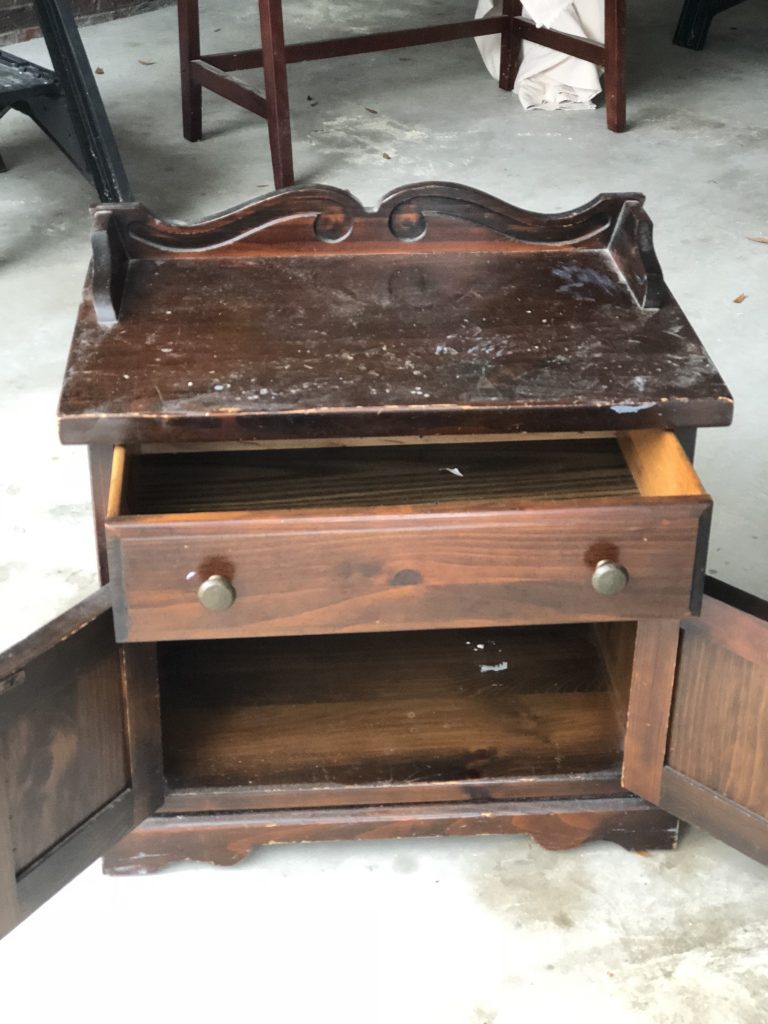
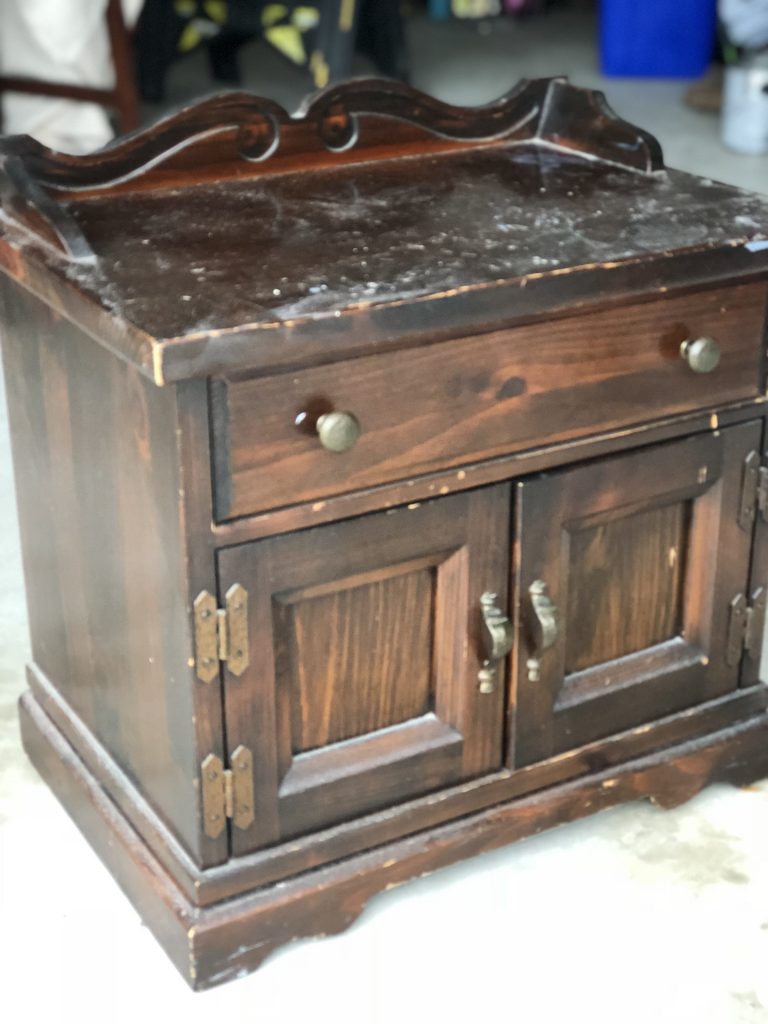
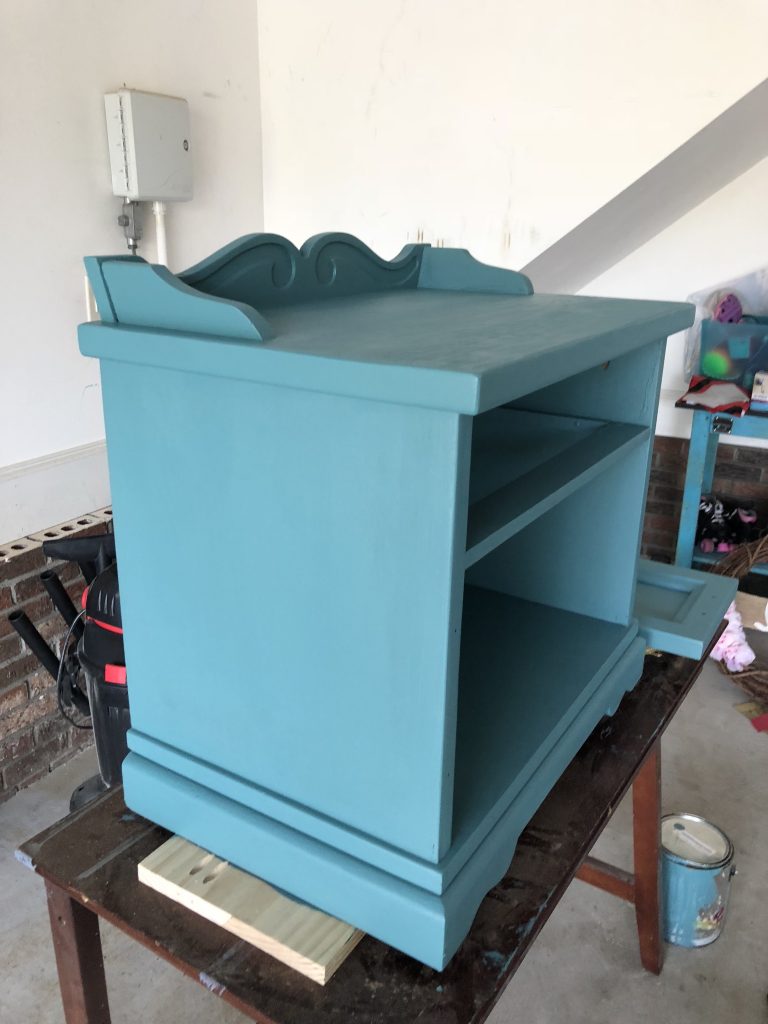
Sitting in the garage while we did our home office makeover did this piece no favors, but it was her turn to get a new look.
First things first, I stripped her down using Citristrip.
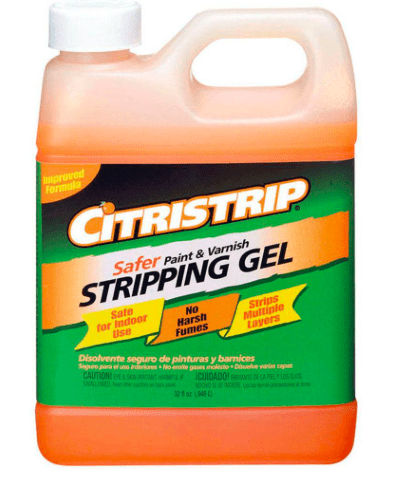
I gave the piece a healthy dose of the furniture stripper because the piece was covered in a heavy varnish.
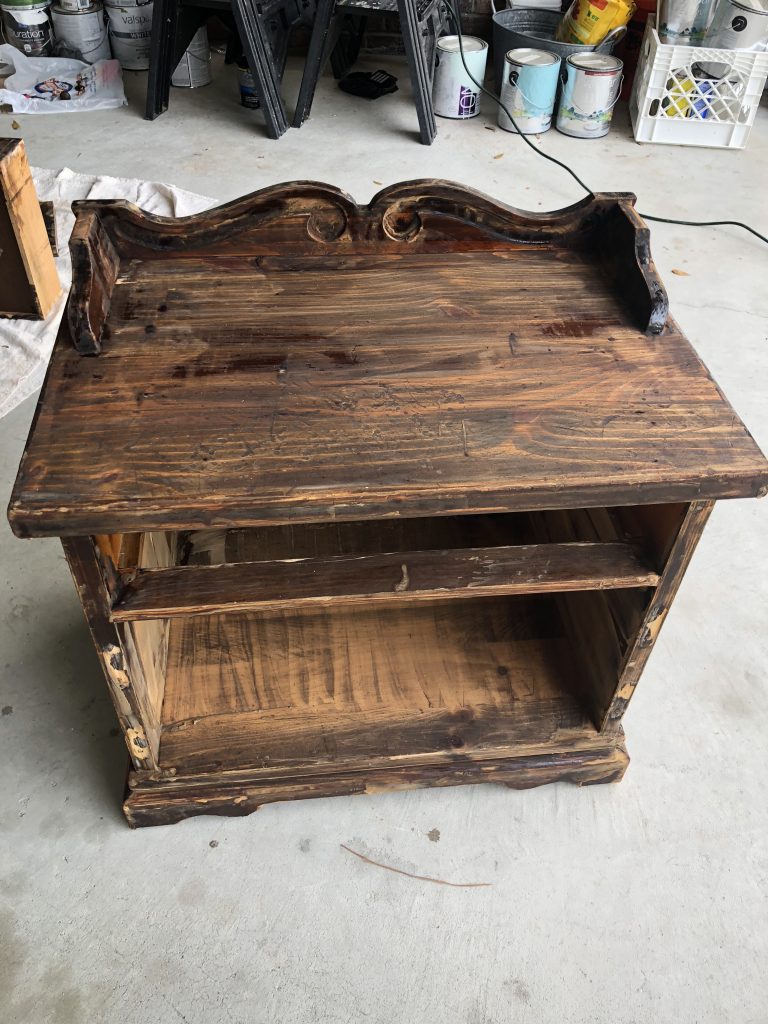
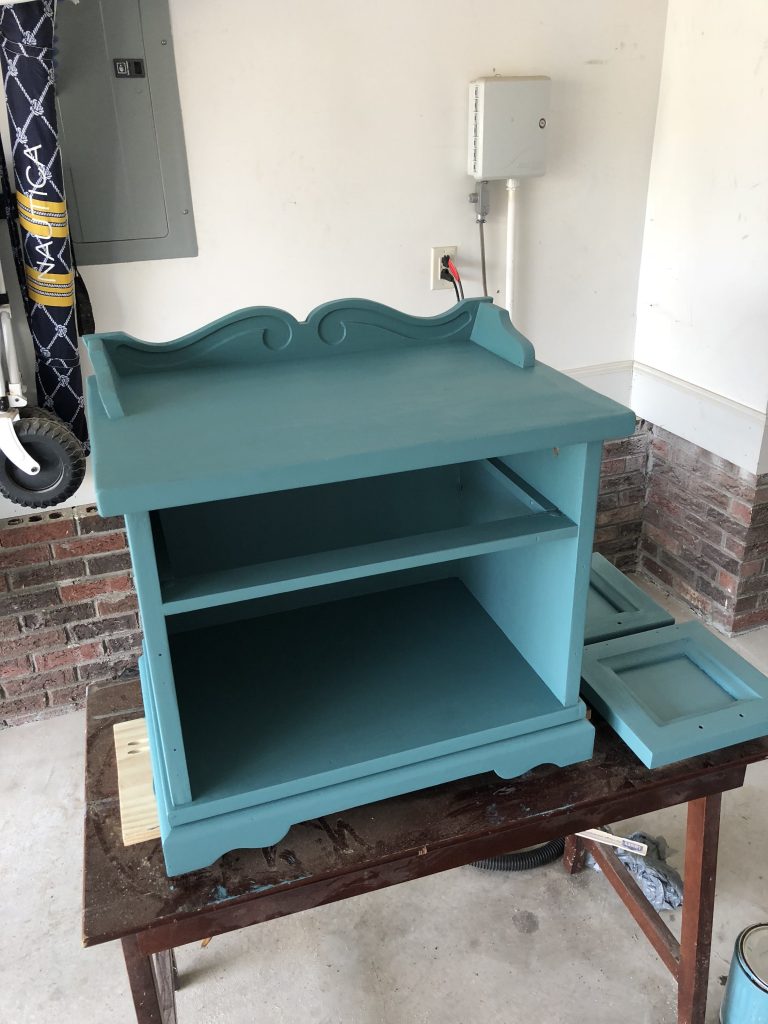
Once I got as much off as I could I sanded. And sanded. And sanded.
Unfortunately the part inside of the doors was just a veneer and while I thought about replacing the insert. I also started getting to the point where I felt I was almost over the project and needed to come up with a different plan instead of staining. My husband suggested we try a finish and after looking we settled on a crackled weather finish. It was at this time I also used wood filler on the drawer to cover up the existing holes since I planned on changing the hardware.

The instructions stated that we paint the first coat a darker color.
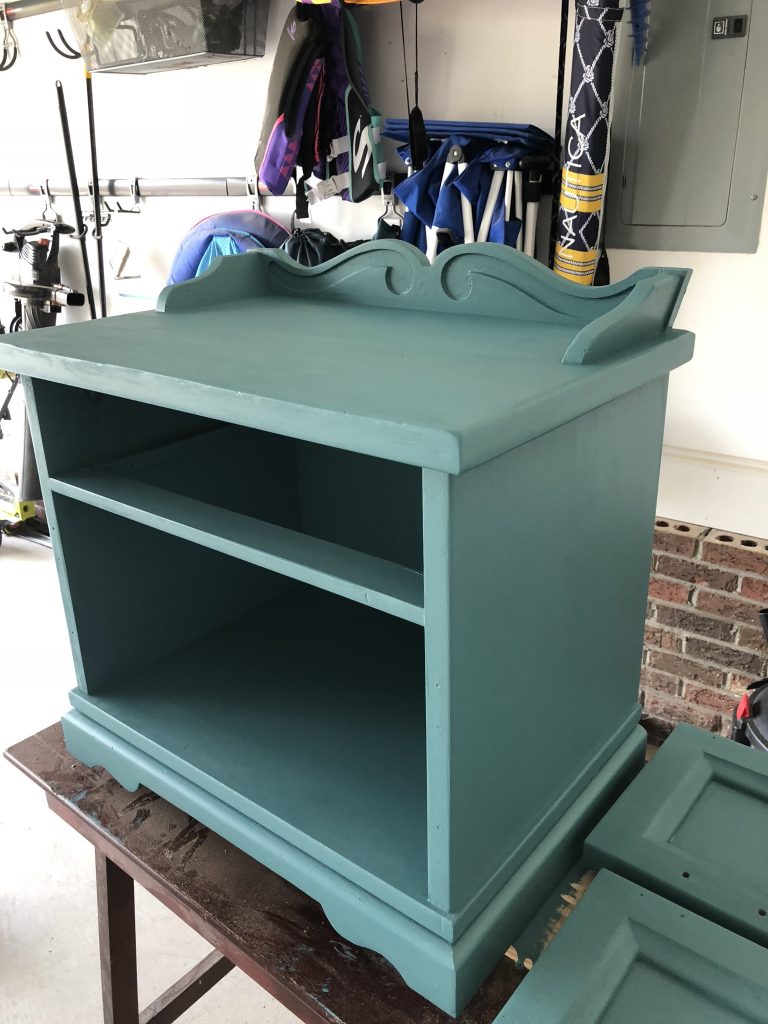
Since I had stripped the piece down to the bare wood, it took two coats to fully cover the piece, but all that sanding paid off because the finish looked smooth like butter.
The instructions then stated that the top coat should be a lighter color than the base and for that we only did one coat of the lighter color. Once that dried, we applied the crackle finish. Depending on how heavy you painted the glaze would impact how much the piece would crackle. This is the part that I loved because there were no mistakes. Think about weathered stuff, there’s no rhyme or reason, it just is.

I loved this piece! Not only did it look completely different, it was a much needed statement piece for my home office.
I bought new pulls for the drawer, but ran into bit of a problem with the rest of the hardware and decided to use what I had.
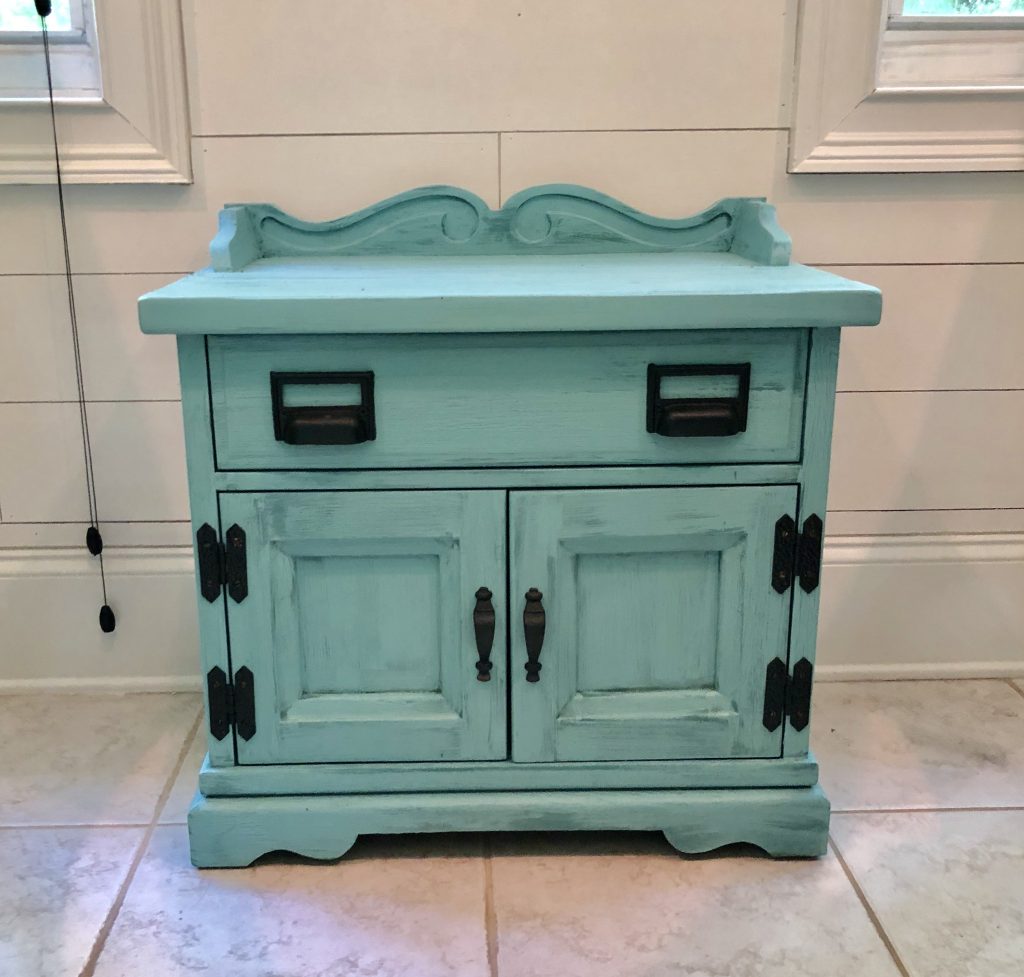
I hated it and instantly panic ensued because I thought that I had ruined this special piece of furniture. I did what anyone else would do and I moved it out of the room and basically hid it. (Please don’t tell me this isn’t normal or you’ll break my heart.) Something was off and I couldn’t figure out exactly what or how to fix it. It took me probably three weeks and finally one day driving it dawned on me, take the doors off.
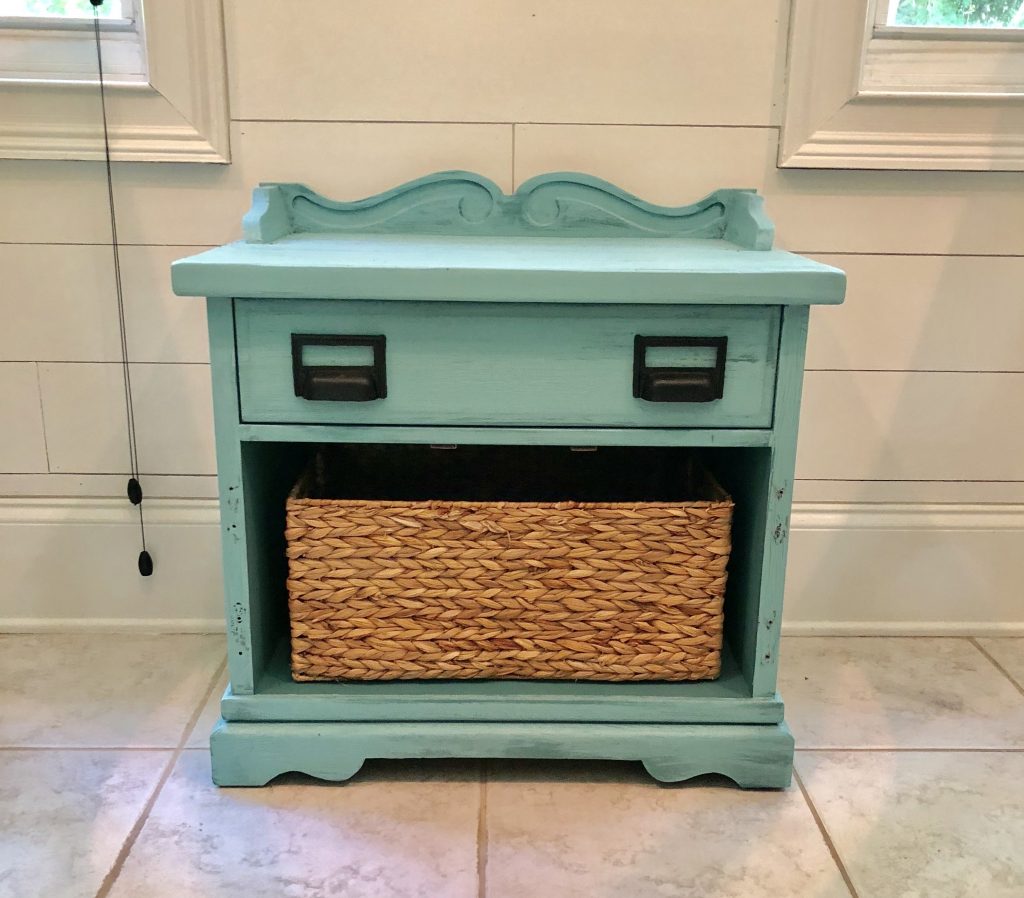
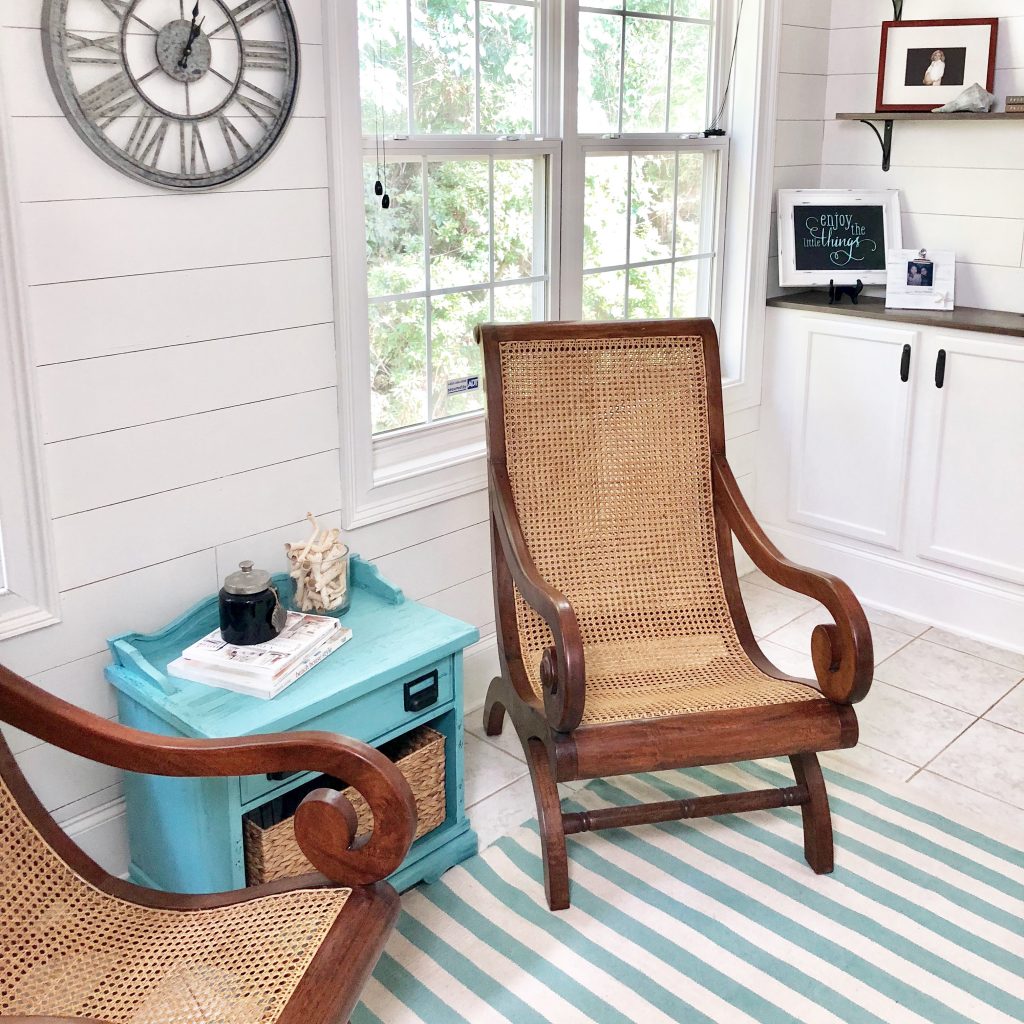
That’s exactly what I did and I added a basket I already had on hand, which actually tied in perfectly with the office.
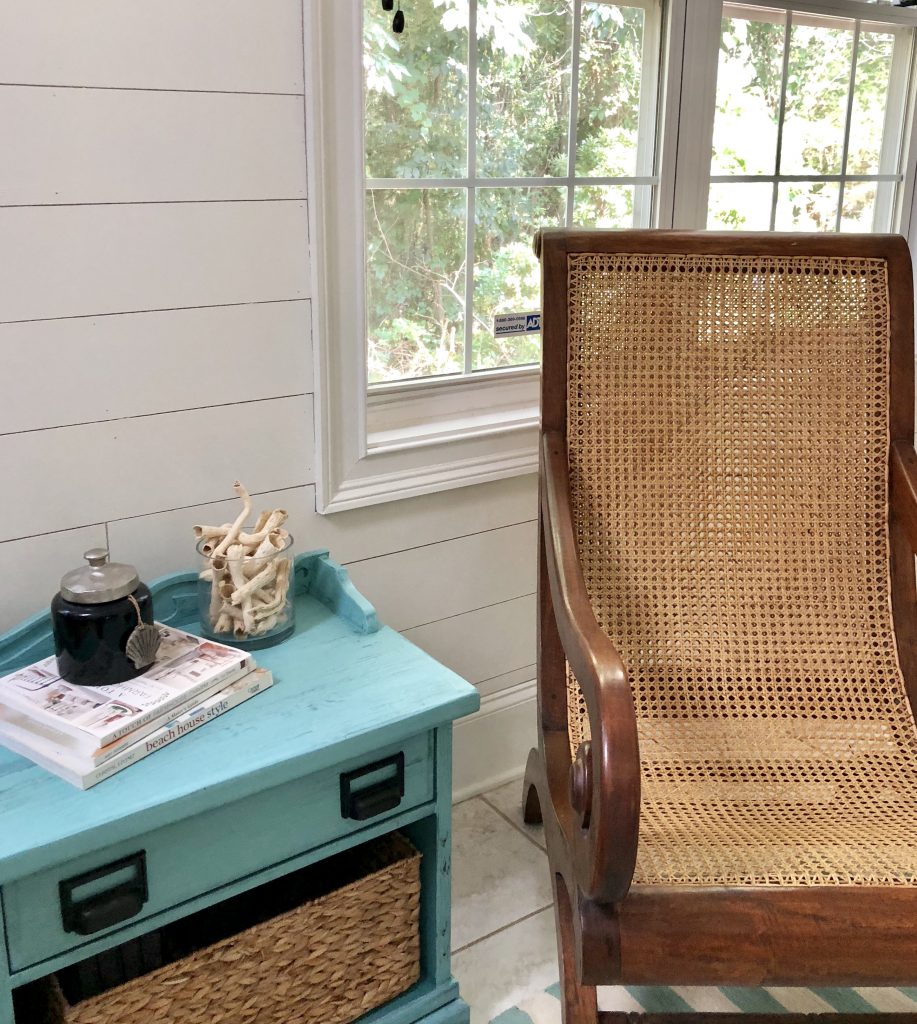
Now the old piece looked brand new in my revamped office and it was perfect. A piece of my past blended flawlessly with our present and will continue to be a part of our family for many more years to come.
XOXO,
Brooke
Let's connect!!
Stay connected for all your DIY and organizing needs!