Pallet Wall Made Simple
**This post may contain affiliate links that pay me a small commission, but are of no additional cost to you.**
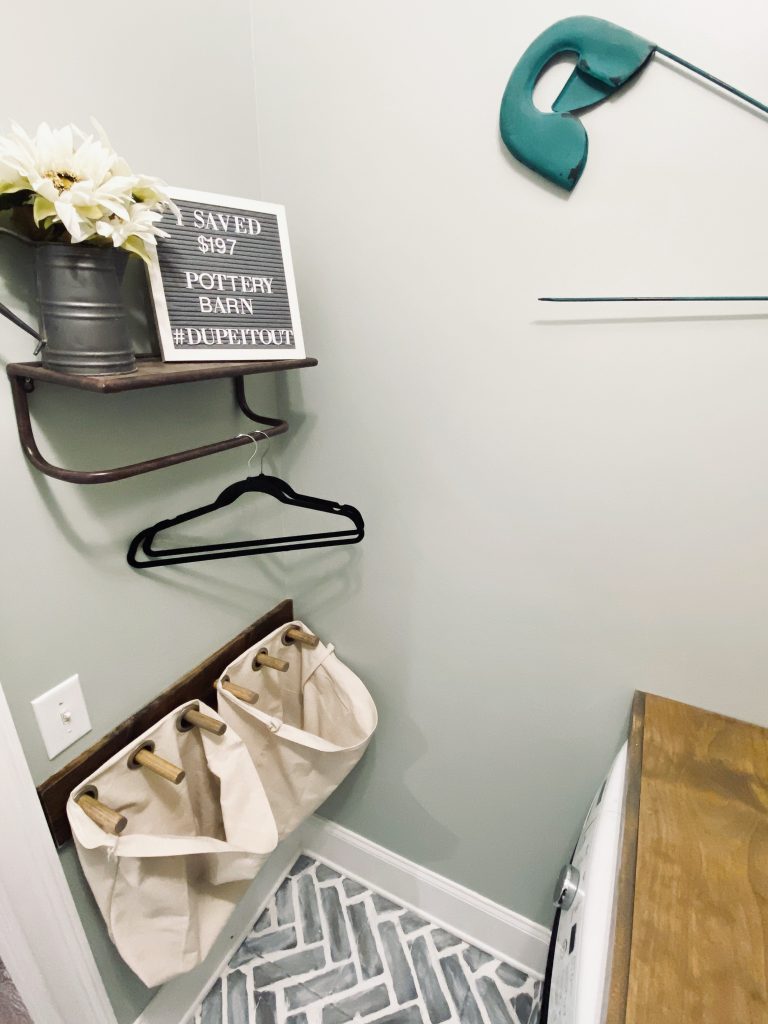
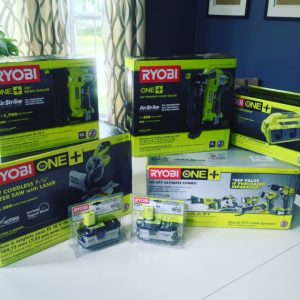
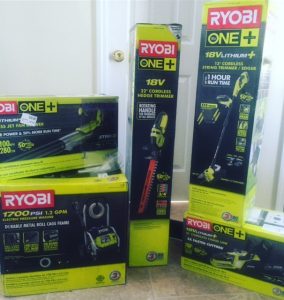
This past summer I attended the Haven Conference and was lucky enough to win an amazing prize package from Ryobi Power Tools and Ryobi Outdoor Power Tools. Ah-may-zing. Naturally I won all of this weeks before we were set to move into our new house, and had to be patient before I got the chance to dive in and test out all of the goods. When it was time to design the laundry room update, I wanted so badly to do a pallet accent wall so we could finally use the tools. And we soooo used the tools. So many tools.
With any project, especially the first time you tackle something, research is key. Aside from reading the instruction manuals for the new tools (which I left to my husband because he does good with the words and I do best with the doing- after he’s taught me. We’re ying and yang like that) we did some major research on what was the best way to go about this project.
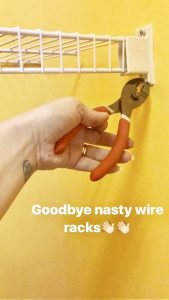
We took out the nasty goop covered wire rack, and filled in all the holes. Then gave everything a fresh coat of paint because, OMG when we changed out the light fixture, the walls were a blinding golden rod color. I did NOT want that color peaking through any gaps of the wood.

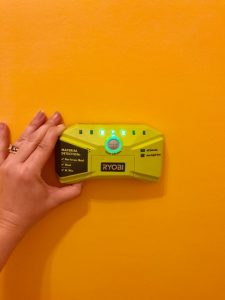
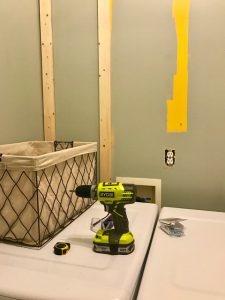
My plan wasn’t to nail the pallets directly to the wall, goodness could you imagine down the road if we changed our minds? Instead I marked the walls using the Ryobi stud finder. I drilled the pilot hole in the wood strips, since the screws would be going directly into the studs. Pausing for a second, the one thing I did not do was paint the wood strips the same as the wall color, and now I realize it was a rookie mistake on my part. It would have blended better into the wall color had I painted them.
Not all pallets are created equal. It is super important that you get pallets that are heat treated because other pallets are sprayed with various chemicals to keep out the buggies and such, which I doubt you want inside your home. Even still, not all pallets are made by the same companies so the width of the boards varies from each pallet. The easiest way we found to deconstruct the pallets, was to use a reciprocating saw and sawing through the nails. Make sure you get plenty of back up blades because unfortunately, they will break.
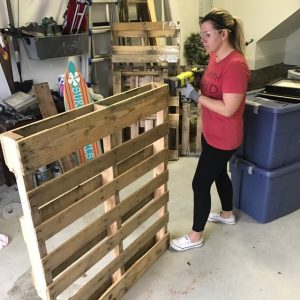
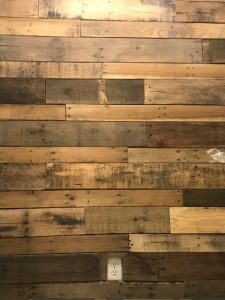
We then brought the wood into the laundry room and let it acclimate for a couple of days. Wood will expand and contract based on moisture and heat. Since this was going in the laundry room, there’s a lot of potential moisture and heat. When it was time to put it up, it felt a lot like a putting a puzzle together. We started at the ceiling and left a slight gap at the top and to the side again to allow for any potential future expansion and contraction. Using the brad nailer, we nailed the boards into the wood strips on the wall. As we moved down the wall, we tried to not align the seems so it didn’t look so uniform, similar to how you would lay flooring.

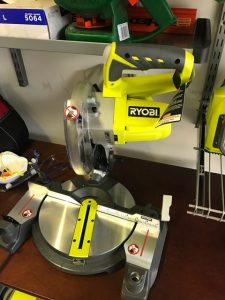
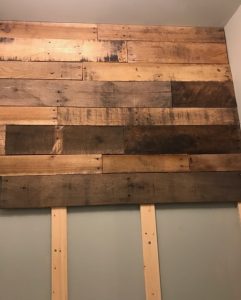
As I stated earlier, the wood varied in width and we alternated between a row of thinner boards and wider boards to add interest and dimension. It was easier for me to stay in the laundry and mark the boards and my husband would take them out to the garage to cut with the compound miter saw. Thankfully we only had to go down as far as just past the top of the washer and dryer. Our plan was to add a counter that would span wall to wall and butt up agains the pallet wall.
There was only one wall outlet to work around and we discussed how we could do this. We could switch out the box that holds the electrical components so that the cover plate is flush with the wood. Or we could just cut the wood around the outlet. We opted for the latter for a couple of reasons. This is not a space that many people will see and I didn’t want to do something that would take more time to switch out, to only later decide to do something different on that wall, and have to switch it back. If we were doing a backsplash in a kitchen or an area that would be more exposed, then we would do something more permanent.
Overall we love the way that the pallet wall turned out. It gave us a chance to work with the new tools and do something super creative in our space outside of just painting. Really the only thing I would have done differently was to paint the wood strips we nailed the pallet boards to so the strips disappeared. You can’t see them all that much, but once you’ve seen them, you can’t un-see them either. We learned once again that some projects, with enough research and the proper tools, are really not too bad to accomplish. Needless to say our confidence level is a lot higher and we look forward to tackling future projects.
If you like this, don’t forget to share it and pin it! And if you want other fun tips like this, you can always subscribe HERE!
Brooke


Let's connect!!
Stay connected for all your DIY and organizing needs!