How to paint your garage floor for less than $120.
Coming into week three of the $100 room challenge and I may have just blown it.
**This post may contain affiliate links, which cost you nothing, but help me to maintain this site.**
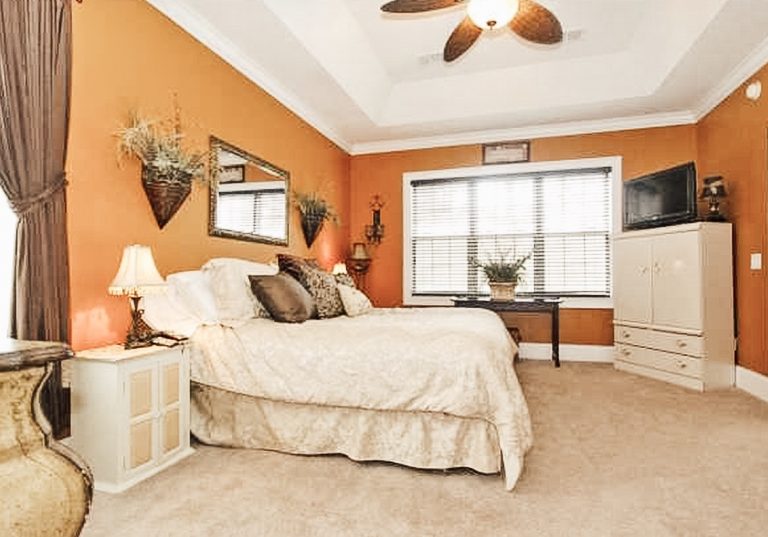
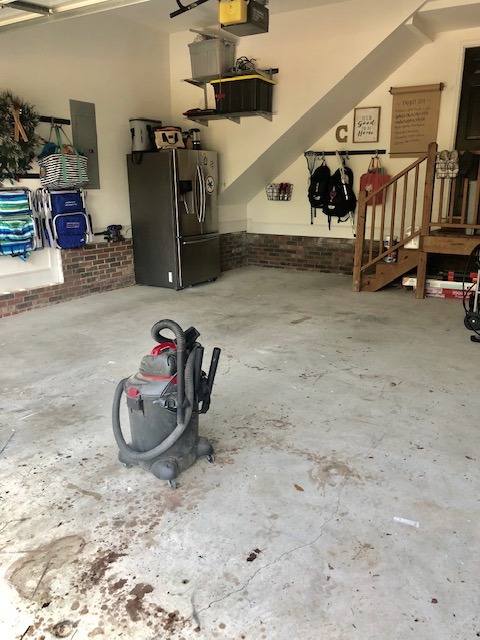
Soooooo, I may have messed up a teensy bit for this go around for the $100 Room Challenge. If you remember, the goal is to makeover a room for less than $100 and I chose my garage floor. BUT, I went over by about $16. Here’s the thing, it’s totally ok because you’re not always going to hit your budget mark. Often times with most DIY projects there will be surprises along the way. If anything I’m going to show you how to prepare for that. But first, let’s remind ourselves of the before.

If you remember, this isn’t my first time painting floors, but it was my first time painting on concrete. Therefore, the process required just a little bit more preparation than my office floors.
Here’s my step by step guide to paint garage floors.
Supply List:
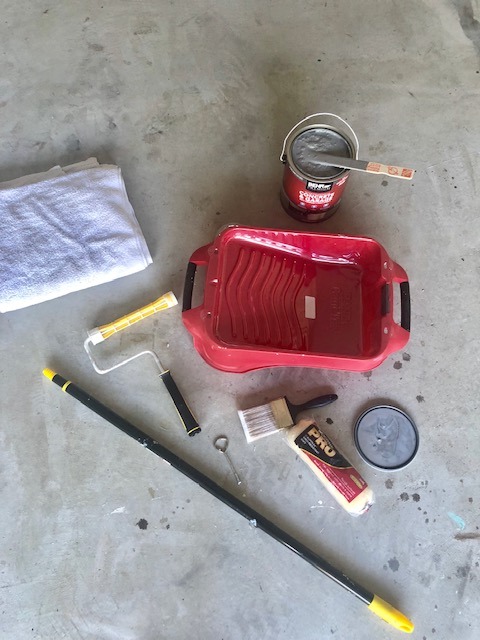
Behr Concrete and Garage Paint (it took 2 gallons for our garage)
Old towel (protect those knees)
Concrete Crack Repair (if needed)
Step 1: Clear everything out.
I know this may seem like an obvious first step, but it’s an important one. This is also why it was so important to organize everything first. I got as much stuff up off the floor as possible so all I was left with just a few bulky things to move out.
Step 2: Vacuum and clear out the dirt.
I used our shop vac to clean up all the hidden dust and dirt.
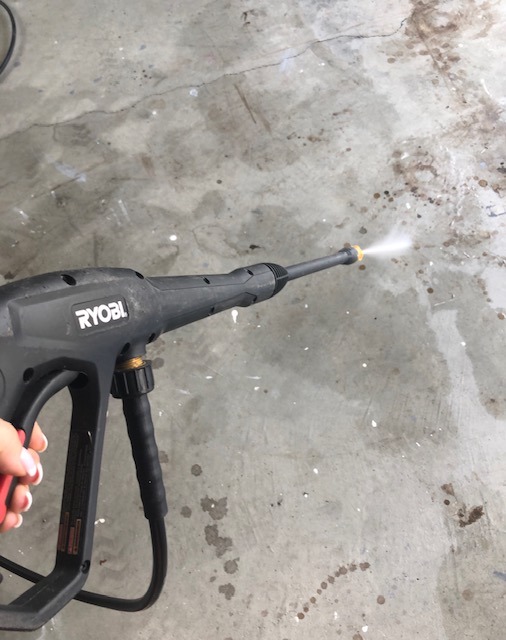
Step 3: Pressure wash
Using my Ryobi Pressure Washer, I started with the back of the garage and pushed all the remaining dirt towards the front of the garage and down the driveway.
Step 4: Etching
I chose the Rust-Oleum Concrete Etch and Cleaner for the next part of the job.
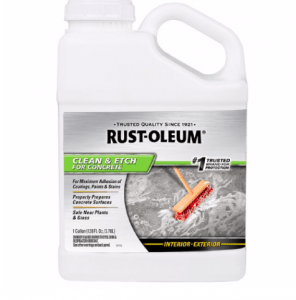
This is the stinkiest part of the job. I wore a mask because the fumes were pretty potent and even though I had the garage door open , it still smelled bad. Following the direction I court the contents of the bottle into a bucket and used a stiff bristled broom to work the mixture onto the concrete. This step is super important because it not only cleans the surface really well, it prepares it for the paint.
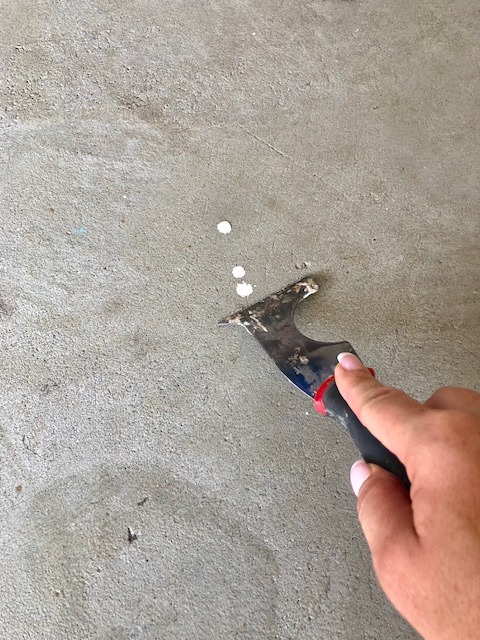
Step 5: Paint scrapes and power wash again.
Another advantage of the etching, it breaks up the globs of paint and makes it super easy to use a Husky metal scraper to pop the paint off the surface. After that was done, I used the pressure washer to once again rinse the surface.
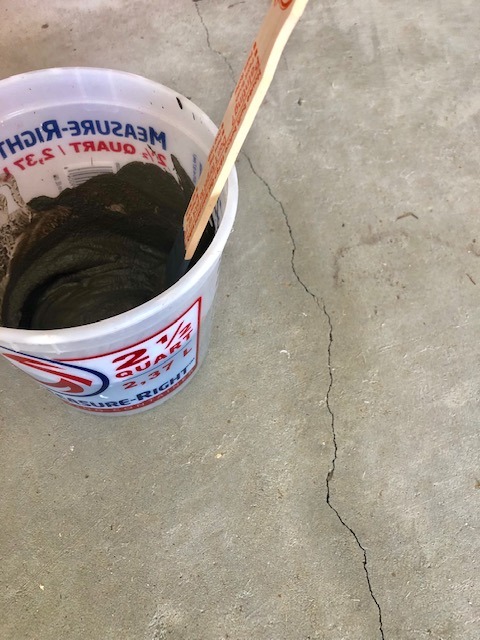
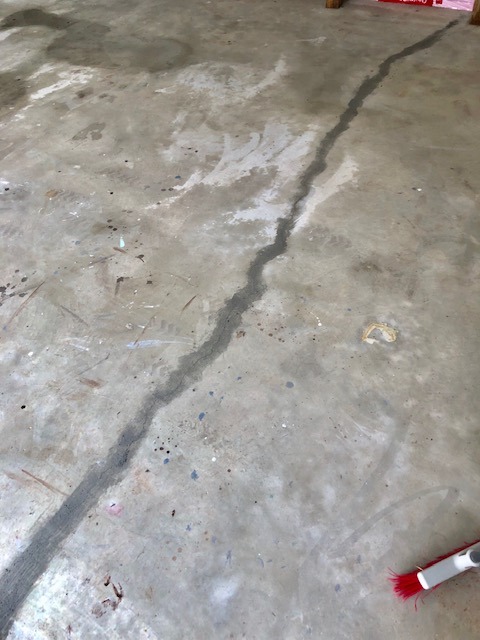
Step 5: Fix any damaged concrete
We had a crack that ran the length of the garage. I used a concrete repair powder to run along the crack and after it dried overnight, I sanded it down. This part can also be harsh so make sure to follow the label instructions and wear the proper safety gear.
Step 6: Paint
There are several paint choices out there, some of which can give you a show room shine. In an effort to keep the cost down and the fact that this is my workshop, I opted for Behr’s Concrete and Garage Floor Paint. You can get it tinted to a color of your choosing or you can select one of their already mixed colors and I chose the slate gray. I also opted to add Rust-Oleum Anti Skid into the paint.

**This was a decision I made after the fact and only because I almost busted my hind parts during the cleaning process. I figured the paint would make the surface even more slick and I’m not trying to injure myself or my family. This last minute game time decision is also what put me over my budget, but safety is a priority.**
I started by using a paint brush to paint around the edges of the garage and followed up with a roller attached to an extension pole. Trust me, don’t forget the extension pole, your back will thank you.
Painting Tip
If you buy paint off the shelf that is already tinted, make sure you have the store shake it for you. You have no idea how long that paint has been sitting on the shelf and some of the pigment may have settled down to the bottom. I forgot this and the first coat of paint came out two toned. UGH!
Another painting tip
Start your floor painting projects with an exit plan in mind. I worked from the top of the garage to the garage door opening. The last thing you want to do is paint yourself into a corner. Also be sure to remember to unlock another door so you can get back into your home if your garage is attached to your home.
One last painting tip
I used FrogTape painter’s tape to line the edge of the garage where the garage door comes down. I have no plans on painting the driveway, but the painters tape keeps a crisp line and a stopping point.
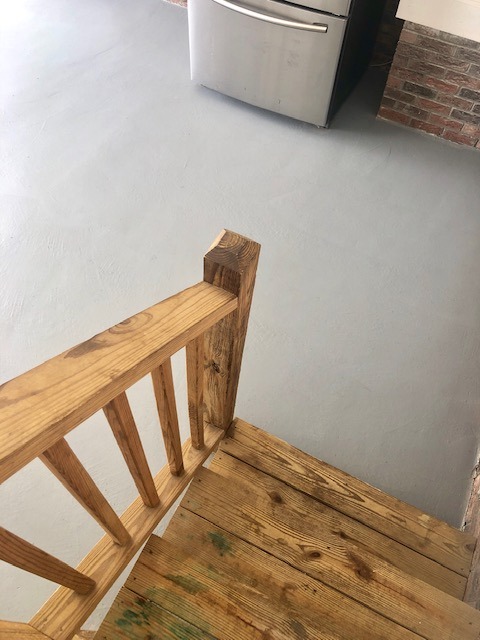
Once the floor dried long enough, I applied the second coat. Per the instructions, you should wait a week before parking any vehicles on the surface. I waited a few hours before I started loading things back into the garage. I sort of rushed this step and it was a risk, but I wasn’t about to leave my tools outside overnight either. I tried to make sure I started this project early enough in the day and took advantage of the afternoon sun.
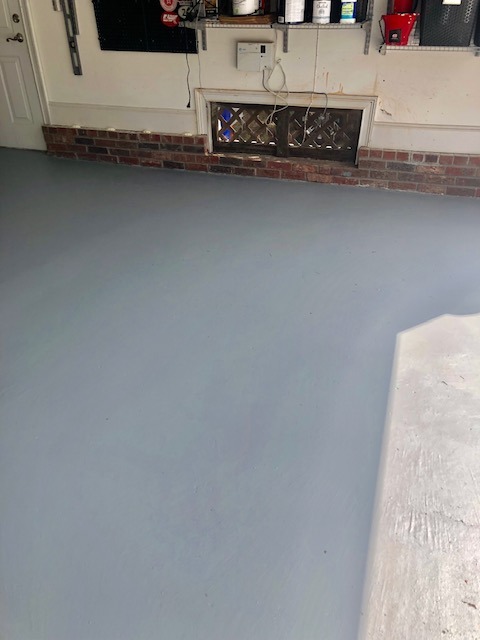
That’s all I can show you for right now, but you can tell already how much better it looks! Come back next week for the final reveal and don’t forget to check the progress of these talented ladies who are also doing the $100 Room Challenge!
Best,
Brooke