How to Repair Carpet
**This post contains affiliate links which pay me a small commission, but are no additional cost to you.**
On this installment of “this is why we can’t have nice things”, I’m going to walk you through how we repaired our carpet damaged by one of our fur children. But first, let’s meet the crew behind this post.
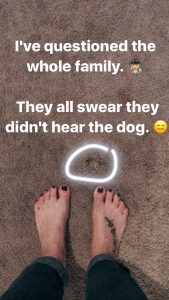


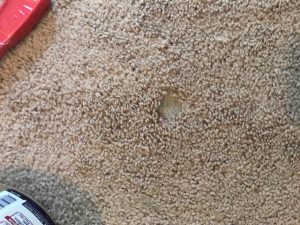
As you can imagine my horror when I came home from the gym to find this surprise in the middle of our bedroom carpet. There was no moving around furniture and I really didn’t think that an area rug would solve the problem. With it being Christmas time, our options are very limited as we just don’t have it in the budget to replace the carpet. Unfortunately, we found ourselves in about the same predicament a few years ago, when our oldest fur child damaged the carpeting in a place we were renting. I remembered watching the carpet technician do the repair and I felt confident I could do the same exact thing for a fraction of the cost.
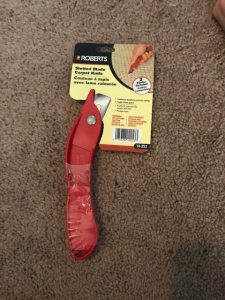
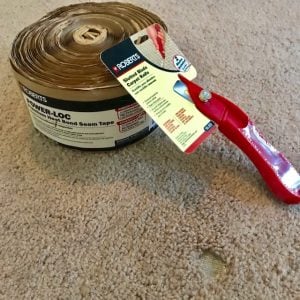
At Home Depot, we spoke with an associate who recommended this heat bonding tape and since we were there, also bought the carpet cutting knife.
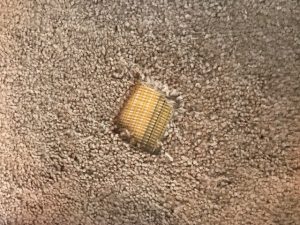
First things first, I cut a square around the hole just slightly bigger than the hole.
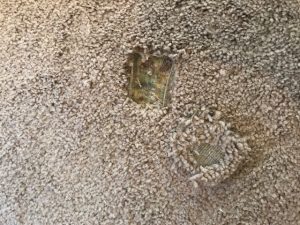
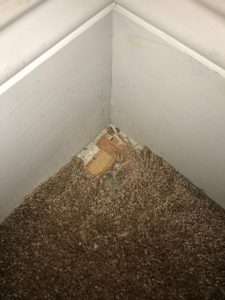
I then went into the closet and cut carpet from the corner using the old piece that I had just cut, as a template.
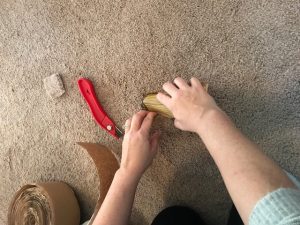
I used regular scissors to cut the new piece of carpet the same size as the template and fit it into the new hole to make sure it fit. Once it fit, I used a wire brush to brush out the carpet and blend it as best I could.

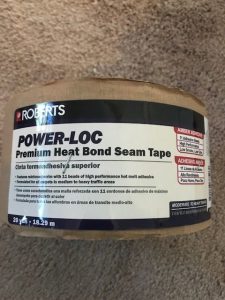
I removed the new piece of carpet, lifted up the main carpet, and fit a piece of the heat bonding tape, slightly larger than the hole, under the main carpet.
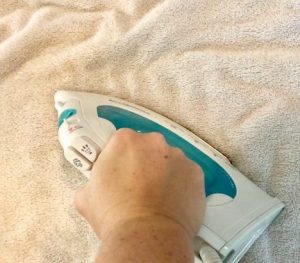
I put the new carpet square down, laid a damp towel on top (this is very important so you don’t melt your carpet), and used my normal clothing iron on the “cotton” setting. I pressed the iron for about a minute and moved it around the area a few times pressing in different directions for about a minute each time. This helped to make sure that the tape was getting enough heat and steam to bond everything together.
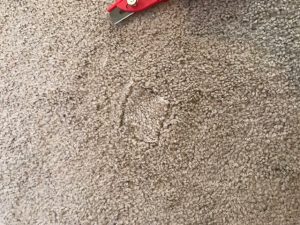
While waiting for the carpet to cool, I trimmed off any of the plastic strings from the carpet and picked out any loose pieces of carpet. I brushed over the carpet again with the pet brush to sort of blend everything in.
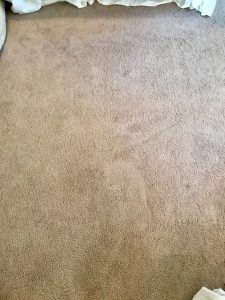
We already knew that the carpet in the bedroom isn’t the best grade of carpet as our house used to be a rental. Since we have three dogs, one of which is still a puppy, we know that it’s in our future to replace the carpet, but we weren’t ready right at this moment; definitely not around Christmas. The carpet in the corner of the closet hasn’t seen the traffic like the piece that we replaced. To me it’s pretty obvious which part is new. I’m hoping that over the next few days it will start to blend in a little better. The bottom line is that the hole isn’t there anymore, which was way more obvious. Best part about it, it cost under $20 and literally only took about 10 minutes to do. We just know that we’ll have to start thinking and saving for the type of flooring we’ll want in this space.
XOXO,
Brooke
Let's connect!!
Stay connected for all your DIY and organizing needs!

This is good to know because I have a wee Westie culprit who’s done it twice in our home! BTW I love your blog! It’s so *pretty*. I can’t wait until Boot Camp starts!
xo,
RJ
Thank you so much!! It’s actually held up really well, which has been wonderful!!