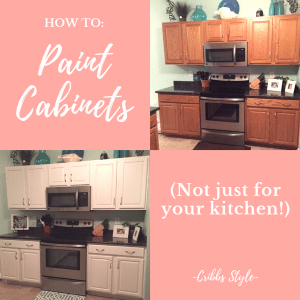
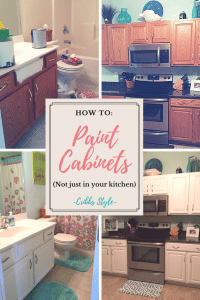
How to Paint Cabinets (Not Just For Your Kitchen)
**This post contains affiliate links which are of no additional cost to you, but allow me to buy more paint.**
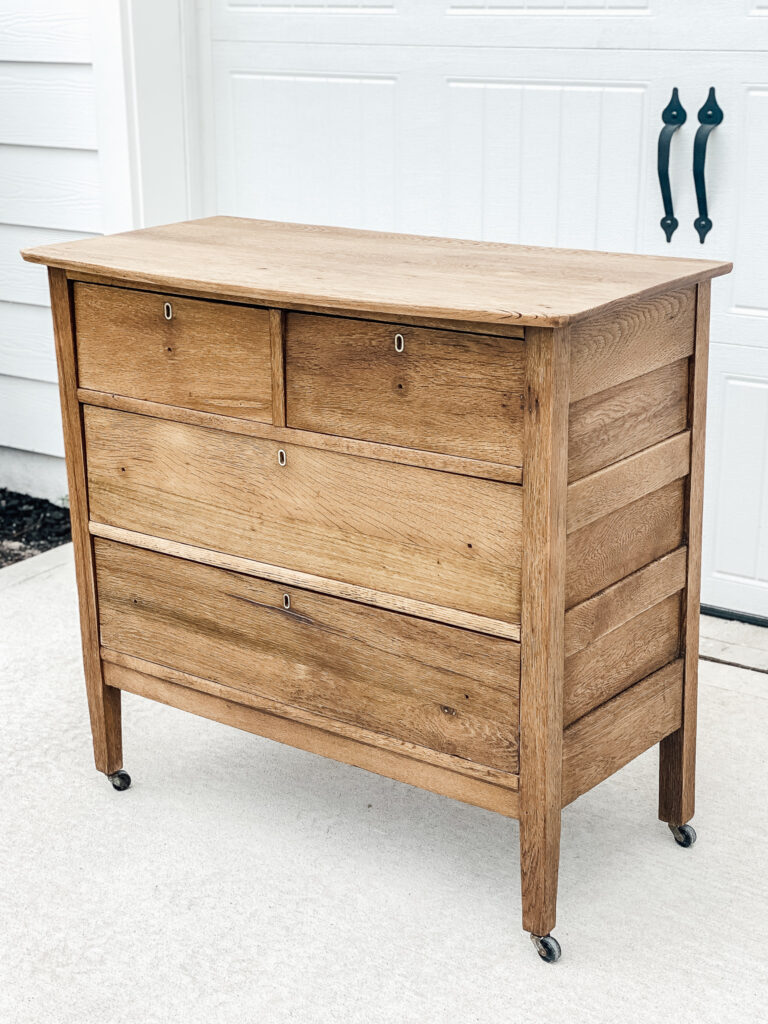
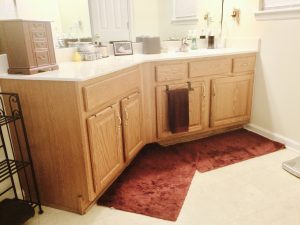
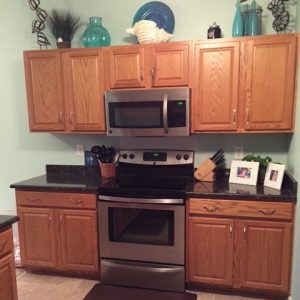
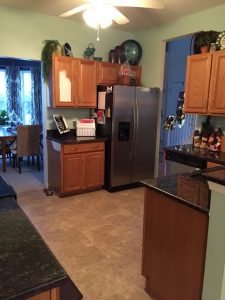
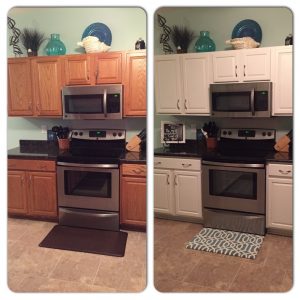
Our previous house had standard builder grade honey oak colored cabinets. We bought the house for many things, the kitchen not being one of them. The plan had been to do a kitchen remodel, but there were a ton of other things that took priority. The kitchen became the hub whenever we had people over and the desire to make it prettier grew. Even though we weren’t at a place to do a complete kitchen update, we decided to paint the kitchen cabinets instead.
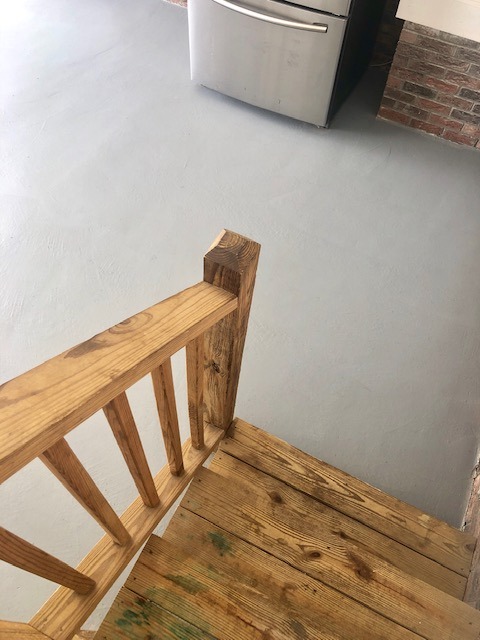
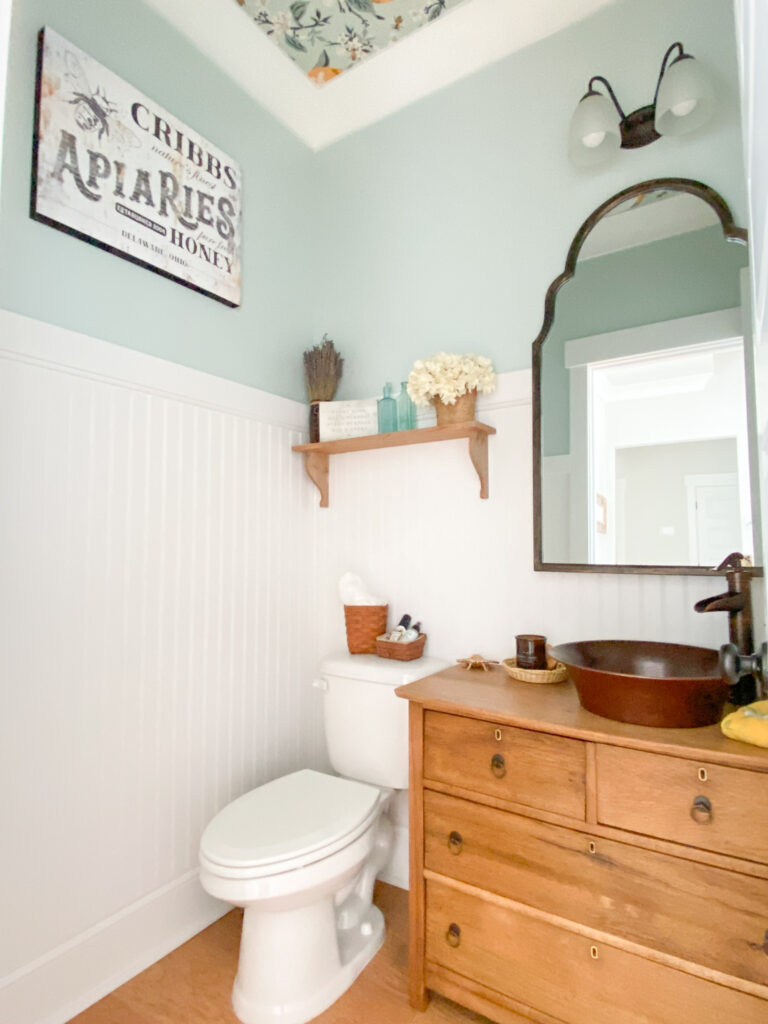
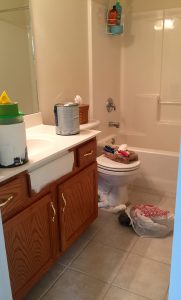
You’ll have to excuse the really cruddy pictures. I wasn’t blogging at the time we did this project and I realized I never had the opportunity to tell you how I worked my cabinet painting magic, until now. Of course in true Brooke fashion, I didn’t just jump in and do the kitchen cabinets first. Oh no, I needed to try a less obvious place and that’s where I chose our master bathroom.
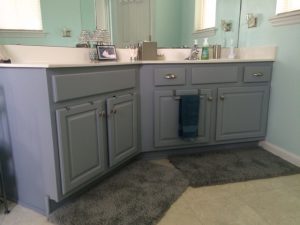
It was only then that I took my talents to the kitchen.
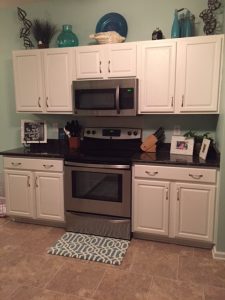
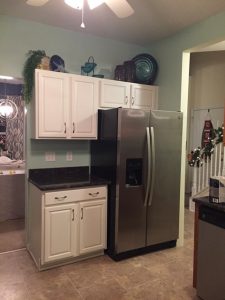
I no longer felt the need to remodel the whole kitchen once I painted the cabinets. I wasn’t a fan of the granite that the previous owners installed, but after we painted the cabinets, the refresh even changed how I looked at the counters. We never did get to remodel the kitchen because we sold that house. I am convinced that maybe just maybe painting the cabinets helped.
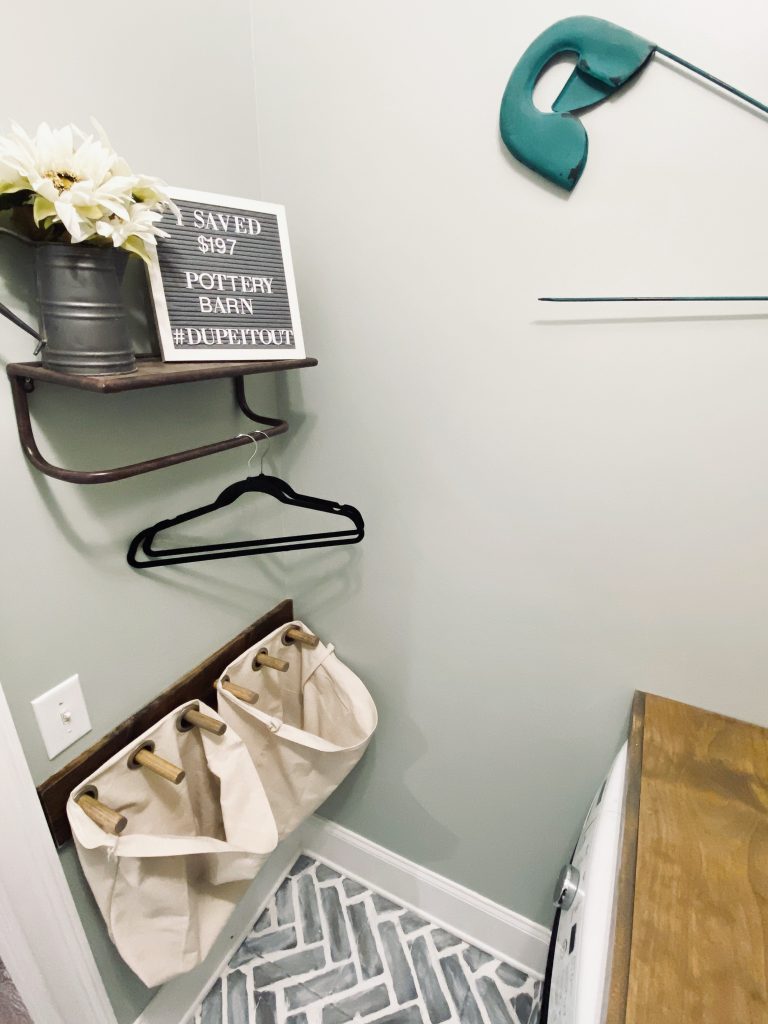
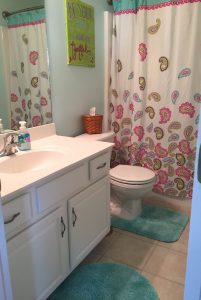
Not wanting my girls to feel left out, I tackled their bathroom too.
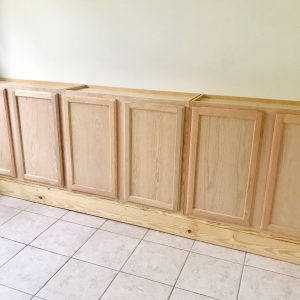
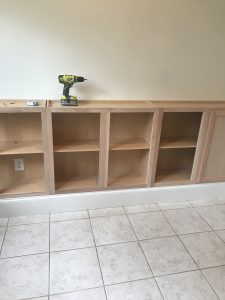
Now….we are smack dab in the middle of updating my office and wanted to add a wall of built in cabinets for storage. Since I had experience with painting our kitchen cabinets, I opted for inexpensive unfinished kitchen cabinets to use for this project. This also gives me a chance to explain how easy the process is to paint your cabinets, no matter if they are in your kitchen or any other space in your house.
Prep
The key to any successful project begins with the prep and painting cabinets is one of the areas where you definitely don’t want to skimp.
-
-
-
- Remove doors from the cabinets.
-I personally feel like it’s a lot easier if the doors aren’t in the way when I’m painting the base, but that doesn’t mean that you can’t leave them up.
-Lay out the cabinet doors in a way that you’ll know which cabinet doors go where. Label them if you need to. - Remove all hardware, even the hinges.
Remove all of the doors and all of their hardware when getting the cabinets ready to paint. - Clean and degloss
If your cabinets were previously painted or stained, you’re going to want to get the dirt and shine off. It’s going to give you a chance to have your new paint adhere to the surface. I recommend the Krud Kutter Gloss Off to tackle both of theses tasks.
- Repair and sand
On our kitchen cabinets in our old house, it looked like the previous owners tried to hang something on the doors, which required a little bit of wood filler to cover in the holes. Even though we did the deglosser, we decided to do a light sanding on all the doors using a fine grit sand paper. This would also be the time to determine if you want to change out your cabinet hardware by either filling in old holes with wood filler and making new holes.
- Remove doors from the cabinets.
-
-

After your surface has been cleaned and you’re ready to get started, you’ll need a few key tools:


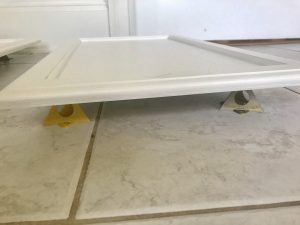
**First things first** you always want to start out painting the back of your cabinet doors first. When you flip the doors over to paint the front, the painter triangles are less likely to leave any imperfections on the side of the door people will see. Although you should allow the paint to dry per the instructions on the paint before flipping the doors over. Also, make sure you have plenty of surface space for all of the doors if you can as it will make the project go faster.
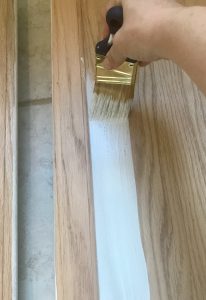
I only use the brush to get into the corners and crevices, then smooth everything out with the foam roller. The foam roller is amazing in that it doesn’t leave streaks or lint behind and really gives that smooth look.
Bonding primer
I opted for a latex based bonding primer over oil based. I just don’t have patience that comes with using any oil based products and their clean up. I opted for the Valspar Bonding Primer and Sealer. It comes out thick, but it helps to hide the knots and any color variations in the wood. It also helps to seal the wood and is mildew resistant which is important since kitchens, and especially bathrooms, can be subject to moisture. This product is versatile and per the instructions can be used on things other than cabinets, although I personally have never tried. One coat of the bonding primer should be enough, but if you want to add another coat, that is perfectly fine too.

Paint
I like the durability and sheen of satin finish. My favorite white paint is White Dove by Benjamin Moore, but Lowe’s and Home Depot can mix the same color, or any color from a different brand, for you. Just like the bonding primer, start with painting the back of the cabinet doors before you flip to do the front. Typically to keep the project going, I’ll paint the back of the cabinet doors and while the back is drying, I’ll paint the base cabinets. By the time I’m done with the base cabinet, I’ll flip the doors over and paint the front of the cabinet doors. After the front of the cabinet doors are painted I’ll let them dry a little bit longer than I did for the bonding primer. I really want to make sure that the paint is ready for a second coat.
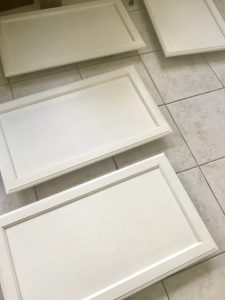
Be patient with the paint. Roll until you don’t see any lines, but let it be. Too much paint and you’ll get lots of drips. The paint as it’s drying will settle and flatten out. If it comes out a little wonky, go ahead and sand then just repaint.
Once everything is dry, it’s time to reinstall all of the hardware and put the doors back on the cabinet base. Then sit back and marvel at how amazing everything looks. The kitchen cabinets and the bathroom cabinets we painted held up to the traffic and less forgiving little hands. Out of the two years we lived in the house, I only had to repaint one door because apparently grabbing the door instead of the handle was preferred right after I painted, but a quick lesson on how to open doors was given and future disasters averted. *sigh*
I hope that you found this tutorial helpful and if so, don’t forget to share it with your friends. Don’t miss out on other helpful tips and tricks as well as the finished office renovation by subscribing here!
XOXO,
Brooke
Let's connect!!
Stay connected for all your DIY and organizing needs!