How to Make an Easy Tabletop Lazy Susan
A super simple project that can make a super sweet gift or help keep your dinner table organized.
**This post may contain affiliate links, which doesn’t cost you anything extra, but helps me maintain my site. **
The best memories of when I was a child at Christmas, was when my Nonny and I used to make all sorts of crafts that I would give them away as gifts. Now that I have children of my own, I can’t help but love the same thing from them. There’s something about handmade that really tugs at my heart strings. To know that someone thought of you and crafted something with their hands is very meaningful. This year one of the gifts that we’re giving is just that, handcrafted. Then I thought it would be super cool to pass along one simple project that you can really wow someone this holiday season. Not only is it decorative and very functional, but the best part, I made this Lazy Suzan for under $20!!!!
I purchased a precut wood round from my home improvement store, you can find a similar one here from Home Depot.
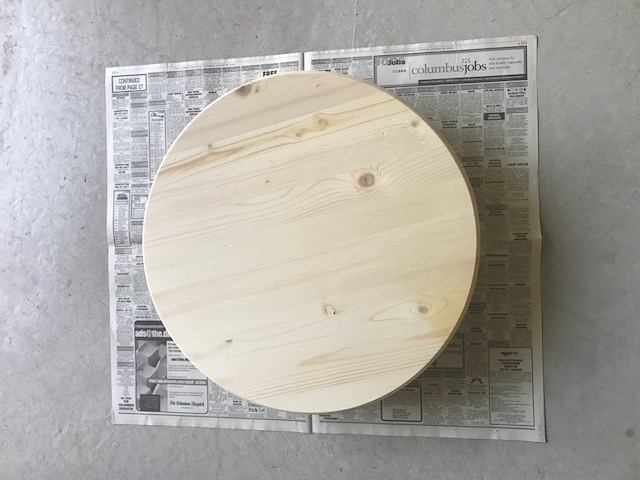
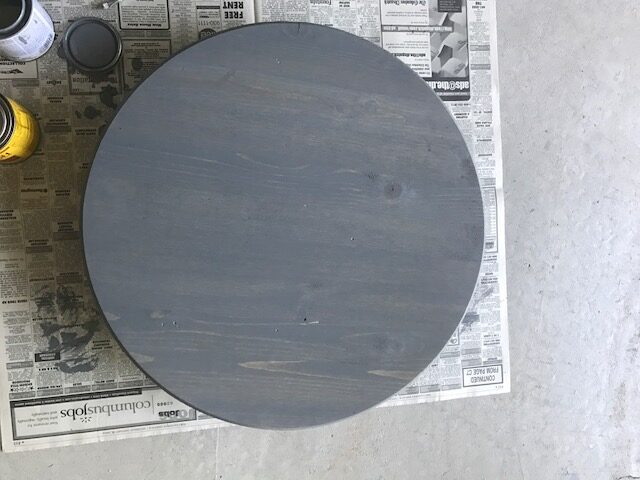
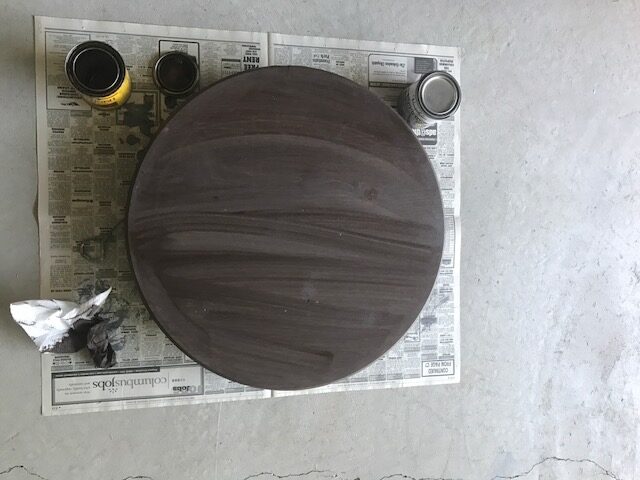
First I would recommend giving the wood a good sand to knock off any rough patches. Then I added stain and opted for the same gray with the darker brown combo that I used when we built our barn door. You don’t have to stain, you could paint, spray paint, or even add another type finish.
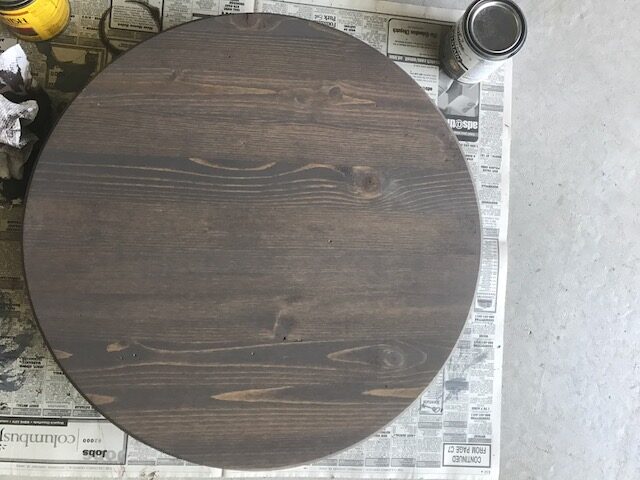
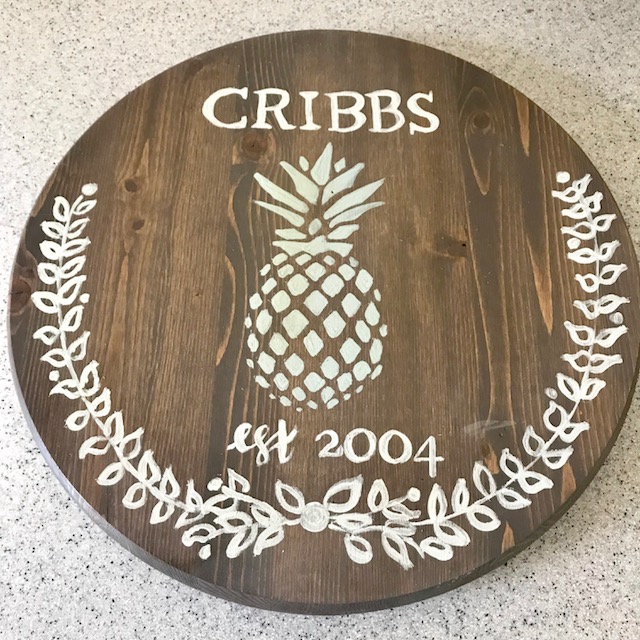
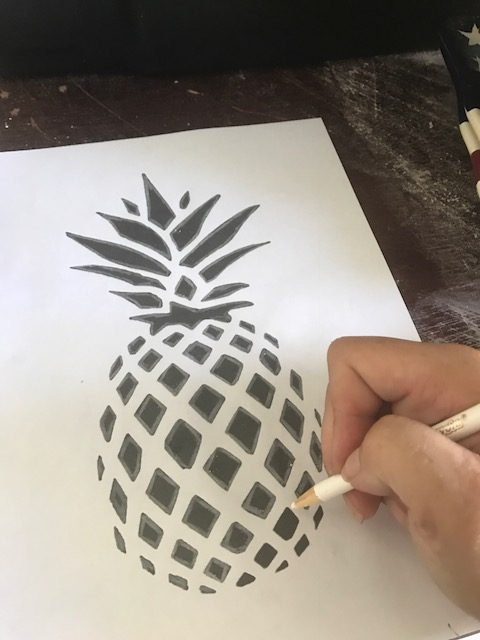
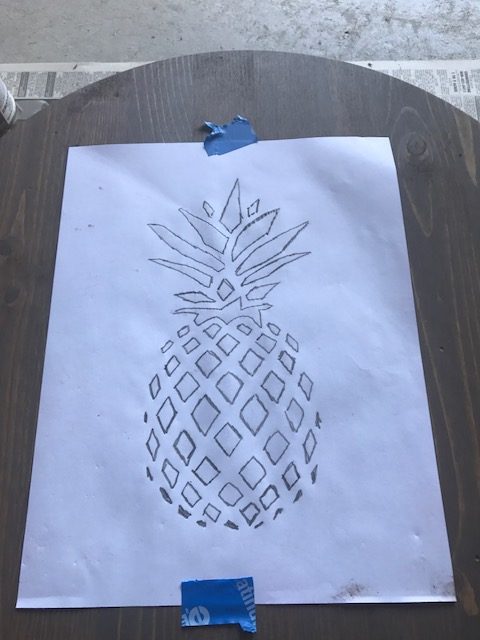
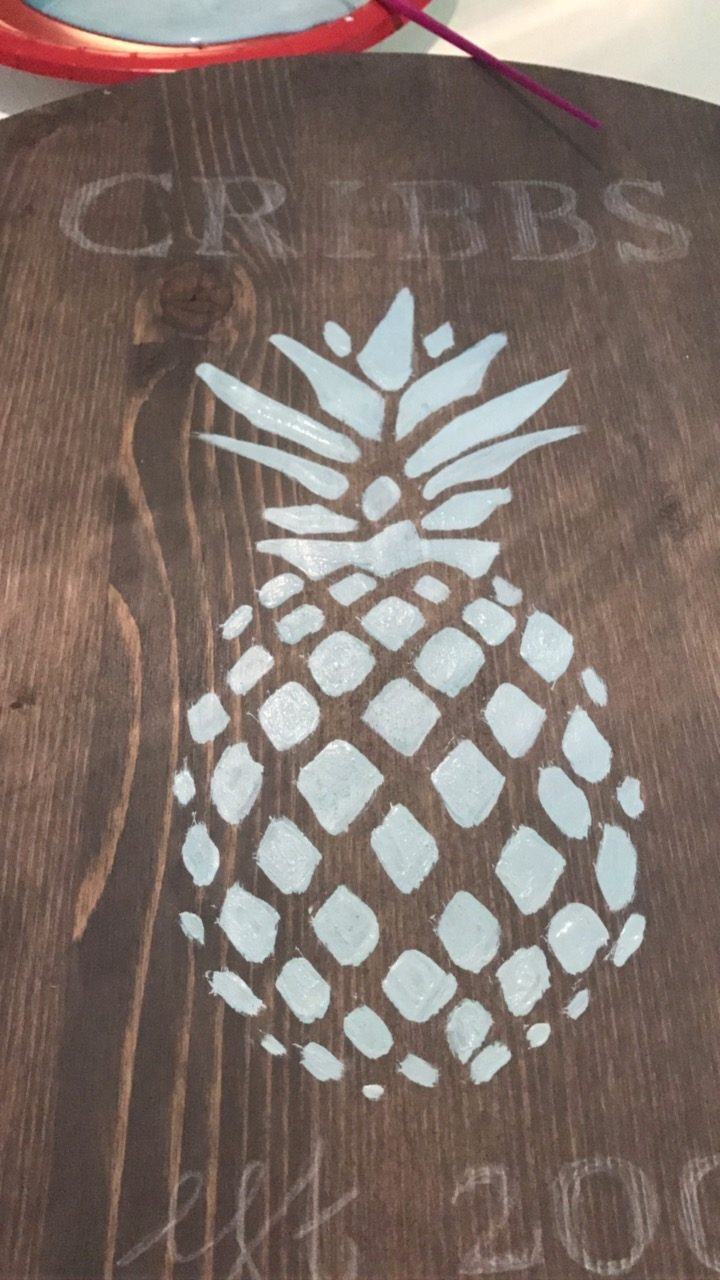
After the stain dried, I found a pineapple design online and traced the design with a white colored pencil.
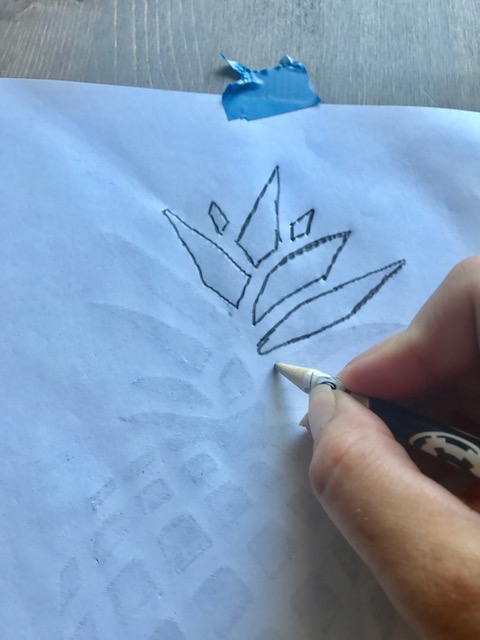
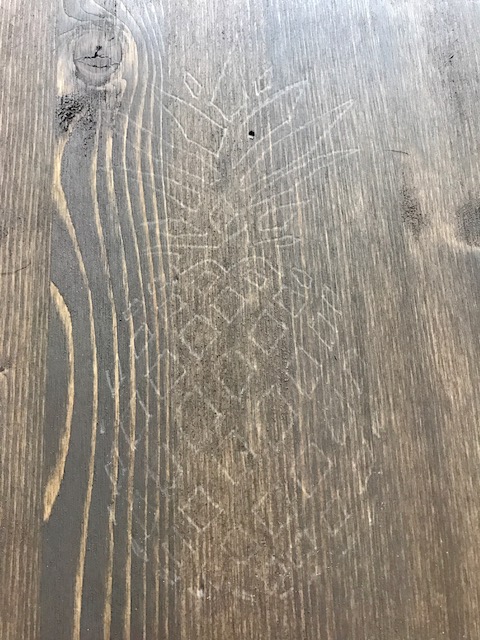
I then flipped the paper over so the design and white tracing was facing the wood piece. I used a regular pencil to trace the design and force the white to transfer onto the wood. I repeated the same step with our name and the year we were married. I simply used a font from our computer and figured out a way to mirror the word so when I transferred the design to the wood, you could read the word. Of course the other alternative is to purchase a stencil, or if you’re blessed to have a Cricut, you could make words and designs. I went old school, mostly because I’m impatient.
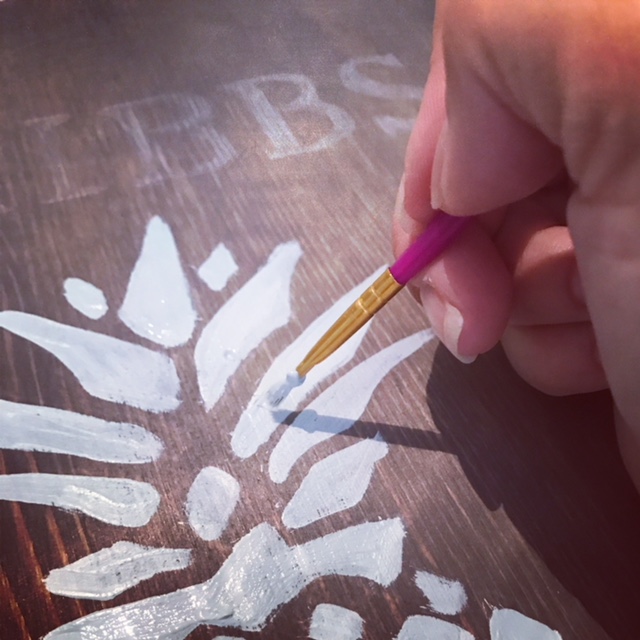
After the design was on the piece of wood, I hand painted everything. If you don’t want to invest in paint and brushes, they have come a long way with paint pens. Most craft stores have an array of colors and sizes of paint pens.
The final painting step was to add a couple of coats of polyurethane to protect the surface. Since this is going to be on the dining table and I wanted to use it at dinner time, I wanted to protect the surface from spills.
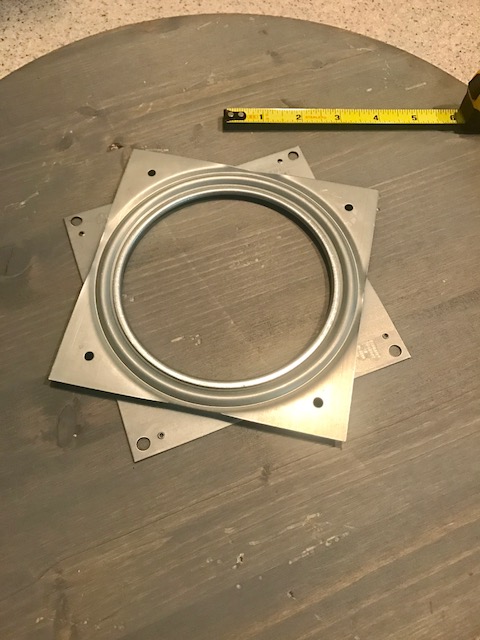
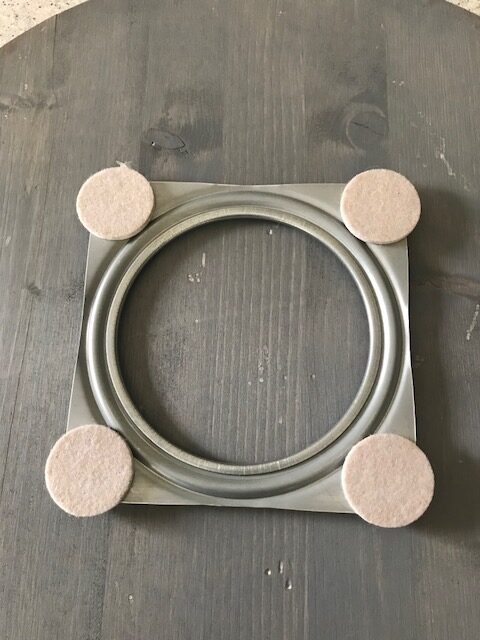
Once everything was finally dried, I flipped the piece of wood over and attached the swivel plate. Unfortunately the plate did not come with screws, but I bought small wood screws that wouldn’t go through the board. To protect the top of the dining table, I added four felt pads to the corners of the plate.
Having the Lazy Susan on our table has not only added a decorative touch, but it’s been a great addition at dinner time. The kids love it when we have make your own tacos, we put all the ingredients on and they get a kick spinning it around. Now it’s your turn, no pun intended, to make this easy, fun, and functional project!

XOXO,
Brooke
Let's connect!!
Stay connected for all your DIY and organizing needs!